


A tile shower is waterproofed by everything you cannot see: a pre-sloped pan, a continuous bonded membrane on the floor and walls, sealed corners and drain connections, and a flood test before a single tile goes on. Tile and grout are the wear surface, not the waterproofing — water passes through grout routinely and the membrane behind it is what sends that water to the drain instead of into your framing. Every shower we build in Redmond gets a pre-slope, a bonded membrane, and a photographed 24-hour flood test, because a leak discovered after tile is a demolition, not a repair.
how long every finished pan sits full of water before we tile it. We photograph the flood test and keep it on record — proof the assembly held before it disappeared behind tile.
installed tile cost with us, labor from $11/sq ft. In a shower, the waterproofing hours are the biggest share of that number — and the best money in the whole project.
our warranty on tile work, double the one-year most of the trade offers. We can afford the bet because of what goes in behind the tile.
Grout Is Not Waterproof. Neither Is Tile.
Start with the fact that reorganizes everything else: a tiled surface leaks by design. Cement grout is porous — it absorbs water on every shower's every use — and even the joints between perfectly set porcelain let moisture migrate through. This is not a defect. The tile industry has never pretended otherwise. Tile and grout are a wear surface: they take the abrasion, the cleaning, the thermal swings, and they look good doing it. Keeping water out of the wall is a different job, done by a different layer.
That layer is the membrane behind the tile, and it changes how you should judge any shower quote. A bid that describes beautiful tile and says nothing specific about the waterproofing is describing the paint job on a car with no engine. When the membrane is missing or wrong, the shower still looks perfect on day one — and water spends the next two or three years quietly reaching the studs, the subfloor, and the ceiling below. By the time anything shows, the fix is demolition. The tile you paid for comes off in pieces, because there is no other way in.
The Full Assembly, Layer by Layer
Here is the complete system in the order it is built. None of these layers is optional, and each one covers a specific way showers fail.
What Is Behind a Properly Built Tile Shower
| Layer | What it does | What failure looks like without it |
|---|---|---|
| Pre-slope | A sloped mortar bed under the membrane, pitched to the drain | Water that passes the tile sits flat on the membrane forever — the classic musty shower |
| Pan membrane | The waterproof layer of the floor, bonded or laid over the pre-slope | Subfloor rot, and stains on the ceiling below a second-story bath |
| Wall membrane | Sheet or liquid coverage over the backer board, lapped into the pan | Wet studs and swollen drywall on the far side of the wall |
| Sealed corners & seams | Preformed corners, banded seams, membrane lapped shingle-style | Corners are where most assemblies actually leak — gravity finds the laps |
| Drain integration | The membrane clamped or bonded directly to the drain flange | A perfect membrane that drains into the joist bay at its lowest point |
| Curb or curbless slope | Waterproofed curb, or a recessed floor pitched for a curbless entry | Water wicking into the curb frame — the softest spot in old showers |
| Niche & benches | Every shelf and seat waterproofed like a tiny shower of its own | Niches are leak point number two after corners — they interrupt the membrane |
| Flood test | The pan plugged and filled for 24 hours, before tile | No test means the first real test is your first shower — with tile already on |
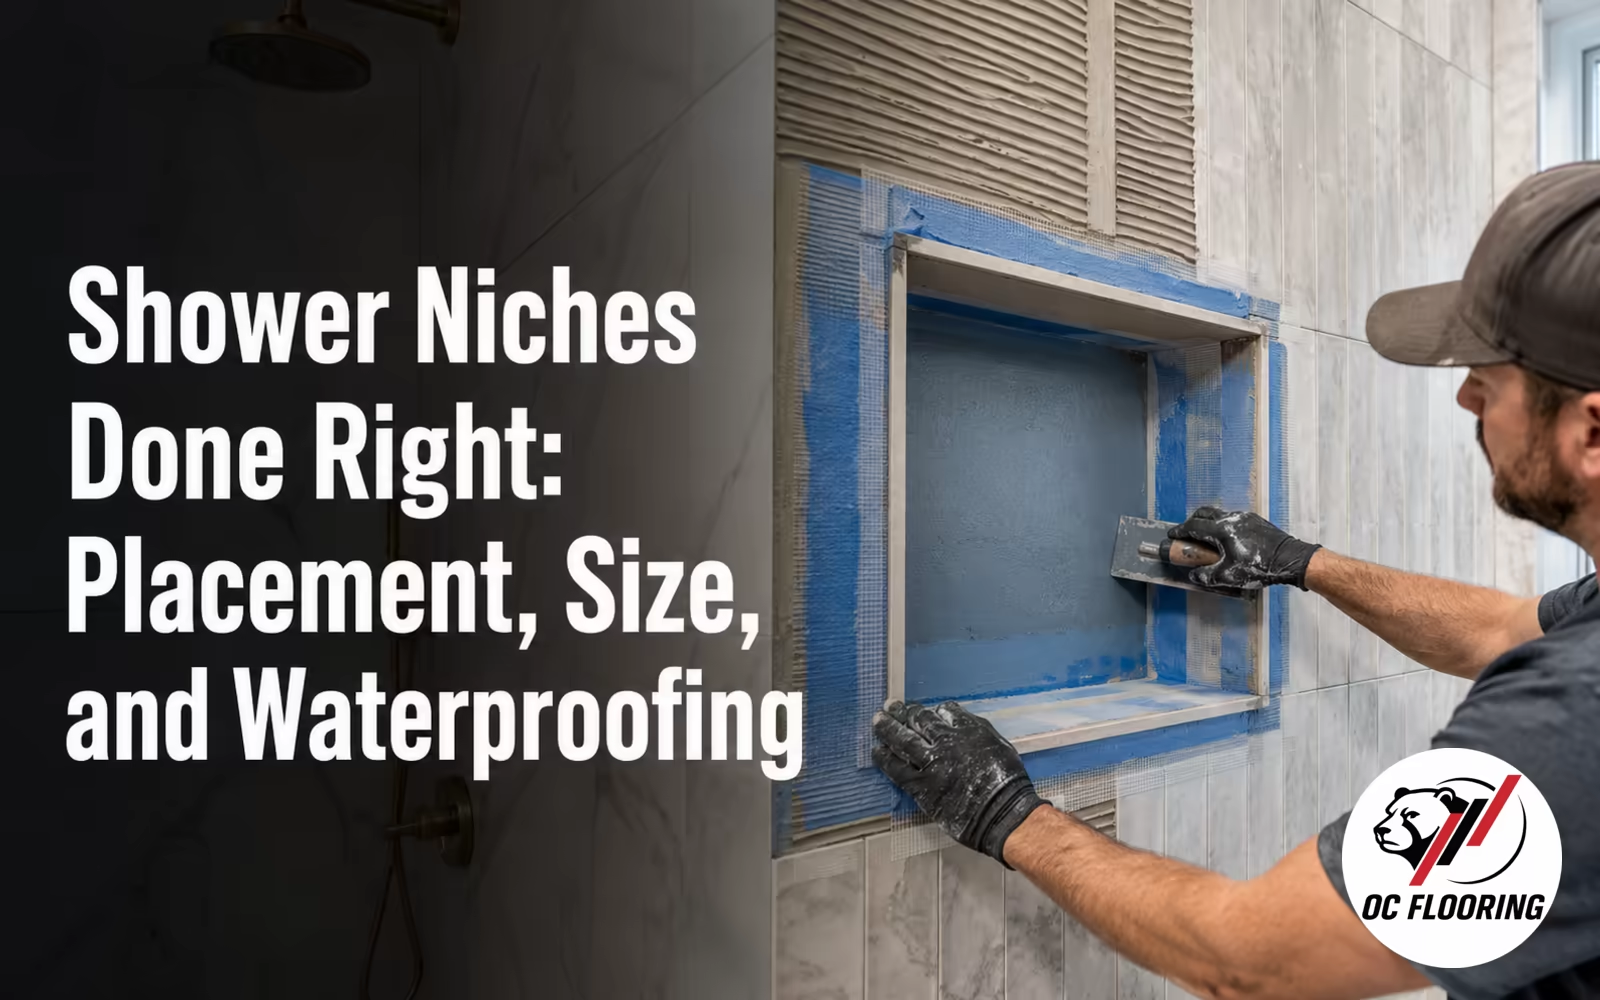
Two details in that table deserve emphasis, because they are the ones cheap builds skip most. The pre-slope exists because the membrane, not the tile, is the true floor of your shower — and if the membrane lies flat, the water that reaches it has nowhere to go. And the niche: every hole cut into a waterproofed wall is a hole in the waterproofing, which is why niche placement and sealing get their own discipline — we wrote up how in our shower niche guide.
Bonded Sheet vs Liquid-Applied: Two Right Answers
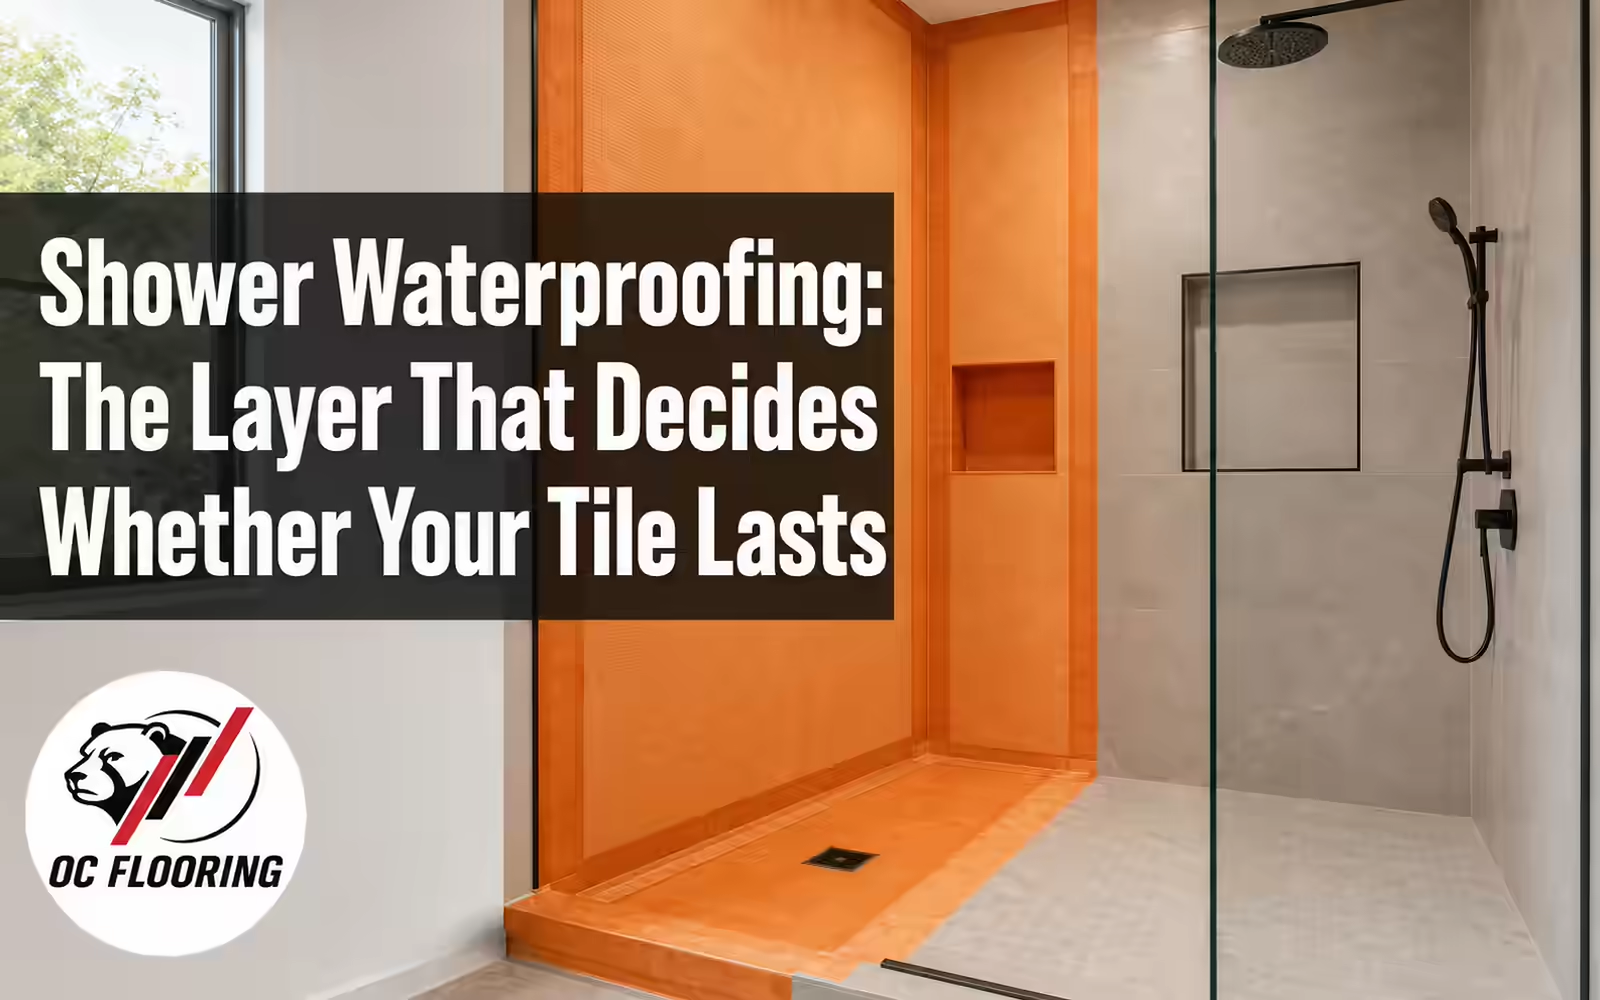
There are two legitimate ways to build the membrane, and good tile setters use both. Bonded sheet membranes — Schluter Kerdi is the name most people know — come off a roll at a factory-controlled thickness and get thin-set directly to the walls and pan. Their strength is consistency: the material is never too thin, and the system's preformed corners and drain assembly take the guesswork out of the hard spots. Their risk lives at the seams, which is why seam technique separates a real installer from someone who watched a video.
Liquid-applied membranes are rolled or troweled on in coats to a measured wet-film thickness. Their strength is that a liquid has no seams — it flows around corners, valves and odd geometry as one continuous skin. Their risk is thickness: too thin in one pass, or rushed between coats, and the protection is theoretical. The honest summary is that both systems outlast the house when executed and both fail promptly when rushed — which means the product name on the quote matters less than whether the installer can tell you coverage, thickness, and cure time without looking anything up. What never works is skipping the membrane and trusting cement board: cement board is unbothered by water, but it is not waterproof, and it will happily pass every gallon through to the framing behind it.
Signs a shower was built right
- A pre-slope under the membrane, not just under the tile
- A named membrane system — sheet or liquid — on the quote
- Preformed corners and banded seams, or measured liquid thickness
- The membrane bonded or clamped to the drain flange
- A photographed flood test before tile went on
- Silicone, not grout, at every change of plane
Signs the waterproofing was skipped
- “Waterproofing” appears nowhere on the quote
- Tile going straight onto cement board or green board
- A flat pan liner with no pre-slope beneath it
- Grout caulked over cracks at the corners every year
- Musty smell that cleaning never fixes
- A price dramatically below every other bid — the membrane is the difference
The Flood Test: One Day That Protects Ten Years
Before tile, we plug the drain and fill the finished pan with water — and then we leave it alone for 24 hours. If the level holds, the pan is proven tight and we photograph it for the job file. If it drops, we have found the problem at the cheapest possible moment: nothing above the pan has been built, nothing has to be demolished, and the fix is a day instead of a remodel. That photograph stays on record, which means years later there is documented proof your shower held water before the tile ever went on.
The test costs us a day of schedule, which is exactly why low bids skip it. But think about what the alternative test is: your family, showering daily, over a finished ceiling. A leak that announces itself through drywall stains has usually been running for months. One day of patience against that outcome is the cheapest insurance in the entire project, and it is standard on every shower we build — the same assembly logic that runs through our curbless shower build guide, where the tolerances are even tighter.
Why This Matters in Redmond Specifically
Redmond's housing stock puts more showers on second floors than almost anywhere we work. The 1980s and 90s subdivisions around Education Hill and Abbey Road, and the newer townhomes near downtown, mostly stack the bathrooms over kitchens and living rooms — so when a shower assembly fails, it does not fail quietly into a crawlspace. It fails through the ceiling of the room you host in. Those 80s and 90s showers are also now thirty to forty years old, which is past the design life of the original builder-grade pans; a surprising share of the “small regrout job” calls we get turn out to be original assemblies at end of life.
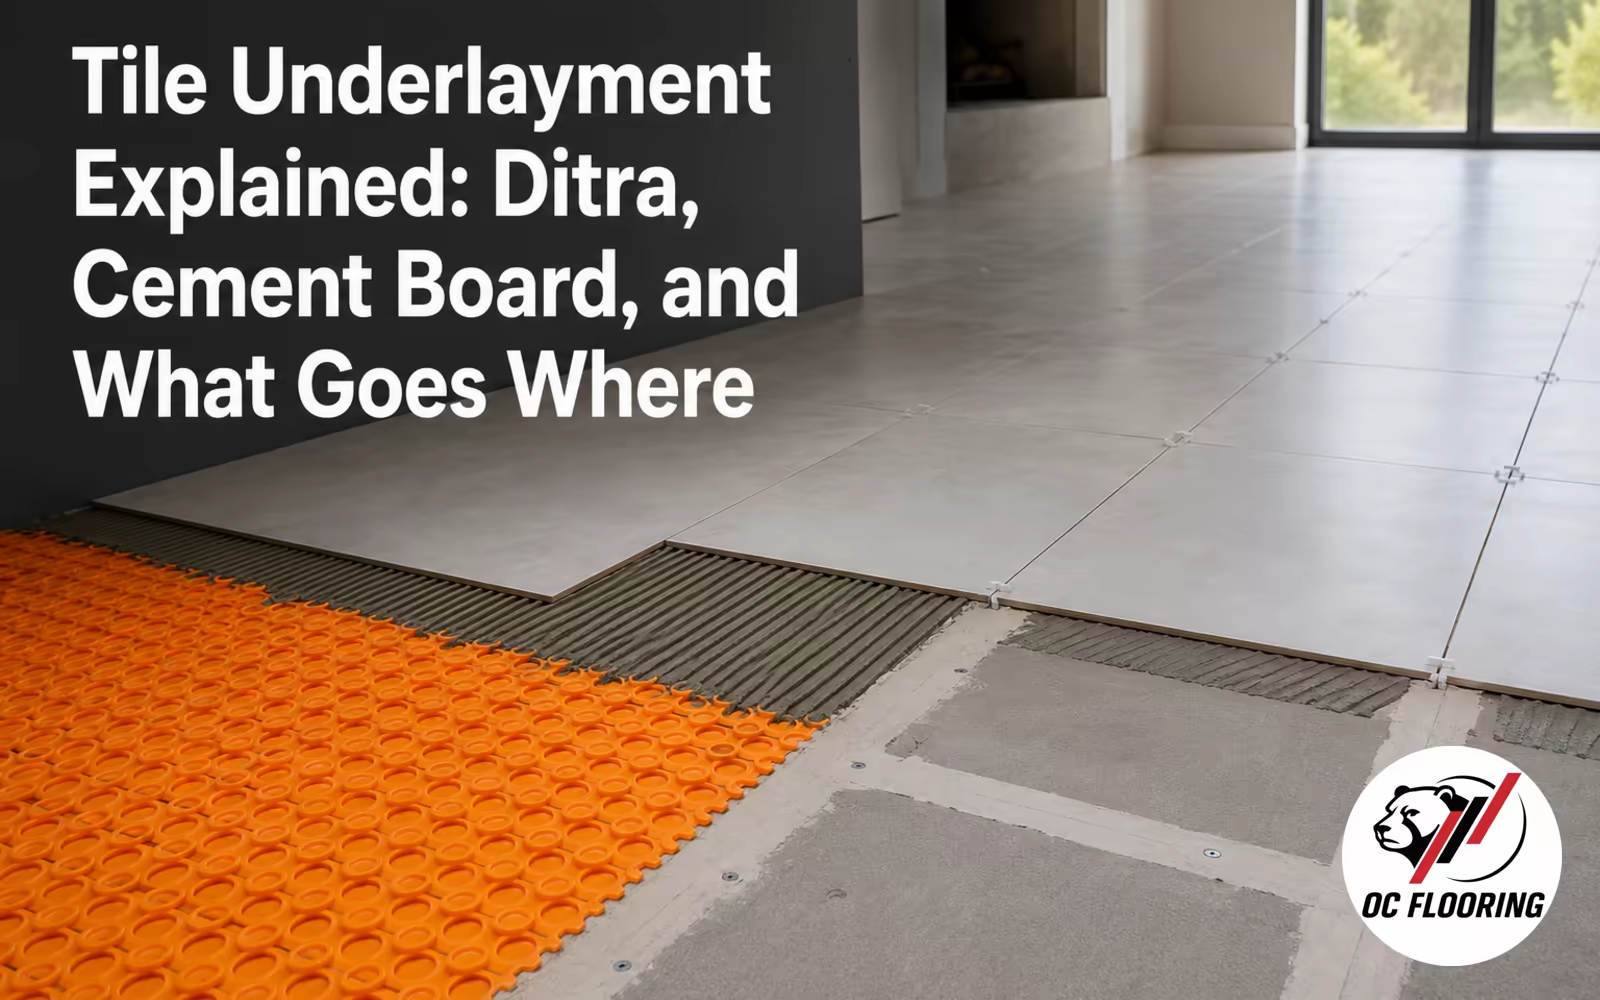
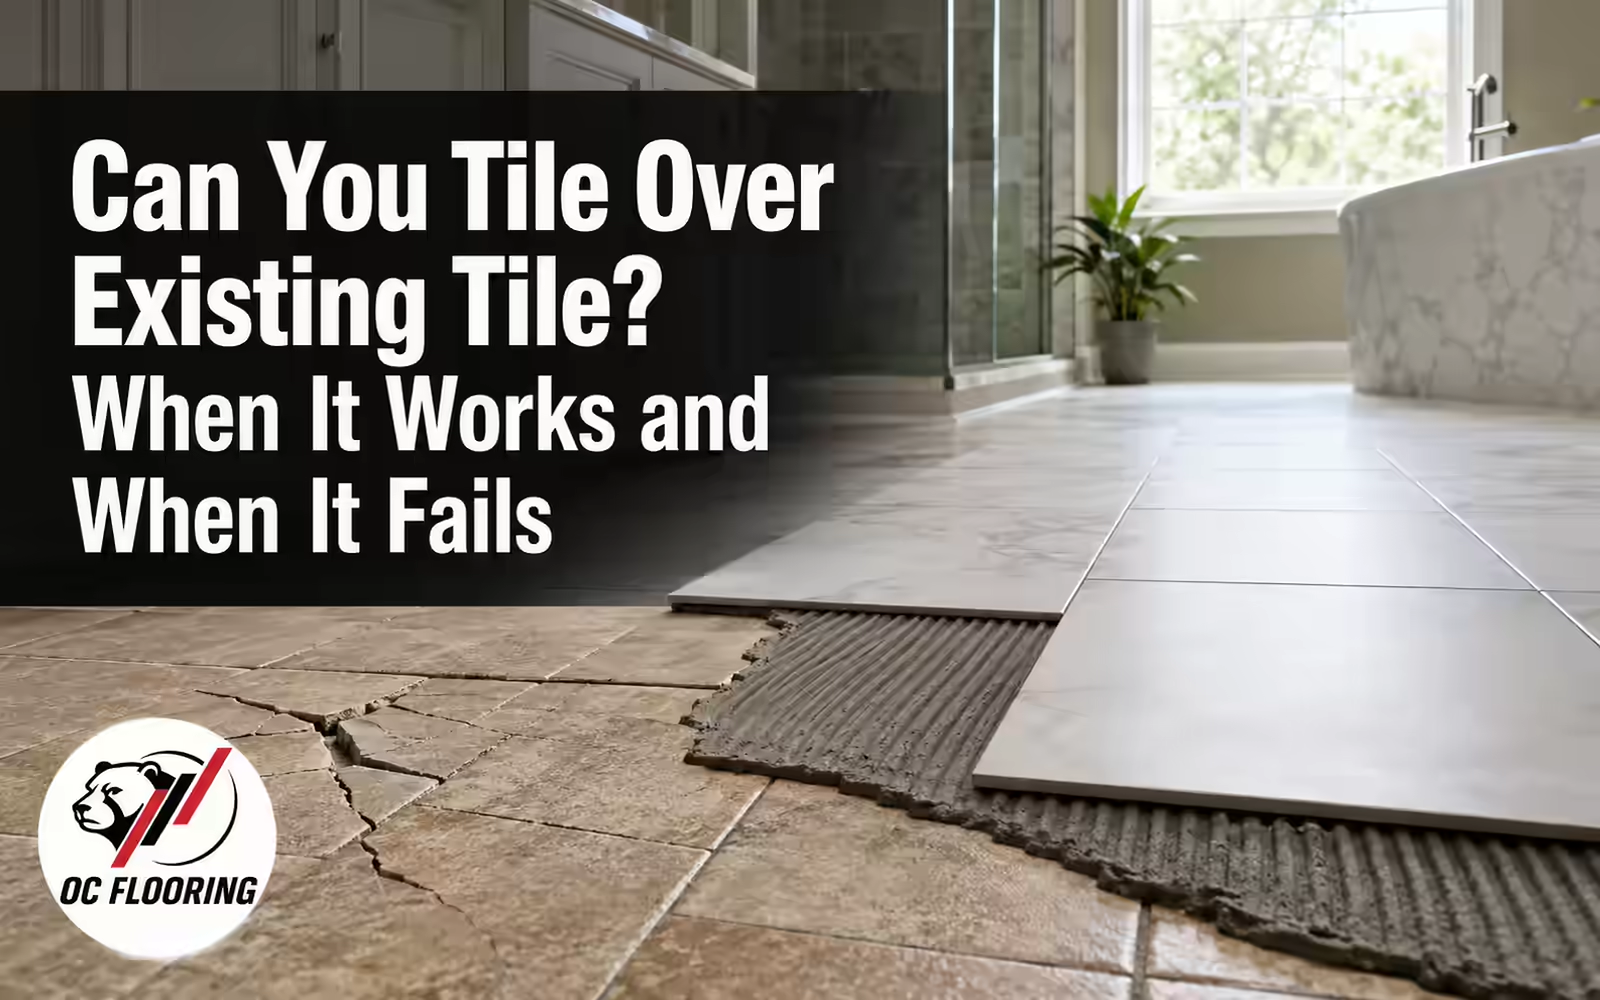
If you are opening a shower anyway, that is the moment to fix everything behind it — substrate included, which is covered in our underlayment explainer — and to think about whether the surrounding floor should be redone in the same mobilization; tiling over what is there is sometimes legitimate on floors, as we lay out in tiling over existing tile, but never inside a shower. What the whole rebuild costs is itemized in our bathroom tile cost guide, and the full local scope is on the Redmond tile installation page.
Tile Shower Waterproofing: What Homeowners Ask Us
How do you waterproof a tile shower?
Is grout waterproof?
What is a shower pre-slope and why does it matter?
Which is better, a sheet membrane like Kerdi or a liquid membrane?
What is a flood test on a shower?
Is cement board waterproof on its own?
How do I know if my existing shower was waterproofed properly?
How much does waterproofing add to the cost of a tile shower?
Get a Shower That Was Proven Before It Was Tiled
Pre-slope, bonded membrane, photographed 24-hour flood test — on every shower, not on request. We will open up what you have, show you exactly what is behind it, and put the rebuild in writing. Free in-home estimates across King & Snohomish County.
Related reading: Shower niches done right · What a curbless shower takes · Tile underlayment explained · Bathroom tile cost in Seattle · Tile installation in Redmond · Book a free estimate