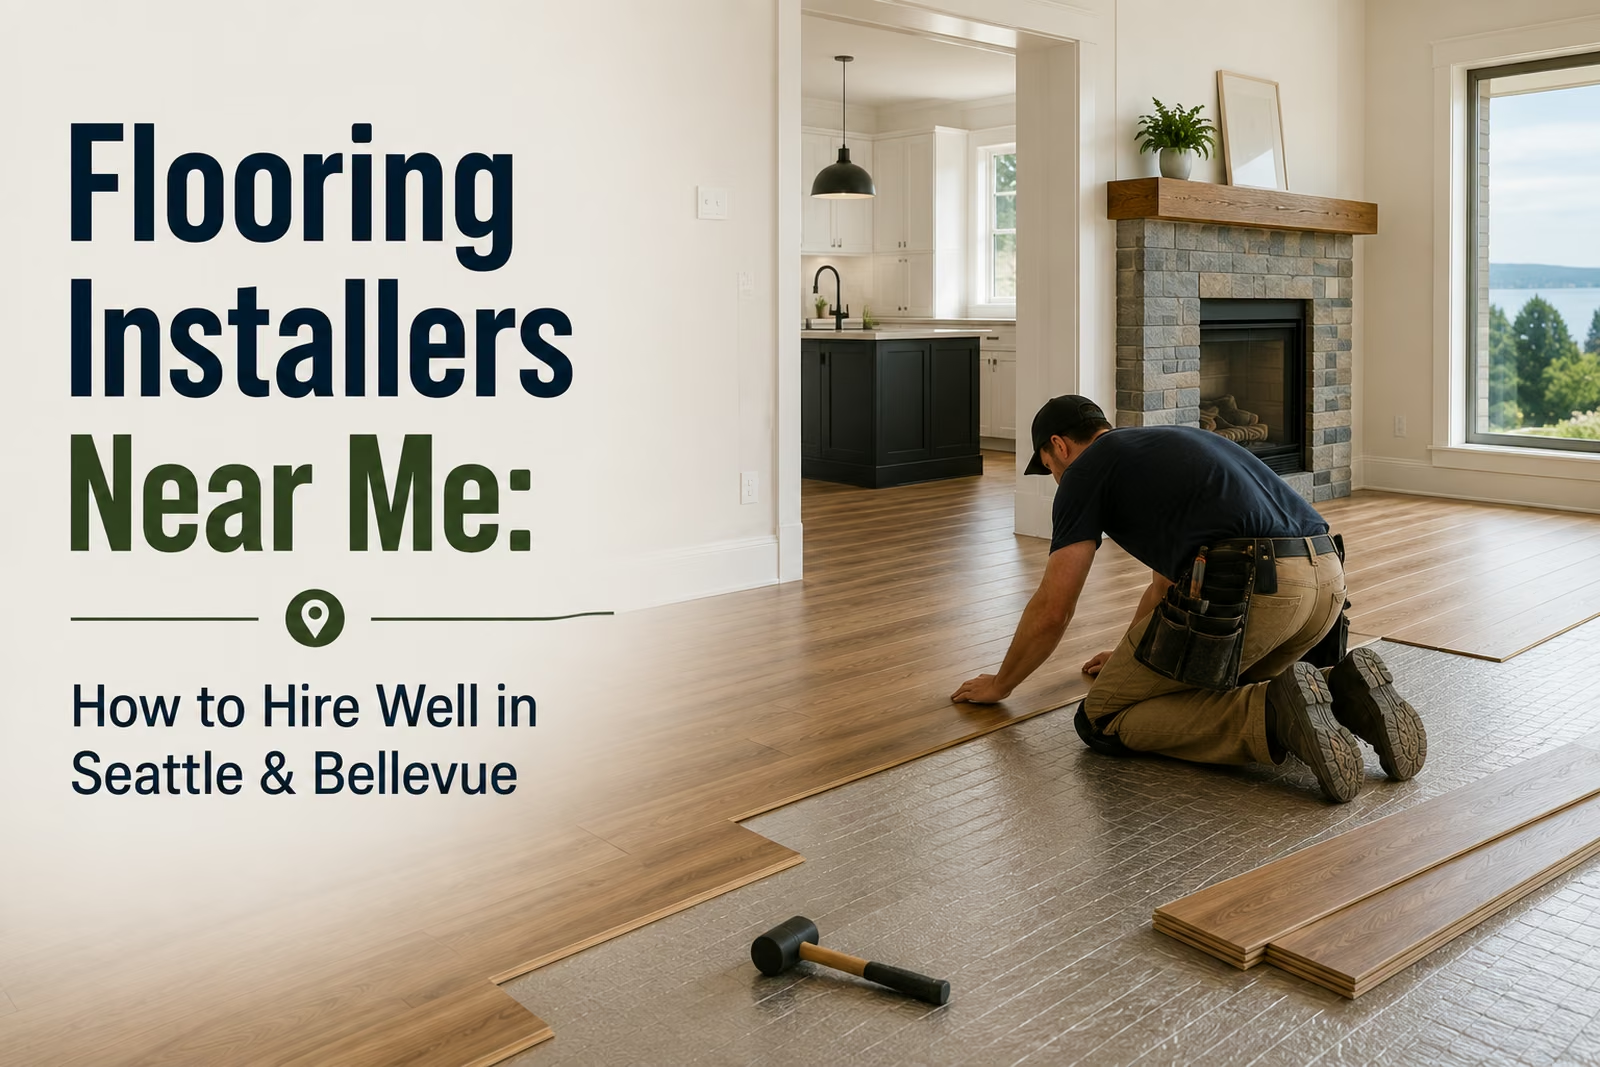




A vinyl plank installation in an Everett home is usually a one-to-three-day project: tearout and subfloor prep first, then click-lock planks that are walkable the moment they're down. Installation labor runs $3–$4.25 per square foot with materials separate. The quality of the finished floor is decided almost entirely by prep — LVP is thin, so the subfloor must be flattened to about 3/16" over 10 feet or every hump and dip will echo through the planks.
Vinyl plank has become the most-requested floor we install in Everett — for good reasons: it's waterproof, tough, warm-looking, and priced sanely. But most homeowners booking their first LVP project don't know what the crew will actually do in their house, which makes it hard to compare bids or prep the rooms. This is the real sequence, from OC Flooring's side of the job. We've installed and refinished 1,000+ floors around King and Snohomish County since 2013; here's how an LVP install goes when it's done properly.
The Numbers That Shape an LVP Project
the actual thickness of a "20 mil" wear layer — the clear shield that decides how the floor looks in year ten. Mils, not millimeters, are the spec to read on the box.
what an experienced two-person crew can click together in a day on a properly prepped, open floor plan. Prep is what the calendar actually bends around.
total thickness of typical rigid-core LVP — thinner than a stack of five quarters. That thinness is why subfloor flaws telegraph straight through lesser prep work.
Day 0: The Estimate Decides Everything
At the free in-home estimate we measure, but mostly we investigate: what's on the floor now, what's under it, and how flat and dry it is. Everett housing spans 1900s mill-era homes with springy fir subfloors, mid-century ramblers, and new slab-built townhomes — each one preps differently. You get a written quote with materials and labor separated, and prep listed line by line. If a bid you're comparing has no prep line items, that work is either missing or hiding in a change order.
Choosing the Plank: What Actually Matters
Showroom walls make every plank look the same. Three specs separate them:
- Wear layer (the big one): 12 mil suits bedrooms and light traffic; 20 mil is the sweet spot for busy family homes with kids and dogs; 22+ mil is commercial grade. Pattern and color take the glory, but the wear layer determines lifespan.
- Core type: rigid SPC (stone-polymer) cores are dense, dent-resistant, and forgiving of cool rooms — our default recommendation here. Softer WPC cores feel warmer and quieter but dent more easily under appliances.
- Attached pad vs. separate underlayment: attached pads speed installation; over concrete we still add a vapor barrier, and in multifamily buildings the underlayment choice is how the HOA's IIC sound requirement gets met.
For a deeper product comparison, see our breakdown of luxury vinyl's pros and cons.

Day 1: Tearout and the Unglamorous Work That Makes the Floor
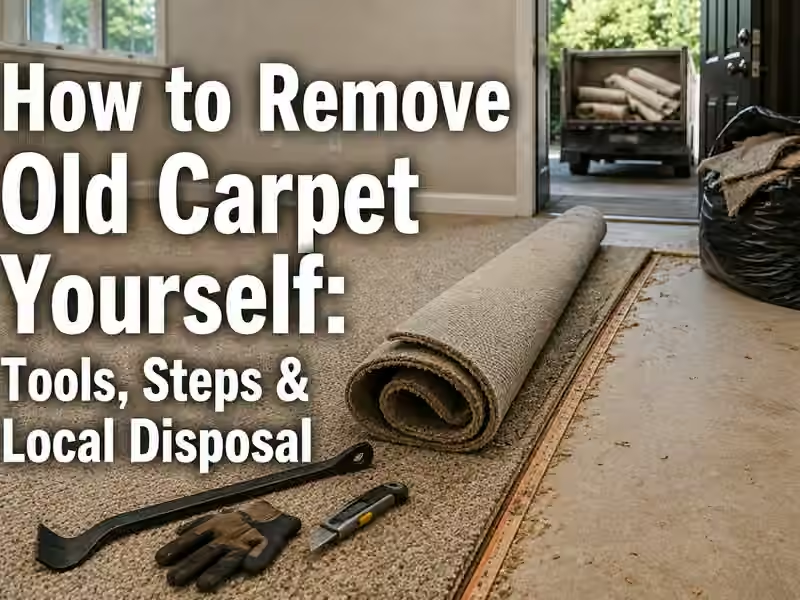
Old carpet, pad, tack strips, and staples come out — or old vinyl and laminate get pulled and hauled away. Then the part you're really paying professionals for: the subfloor gets screwed down to kill squeaks, scraped clean, and checked with a straightedge against the 3/16"-over-10-feet flatness standard. High spots get ground or sanded; low spots get filled with patch or self-leveling compound. LVP is honest to a fault — a ridge you could barely feel through carpet becomes a visible line and a future joint failure under 5 mm of plank. Concrete slabs also get a moisture check before anything goes down; "it looks dry" is not a reading.
Day 1–2: Installation, Room by Room
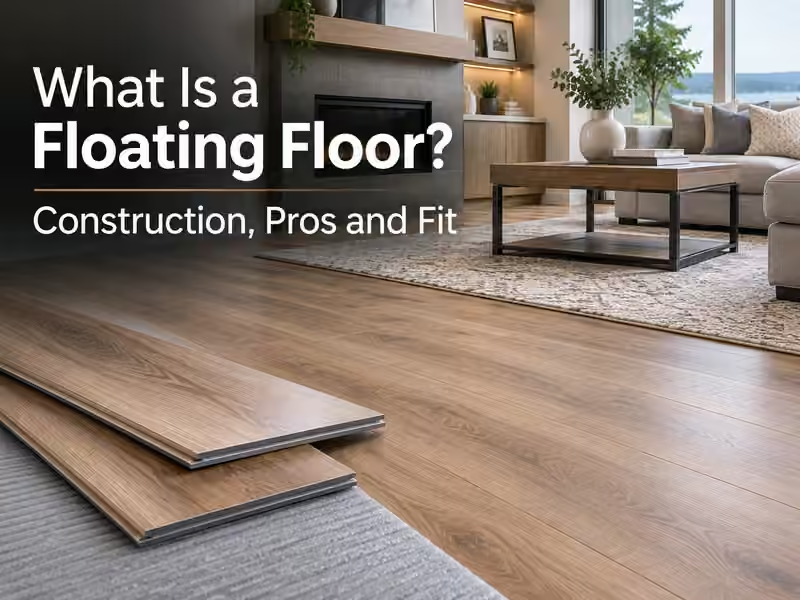
Planks get laid out and mixed from multiple boxes so repeating patterns don't cluster. The crew snaps rows together, staggering end joints and holding an expansion gap at the perimeter — smaller than hardwood's ¾" but just as mandatory, because a floating LVP floor moves as one sheet with temperature swings. Door jambs get undercut so planks slide beneath them (the mark of a pro install; caulked notches are the other thing). Transitions to tile, carpet, or stairs get color-matched trim, and either your baseboards are reset or new shoe molding covers the gap. Because click-lock LVP is a floating floor with no adhesives or finishes to cure, each room is fully usable the moment the trim goes on — furniture and all.

Where LVP Earns Its Keep in Everett Homes
Our recommendation pattern, street-tested: lower levels and daylight basements (slab moisture is a non-issue for waterproof planks), kitchens, laundry rooms, and mudrooms (150+ rainy days a year means wet boots and dogs are a design constraint), and whole-main-floor makeovers in rentals and busy family homes where durability-per-dollar wins. In older Everett homes with original fir upstairs, we often split the difference: refinish the irreplaceable fir, run LVP through the wet and below-grade rooms. And a fair-warning note: if anyone quotes you LVP directly over badly cupped or wavy existing wood without flattening, walk away — the new floor will read every wave within a season.
Vinyl Plank Installation: What Everett Homeowners Ask
How long does a vinyl plank installation take in a typical Everett home?
Does the old flooring have to come out before vinyl plank goes in?
How flat does a subfloor need to be for click-lock vinyl plank?
What wear layer thickness should I choose for vinyl plank?
Will grout lines telegraph through vinyl plank installed over tile?
Is quarter-round trim required with a vinyl plank floor?
Why does my LVP quote include floor-leveling compound?
What does vinyl plank installation labor cost in the Everett area?
How soon can we move furniture onto new vinyl plank?
Get Your Everett LVP Project Quoted Right
We'll measure, check your subfloor's flatness and moisture, and hand you an itemized quote — labor, materials, and prep, all visible. Free in-home estimates across King & Snohomish County.
Related reading: Vinyl plank & laminate service · How floating floors work · Pros and cons of luxury vinyl · What is SPC flooring?