Love your floors again
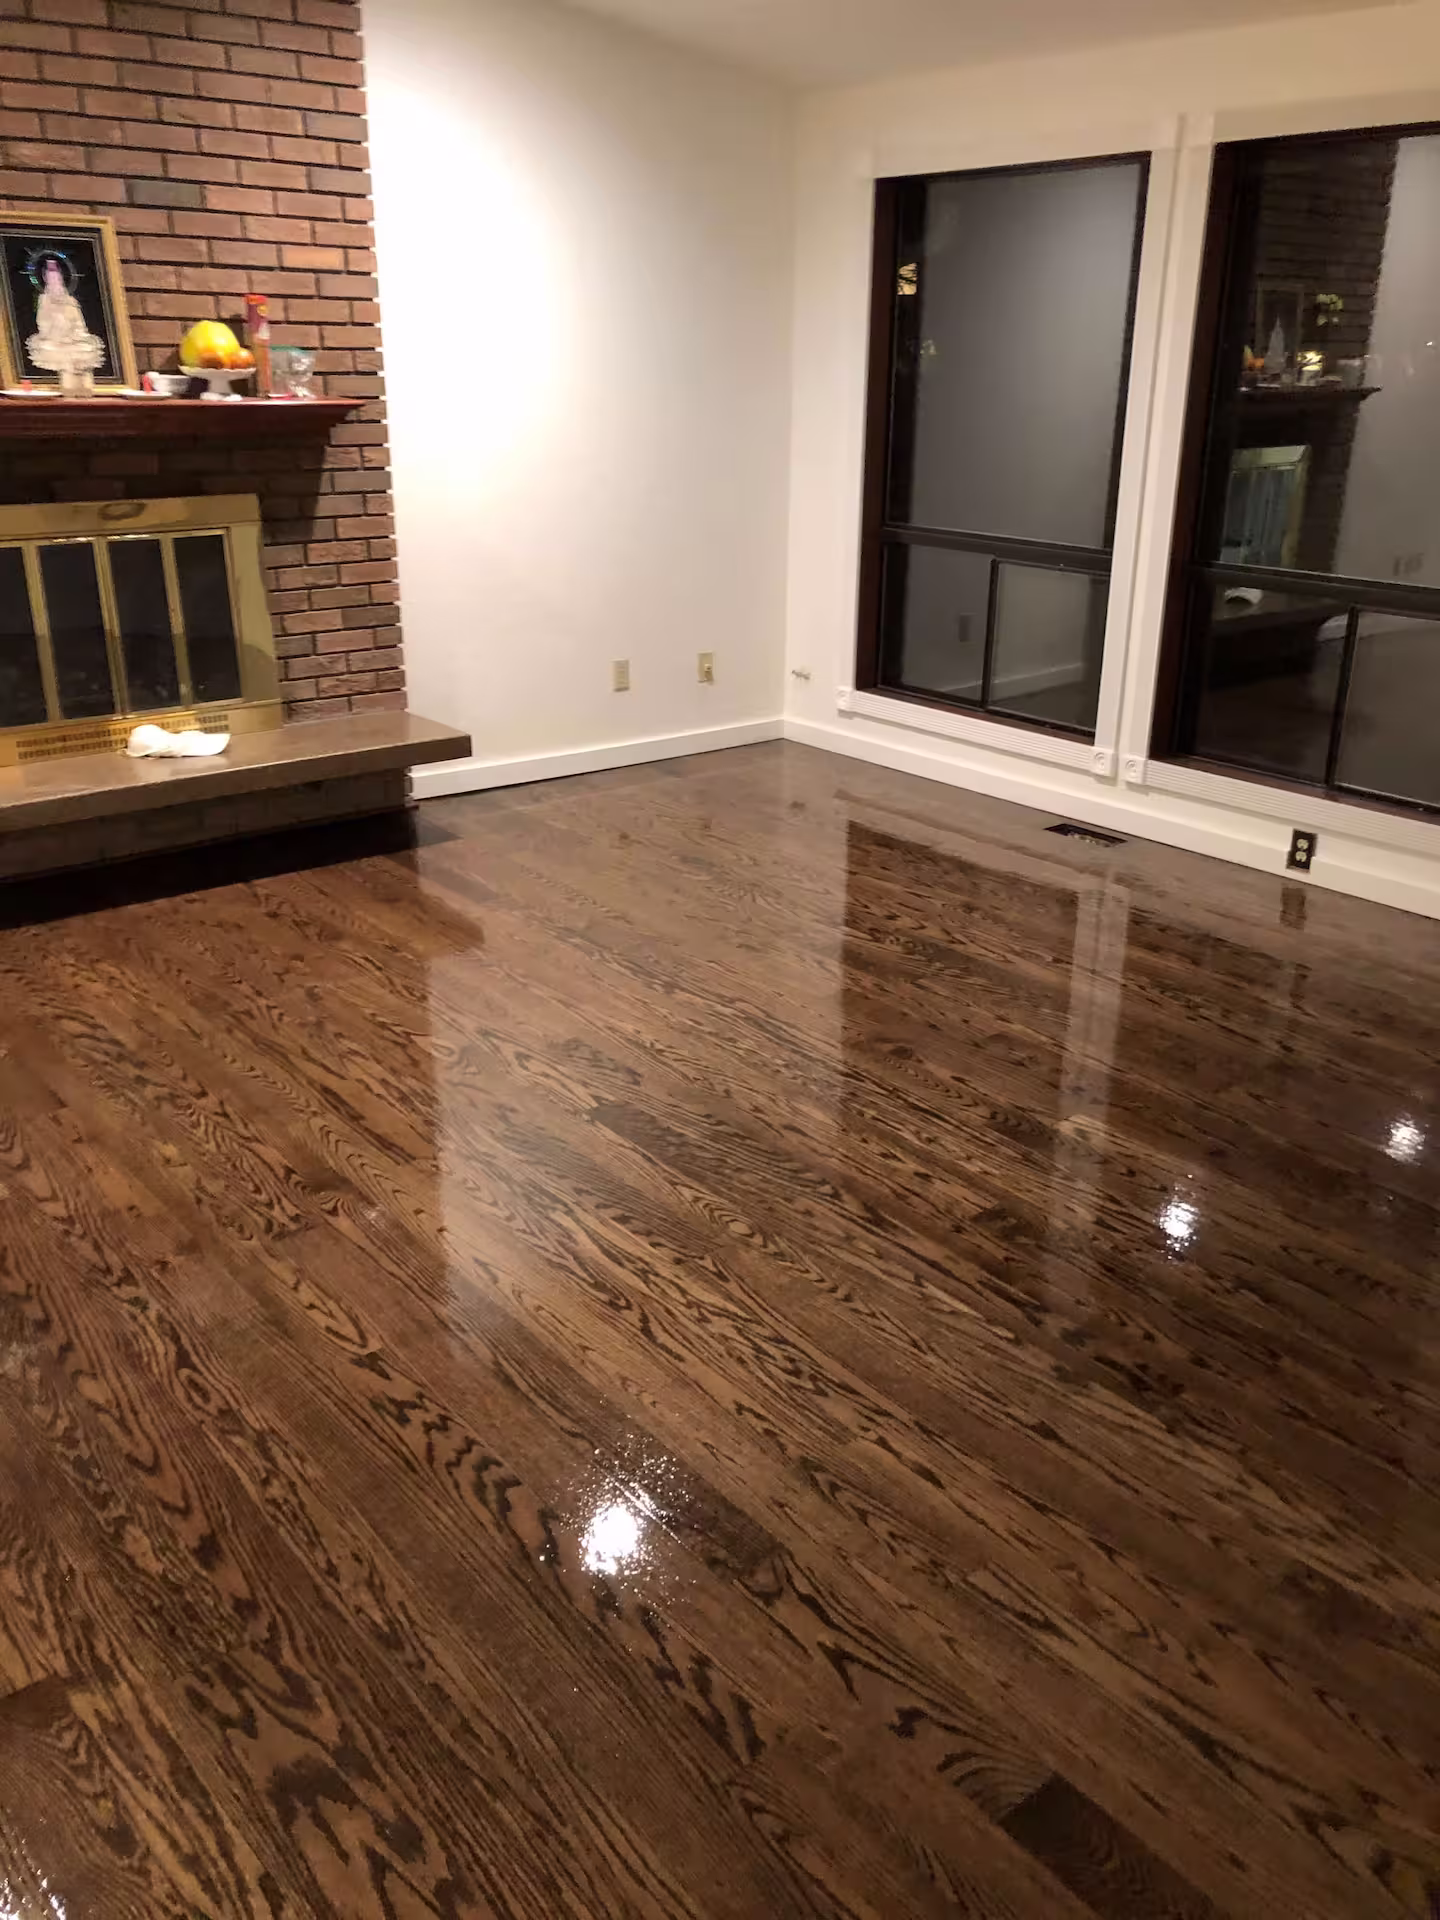
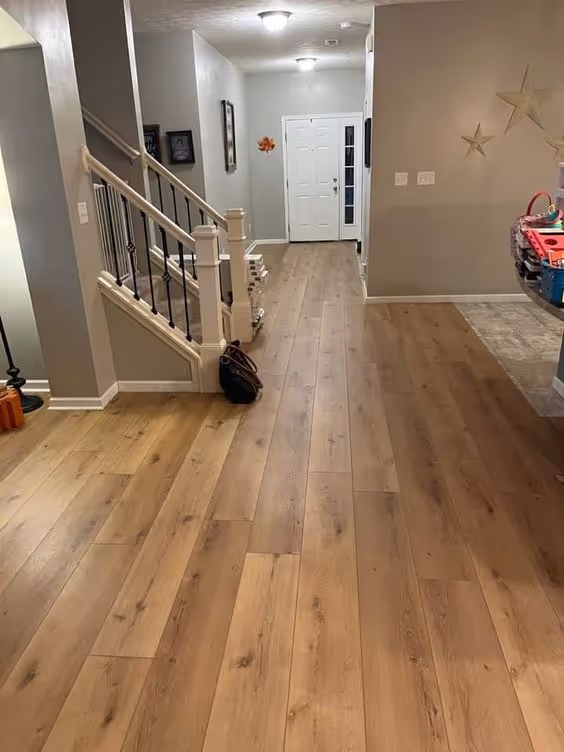
Love Your Floors Again — Without the Mess
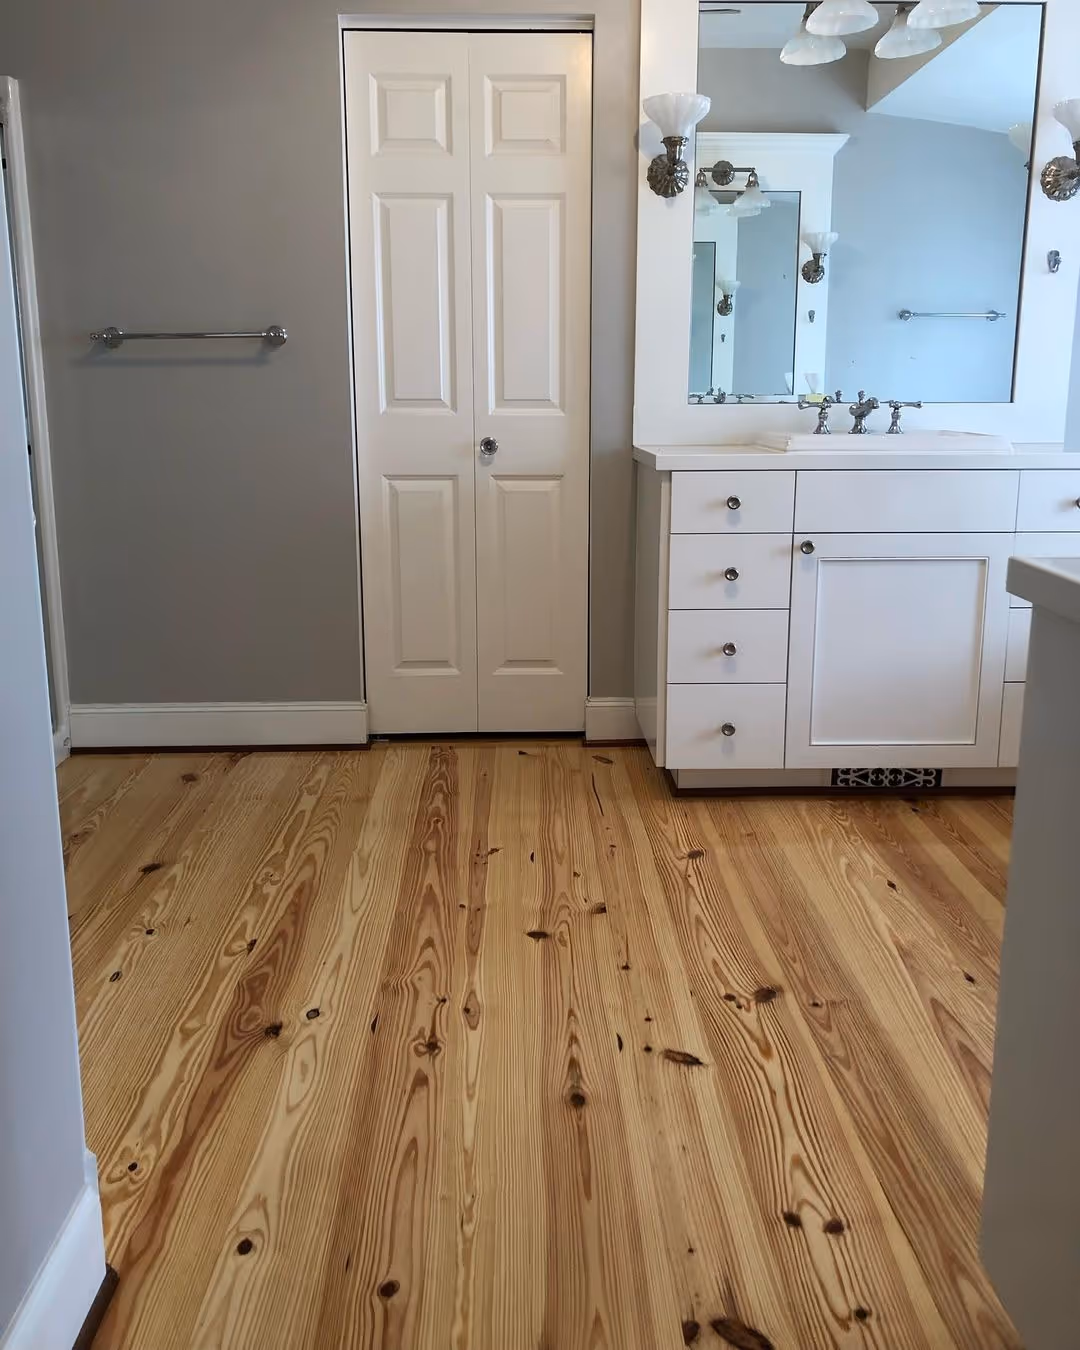
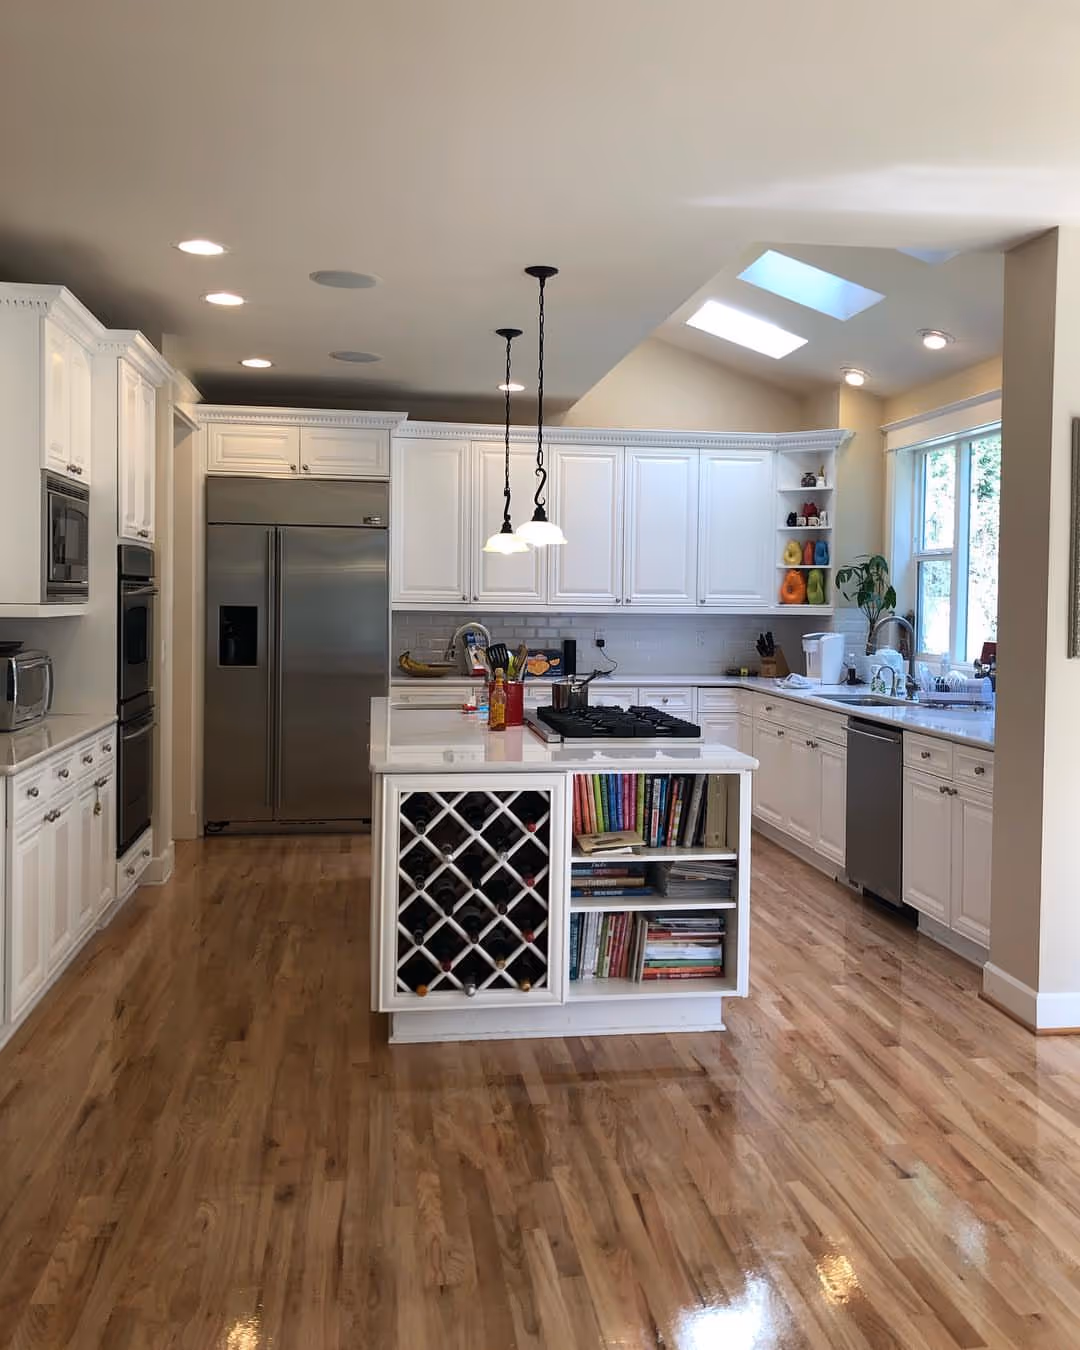
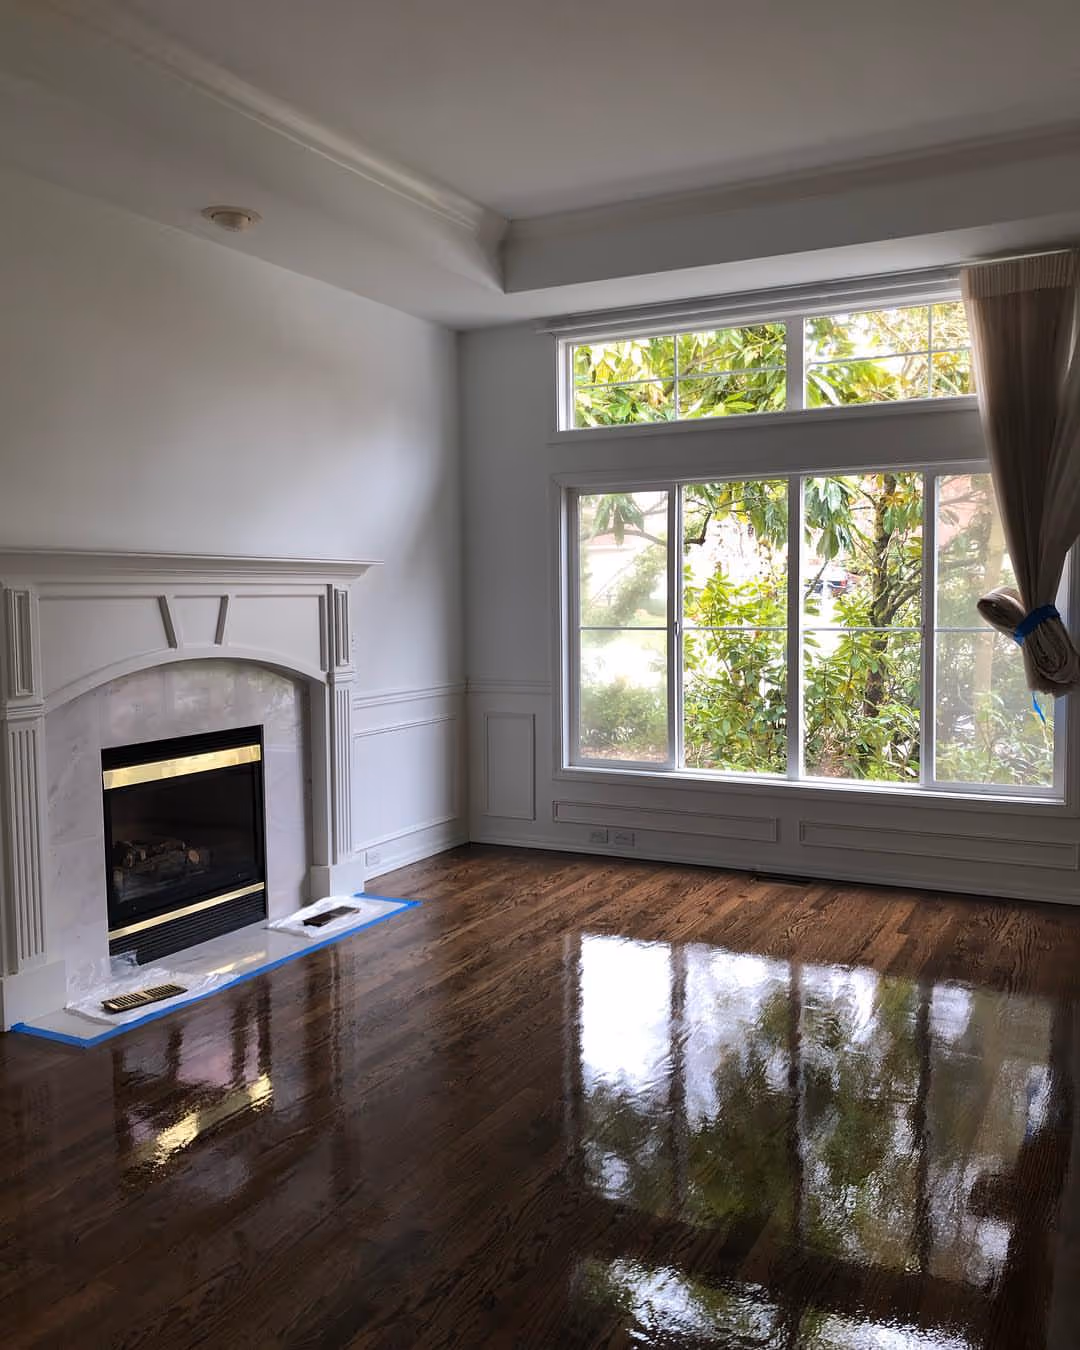
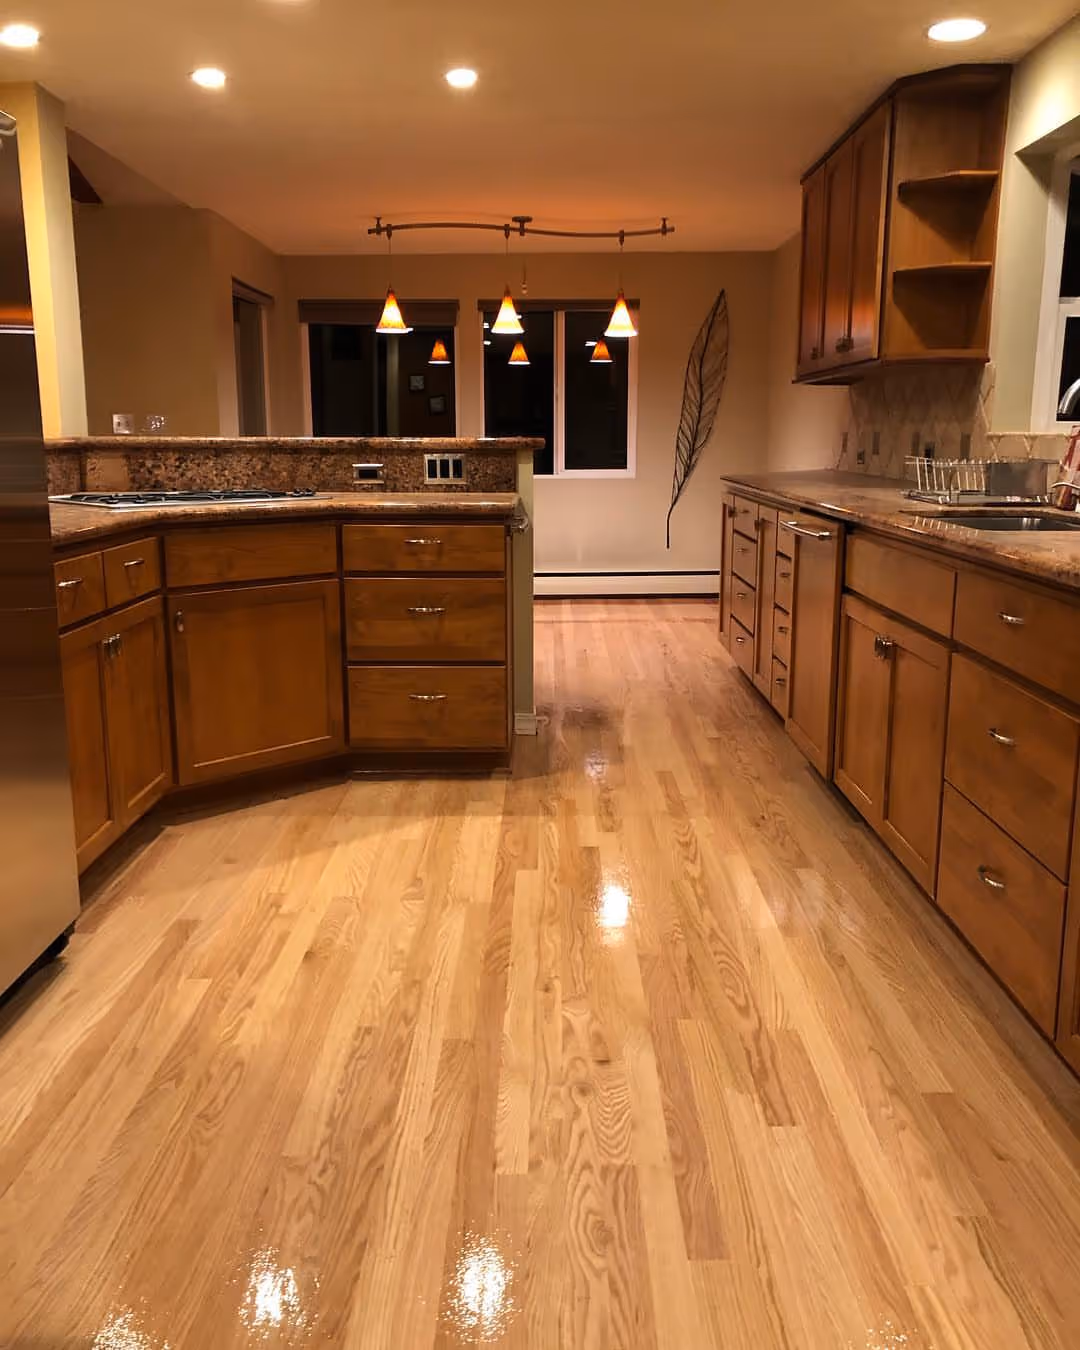
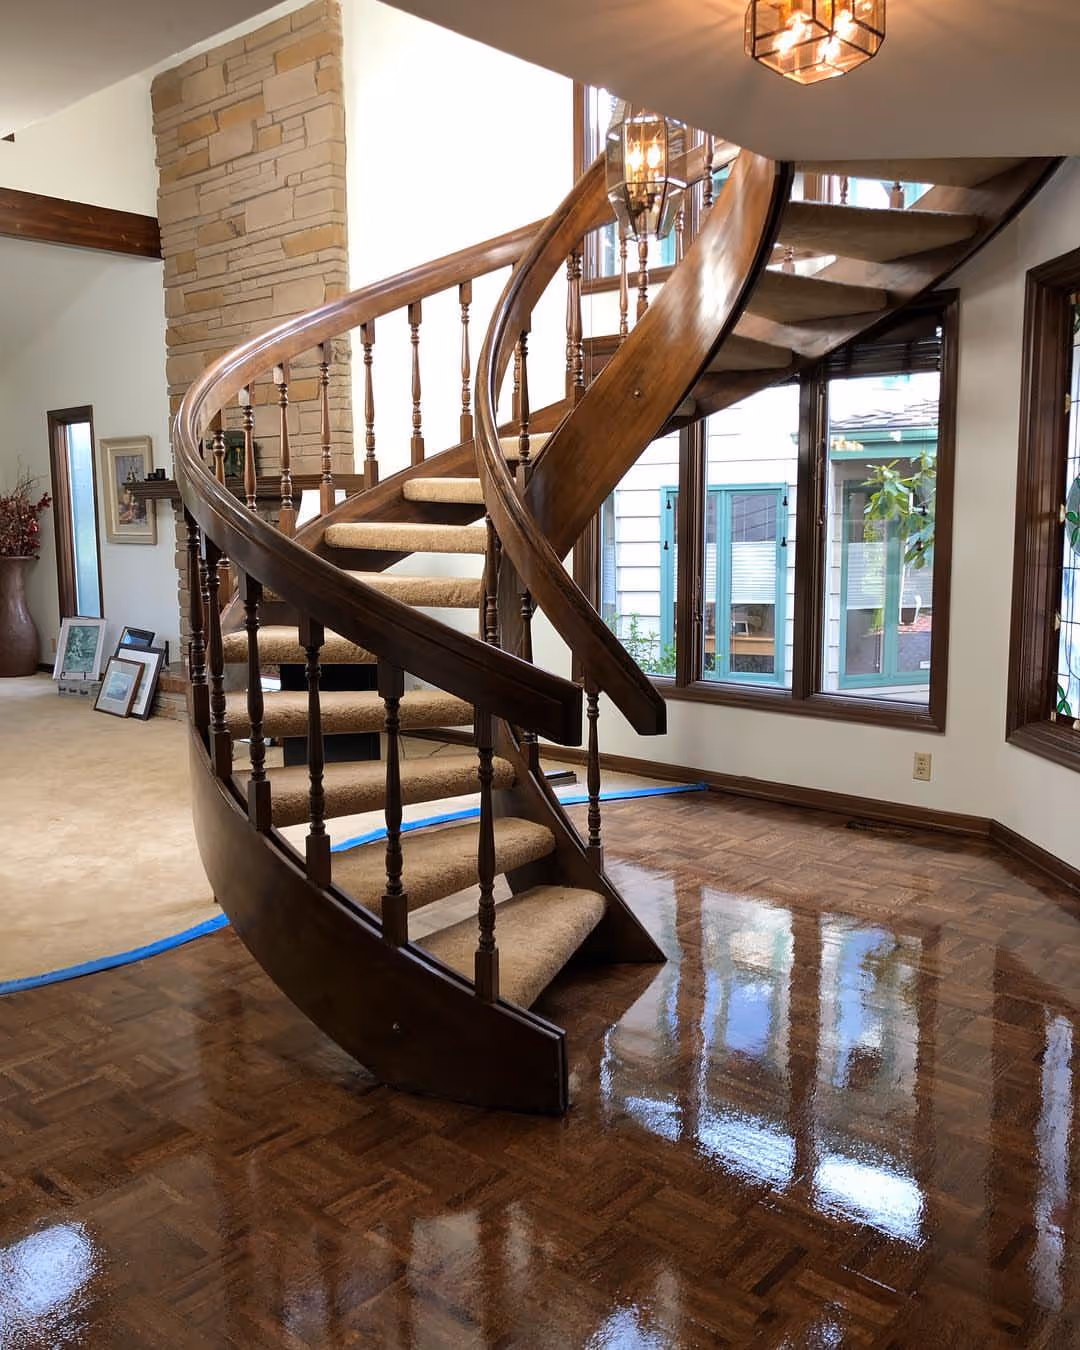
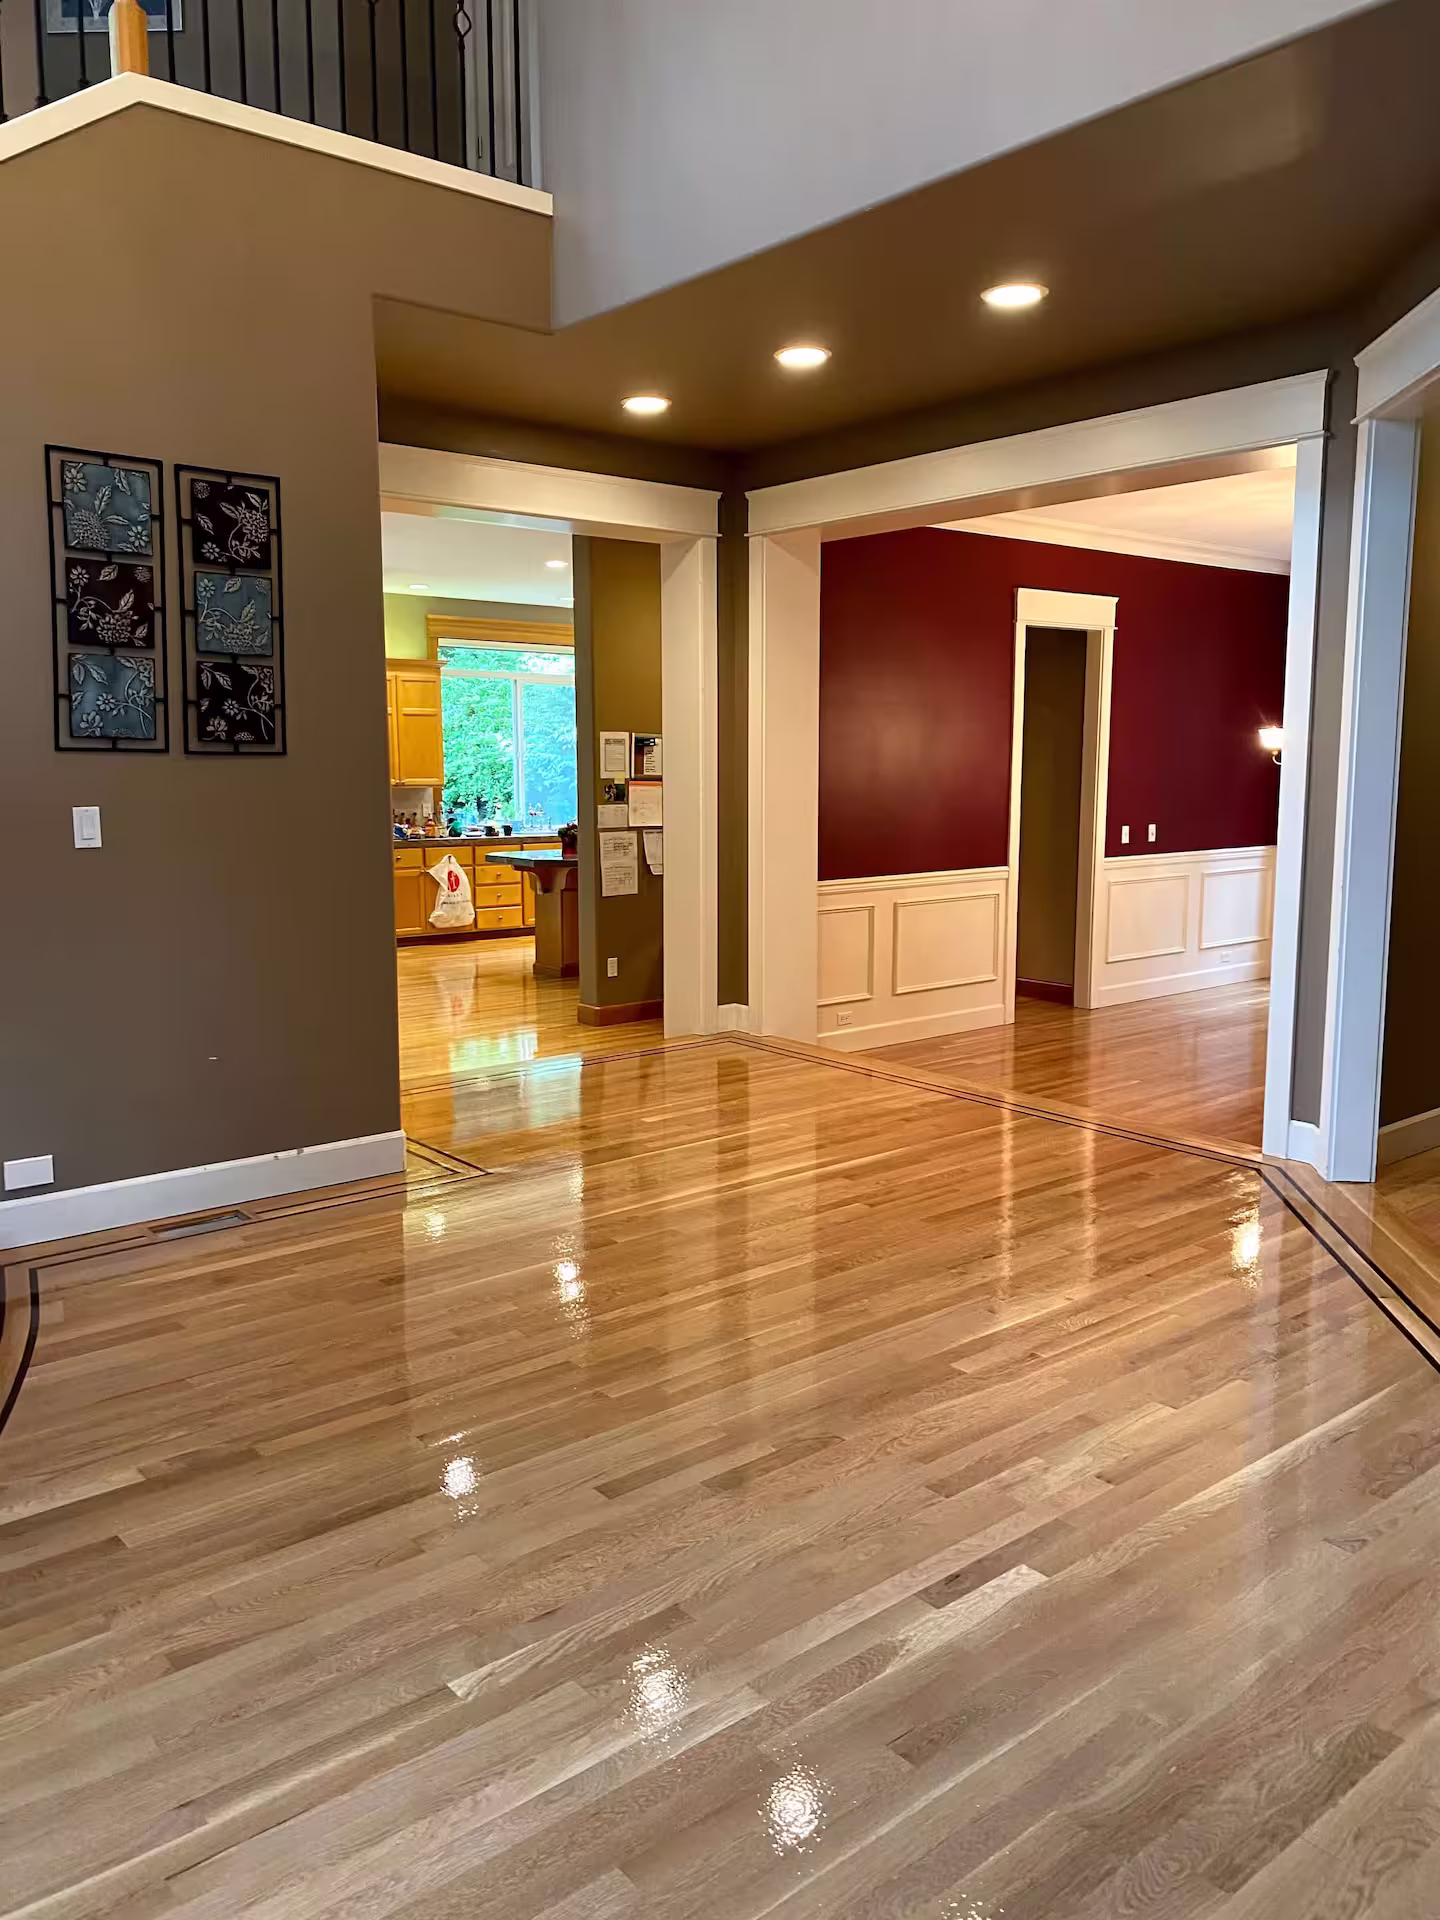
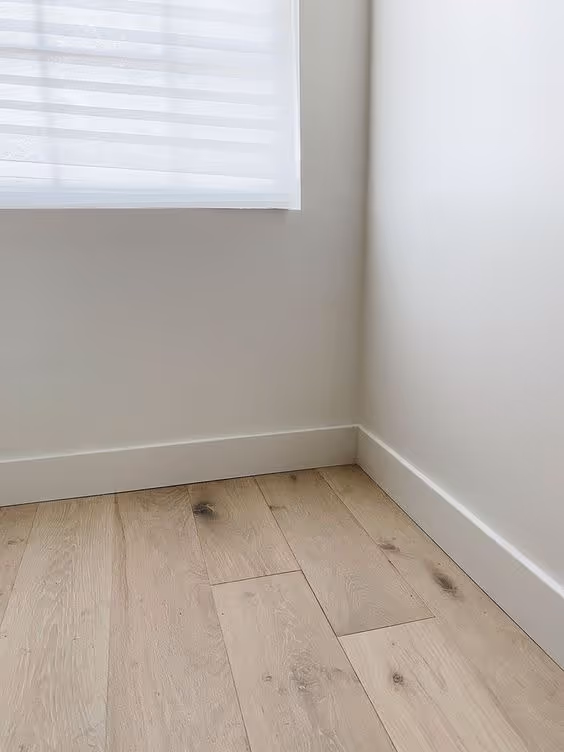
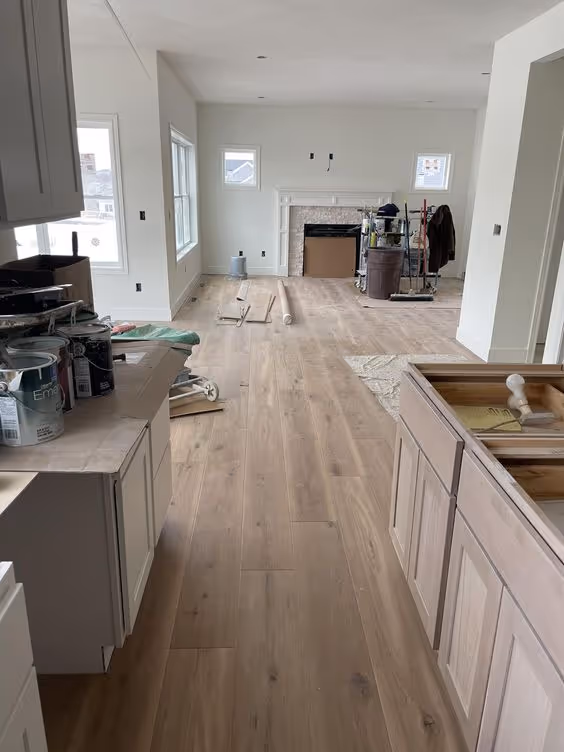
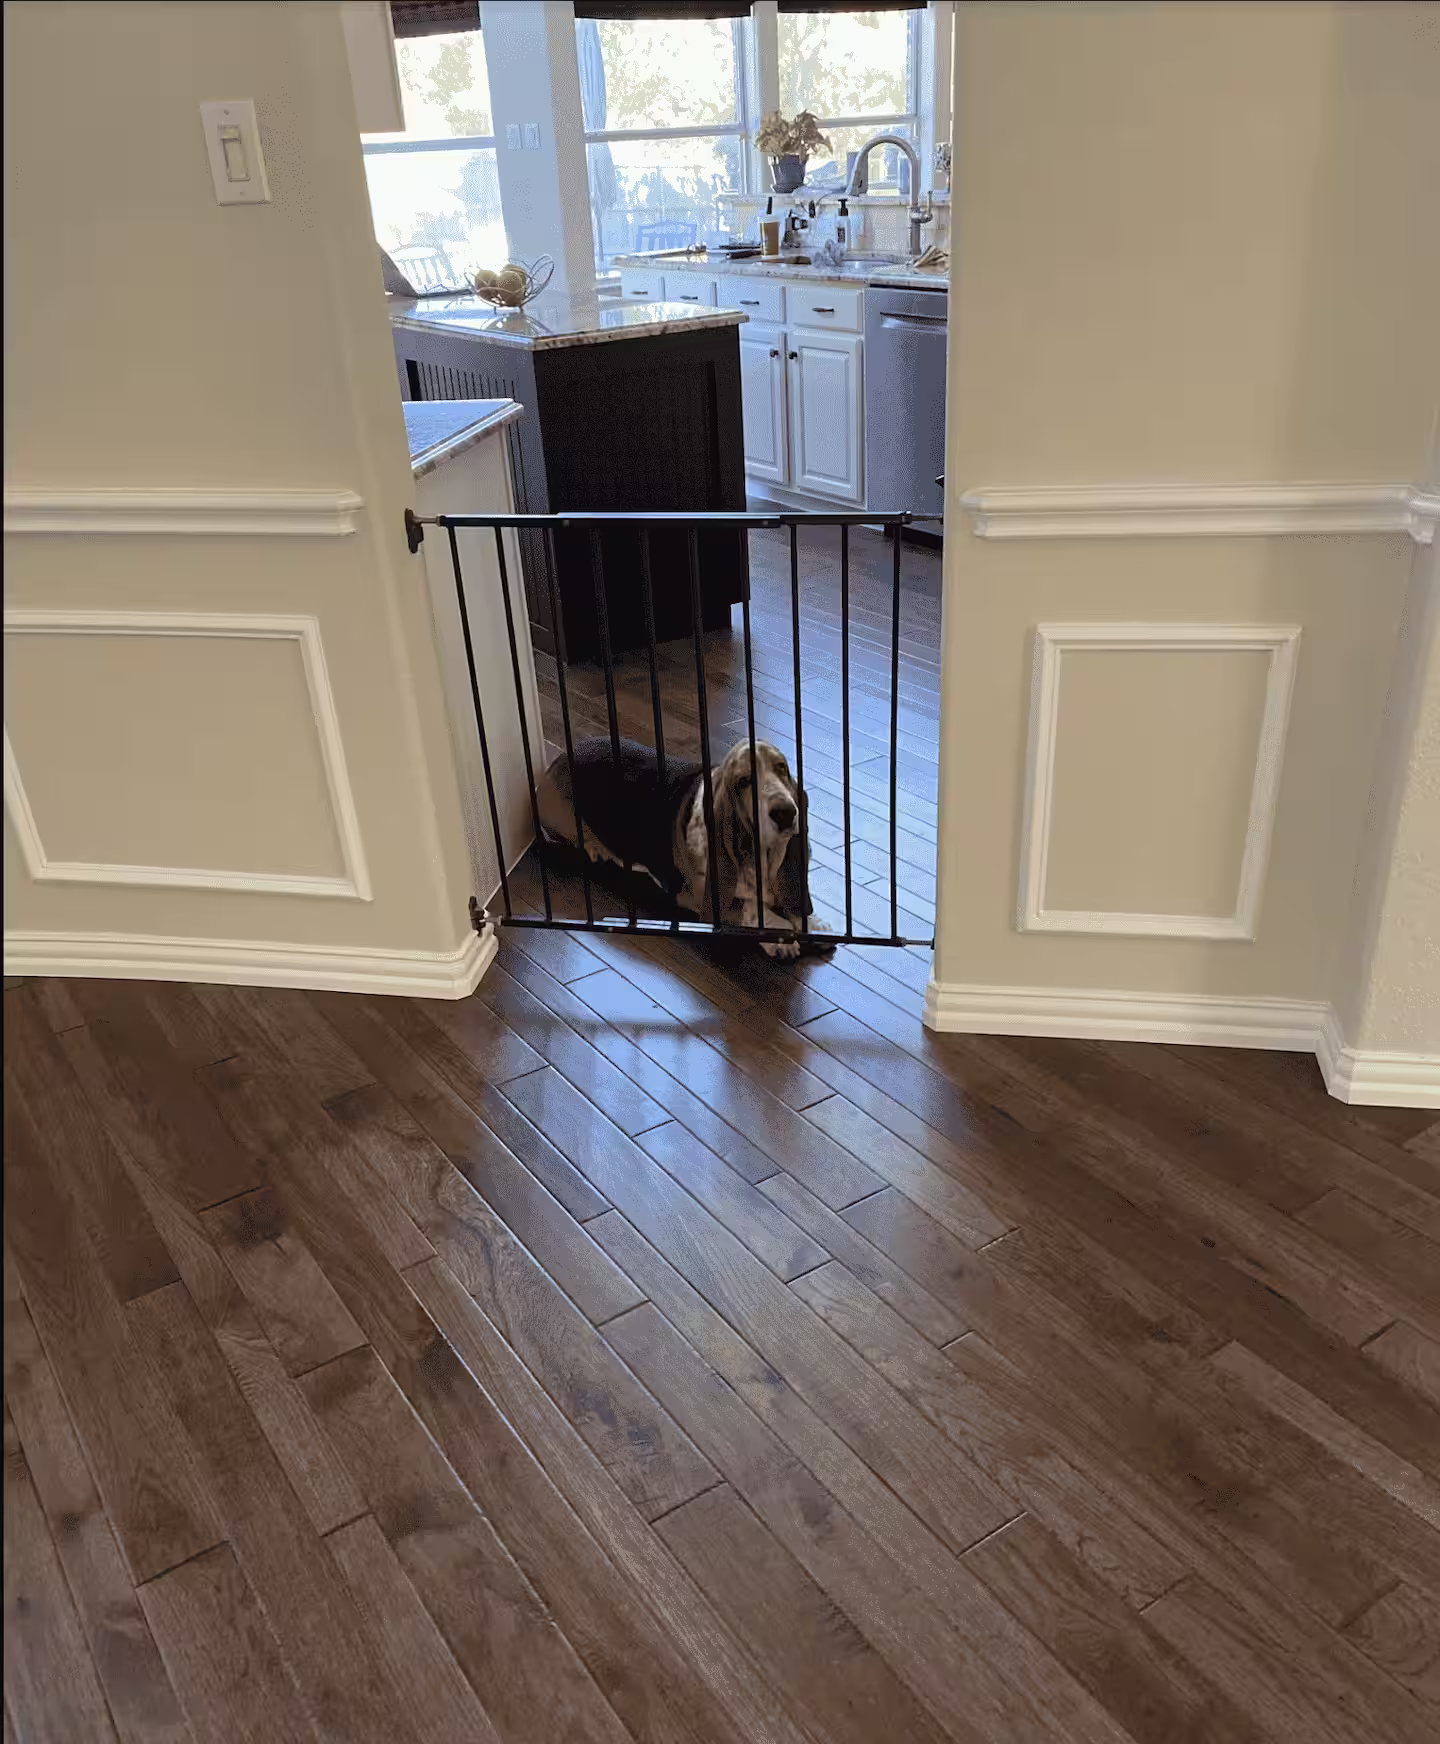
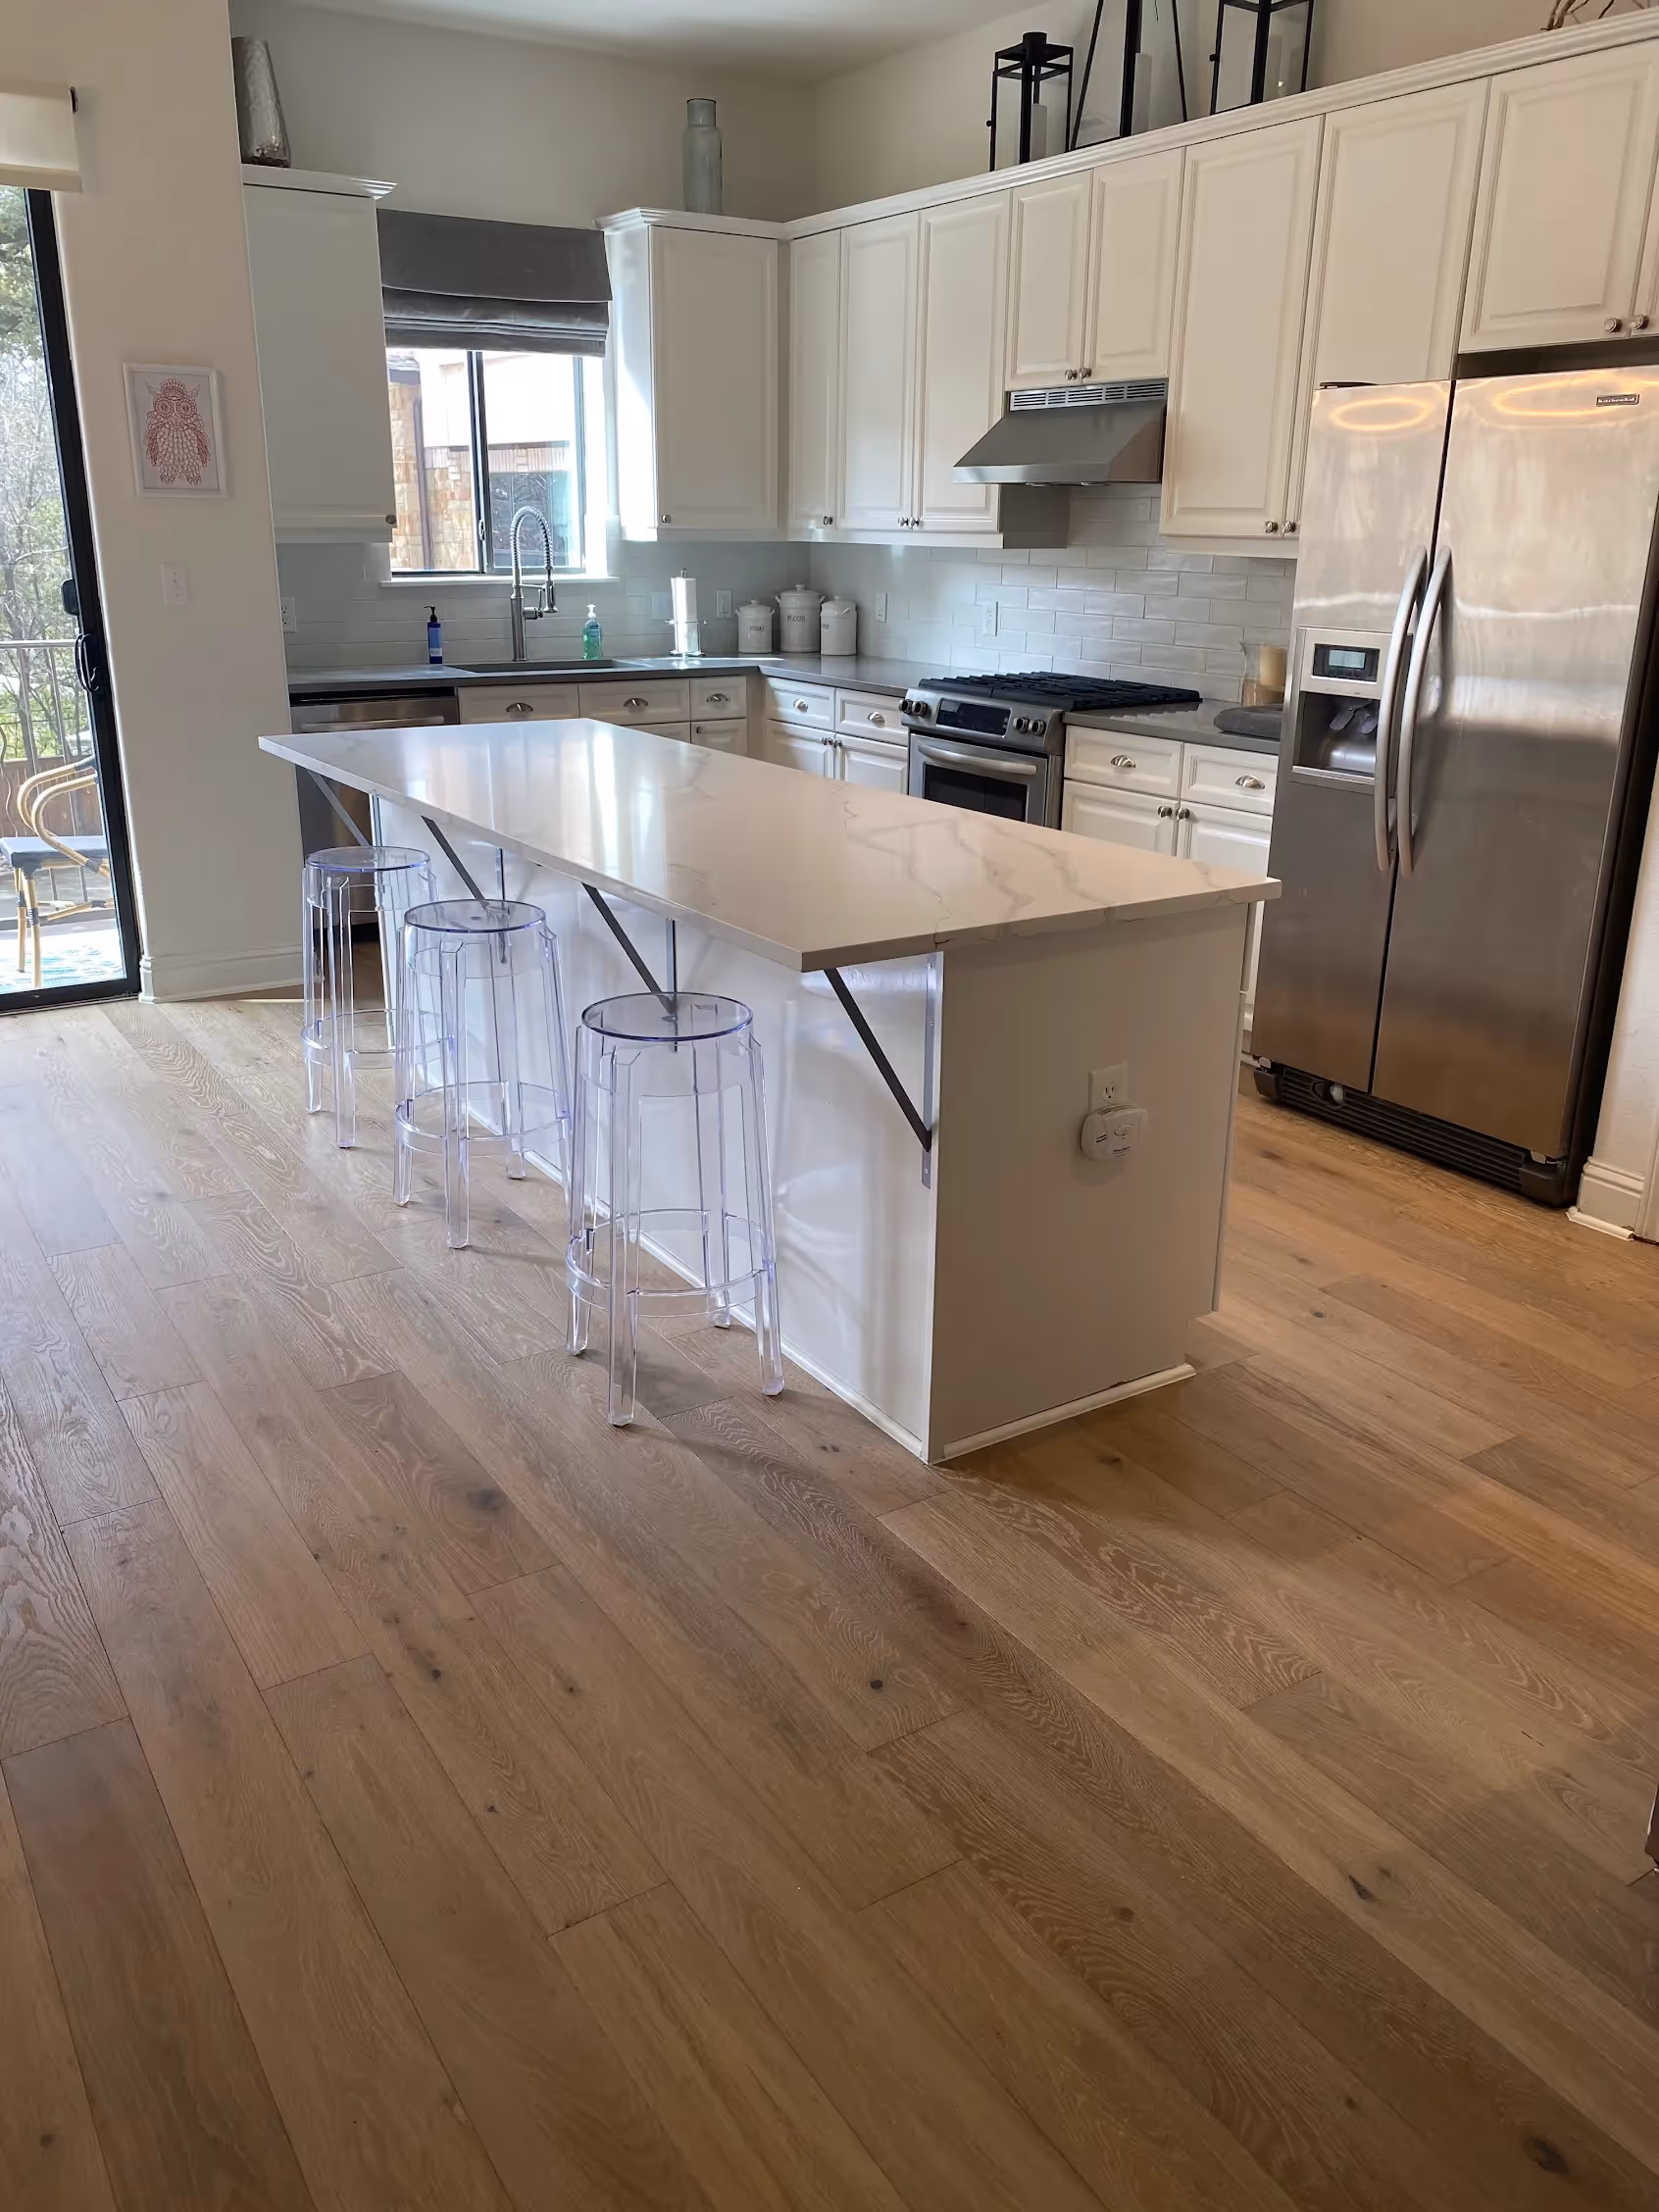
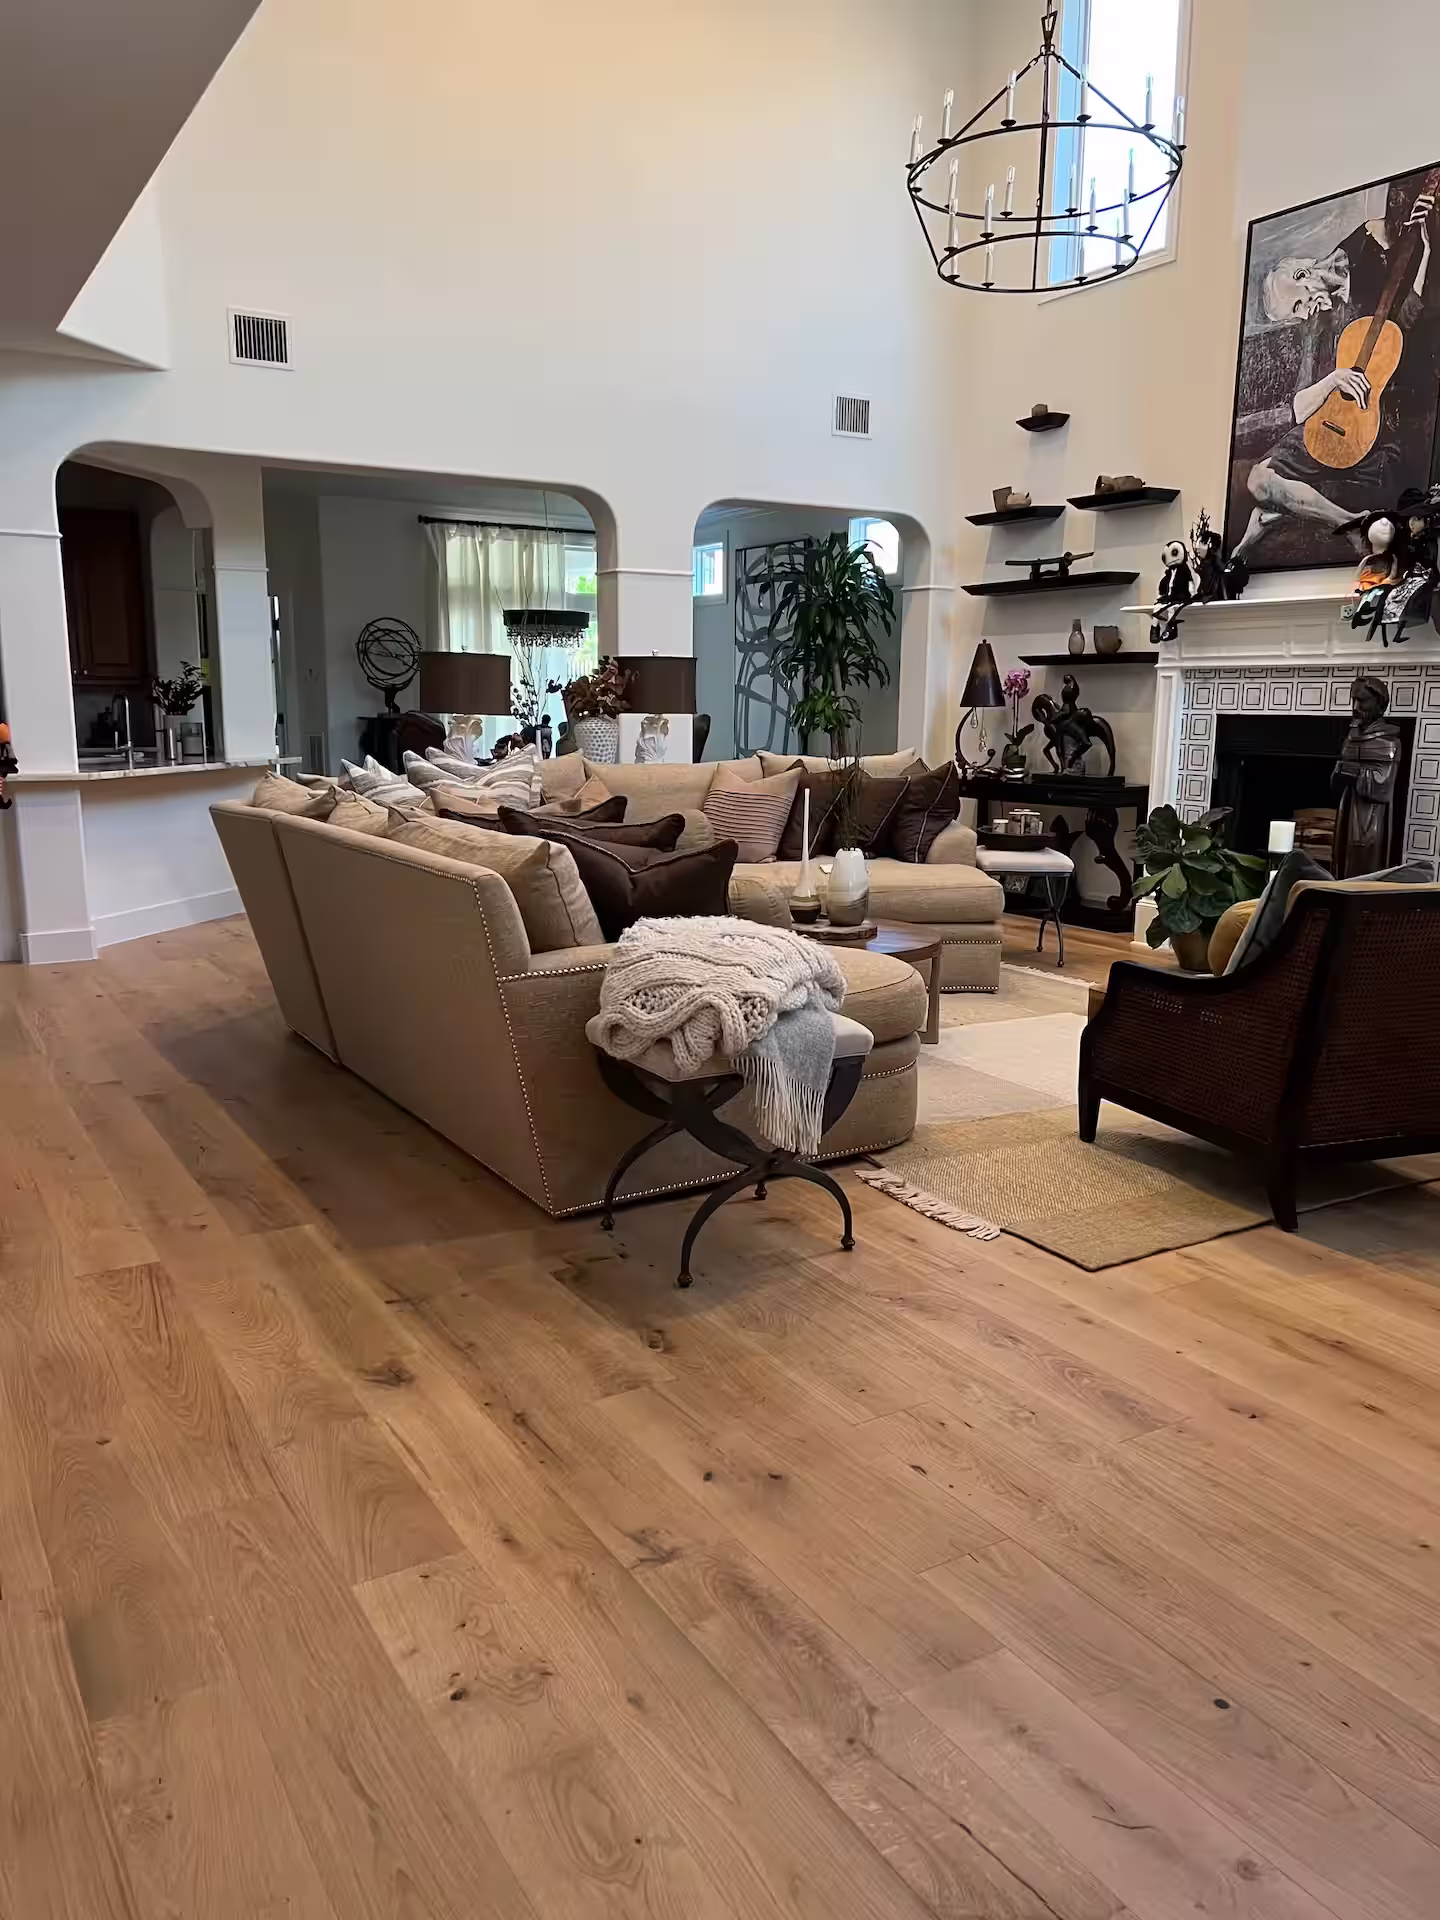
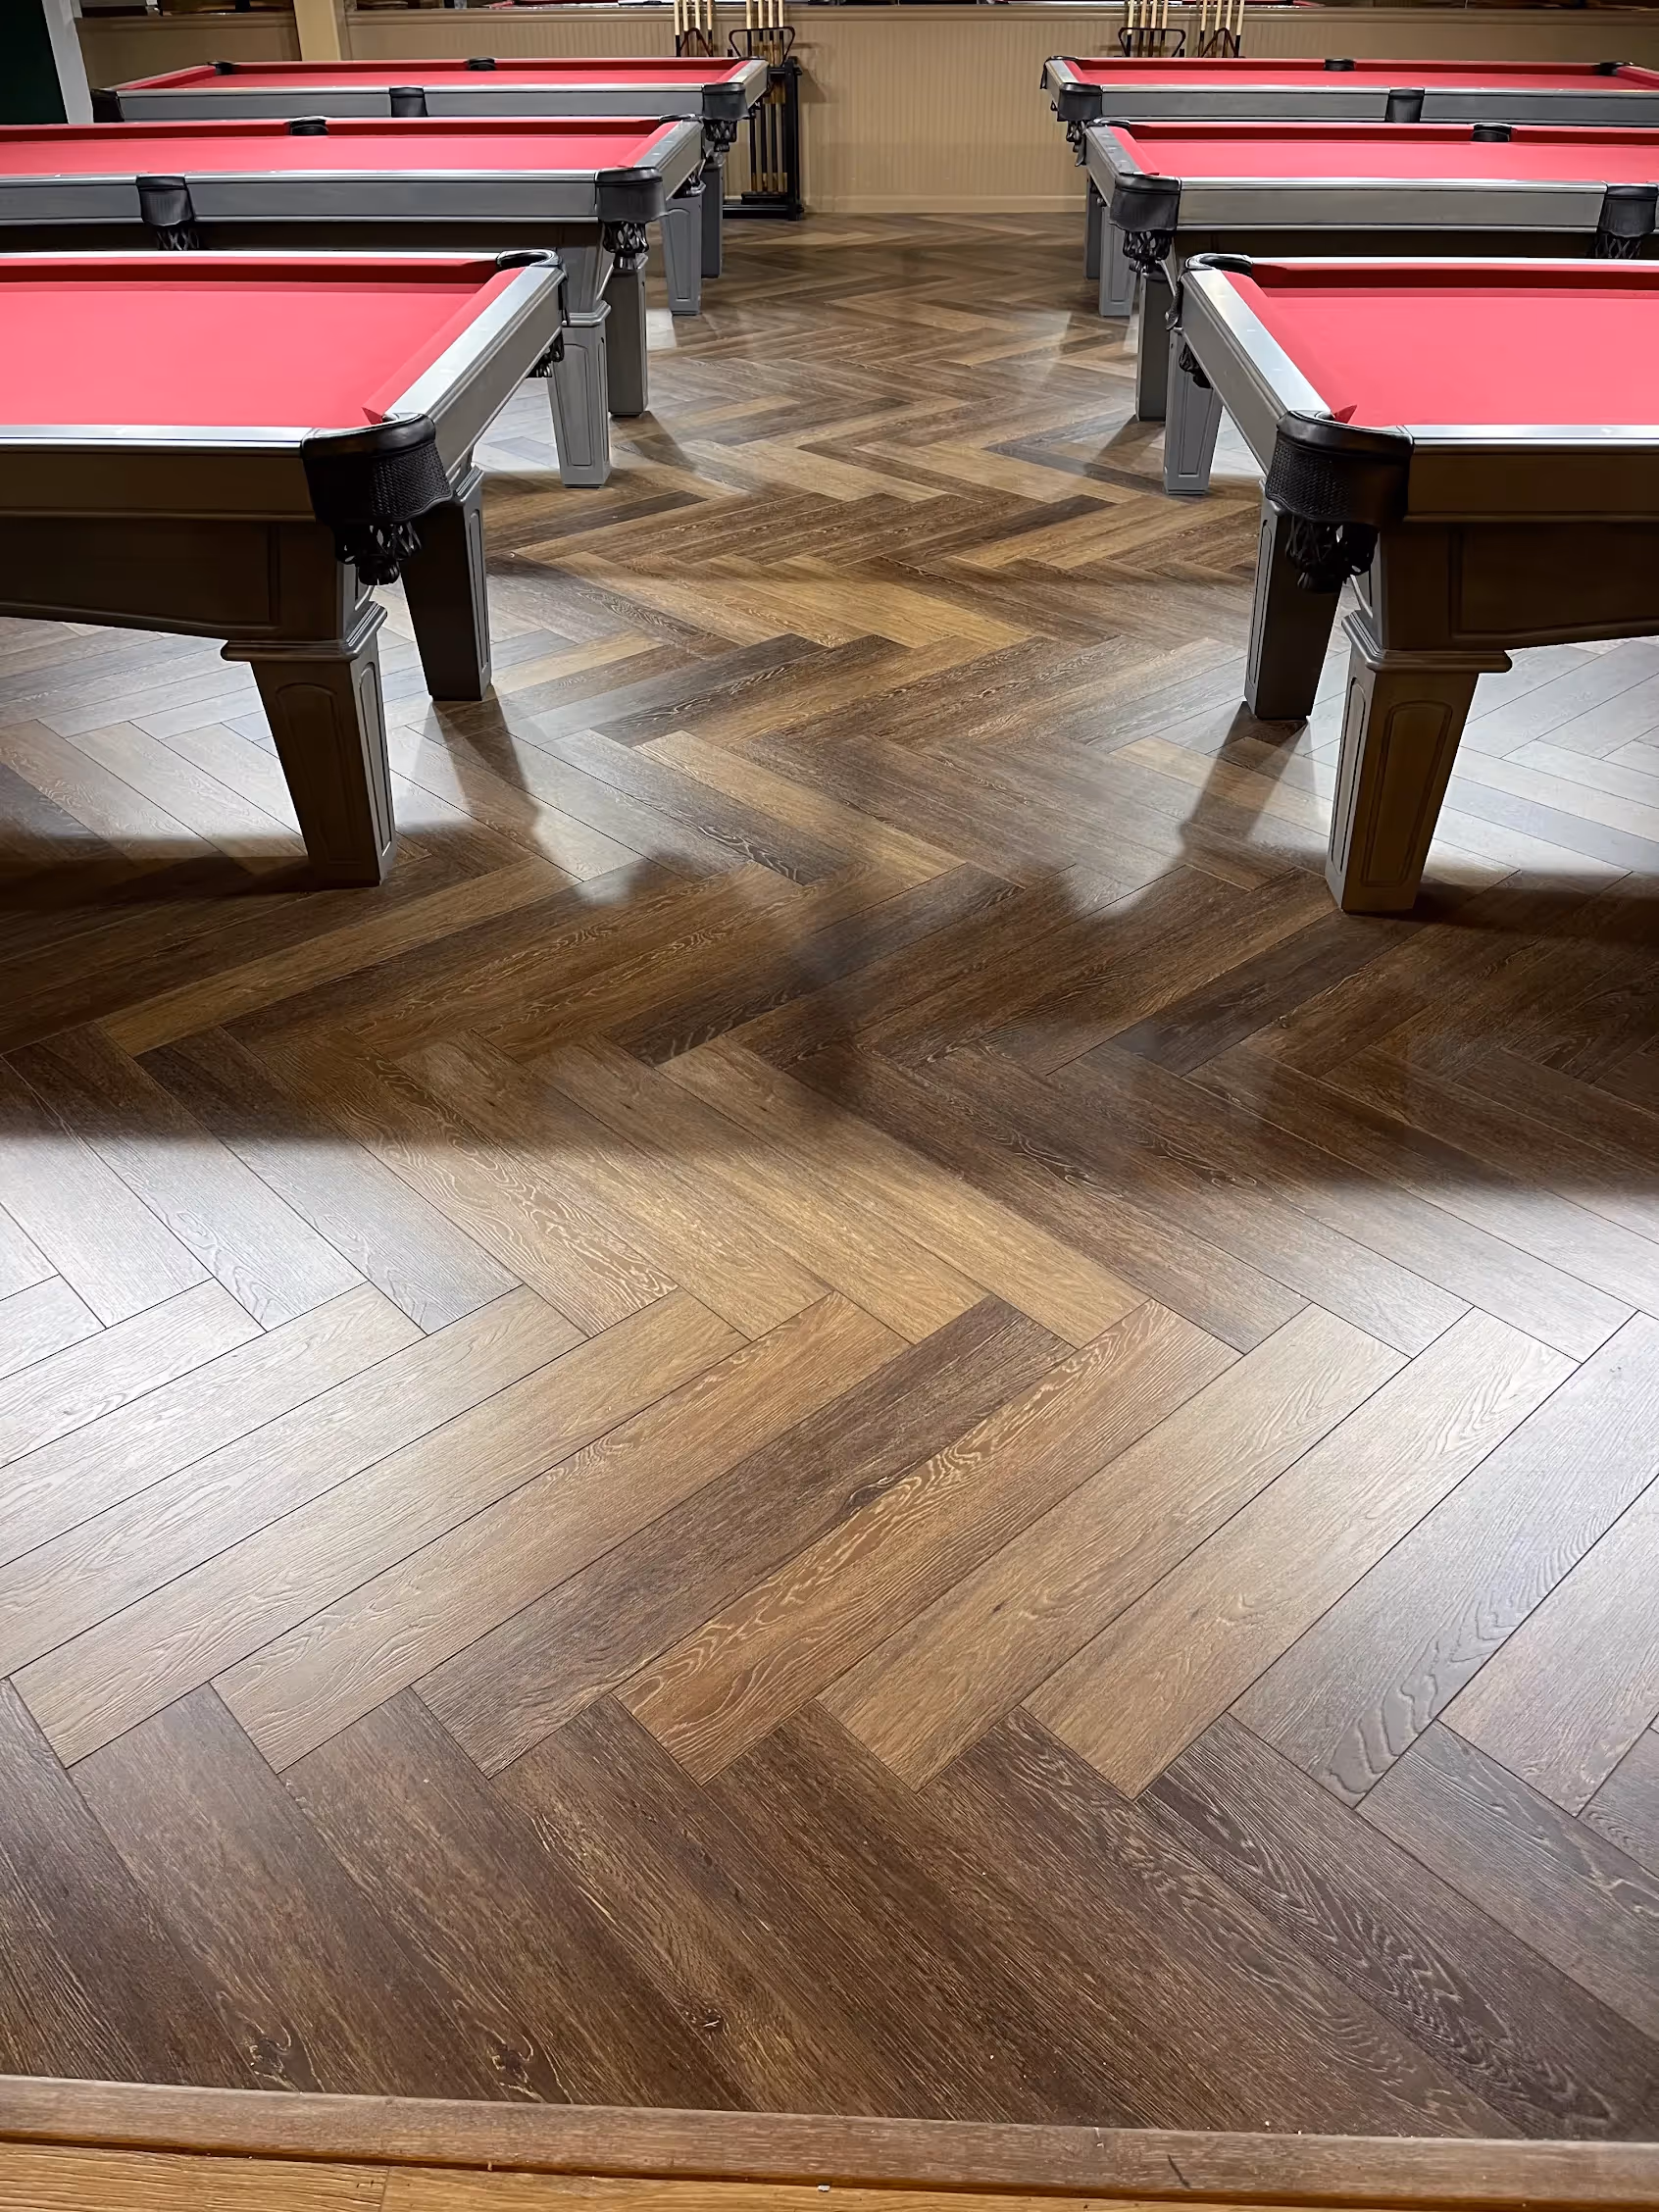
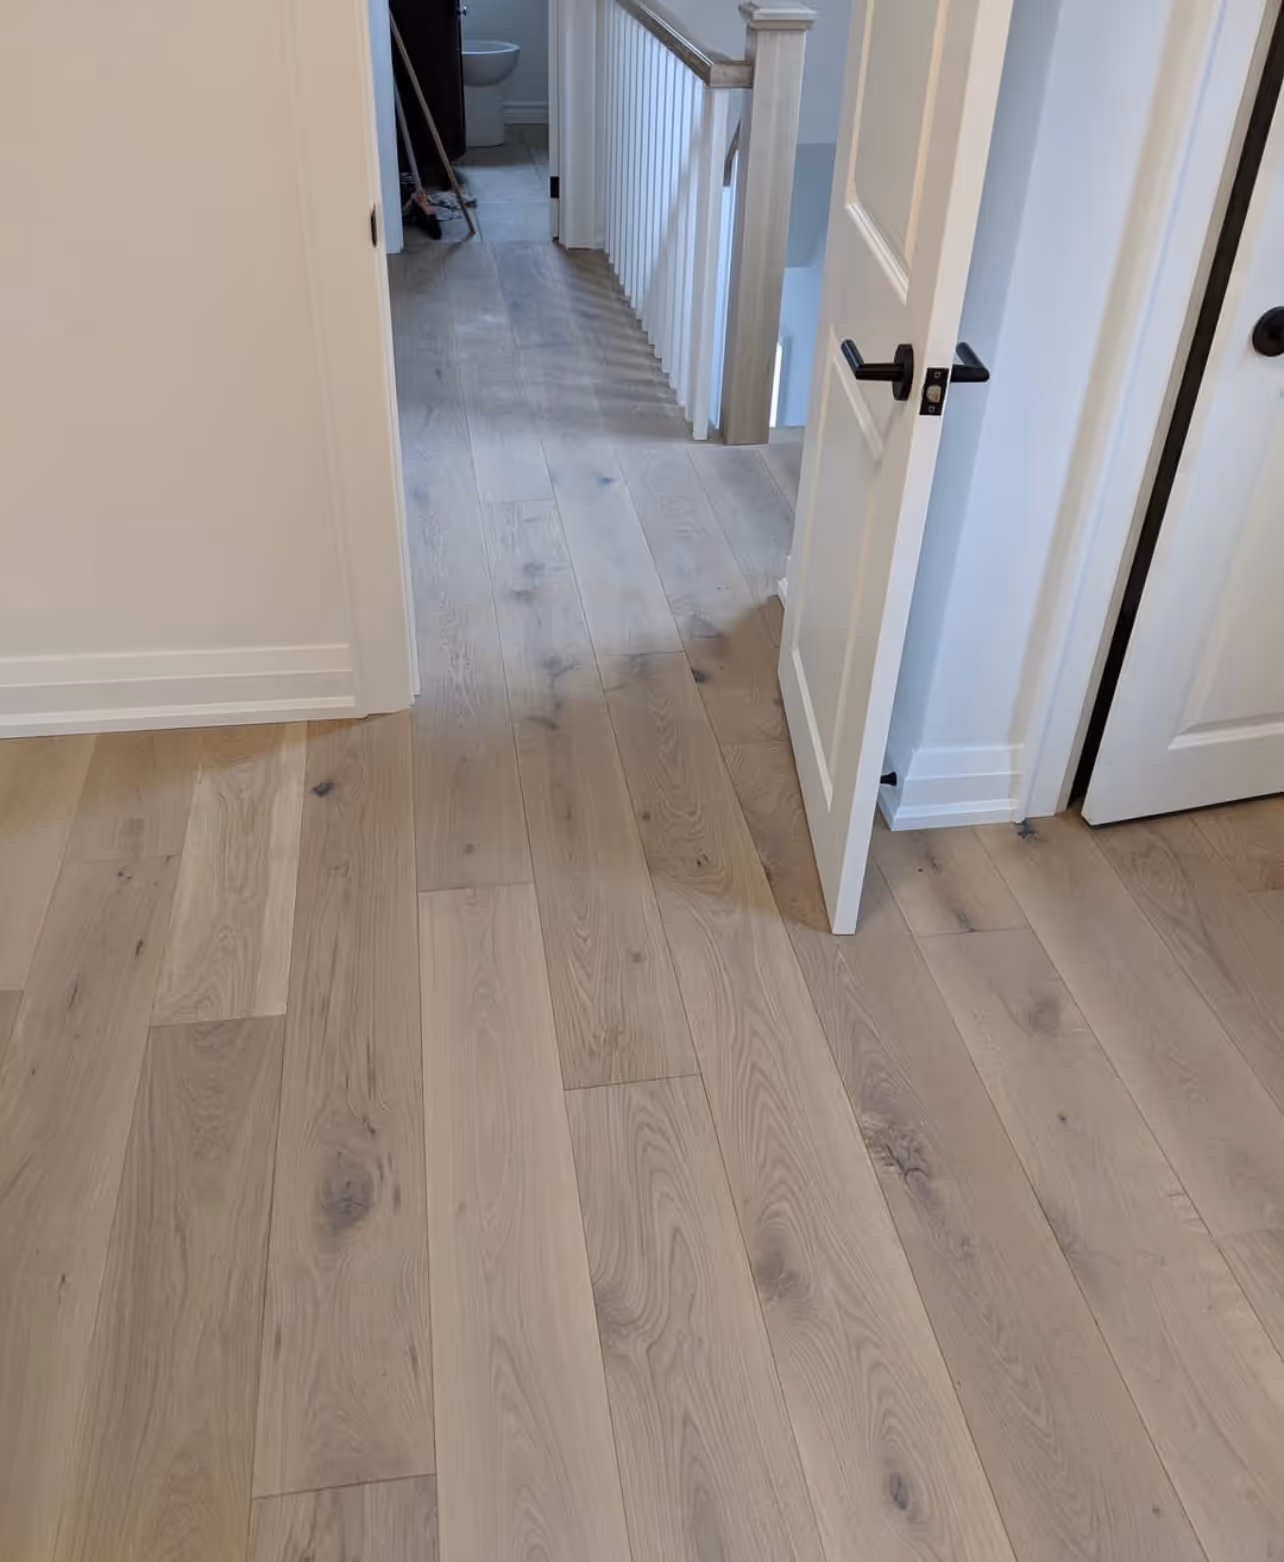
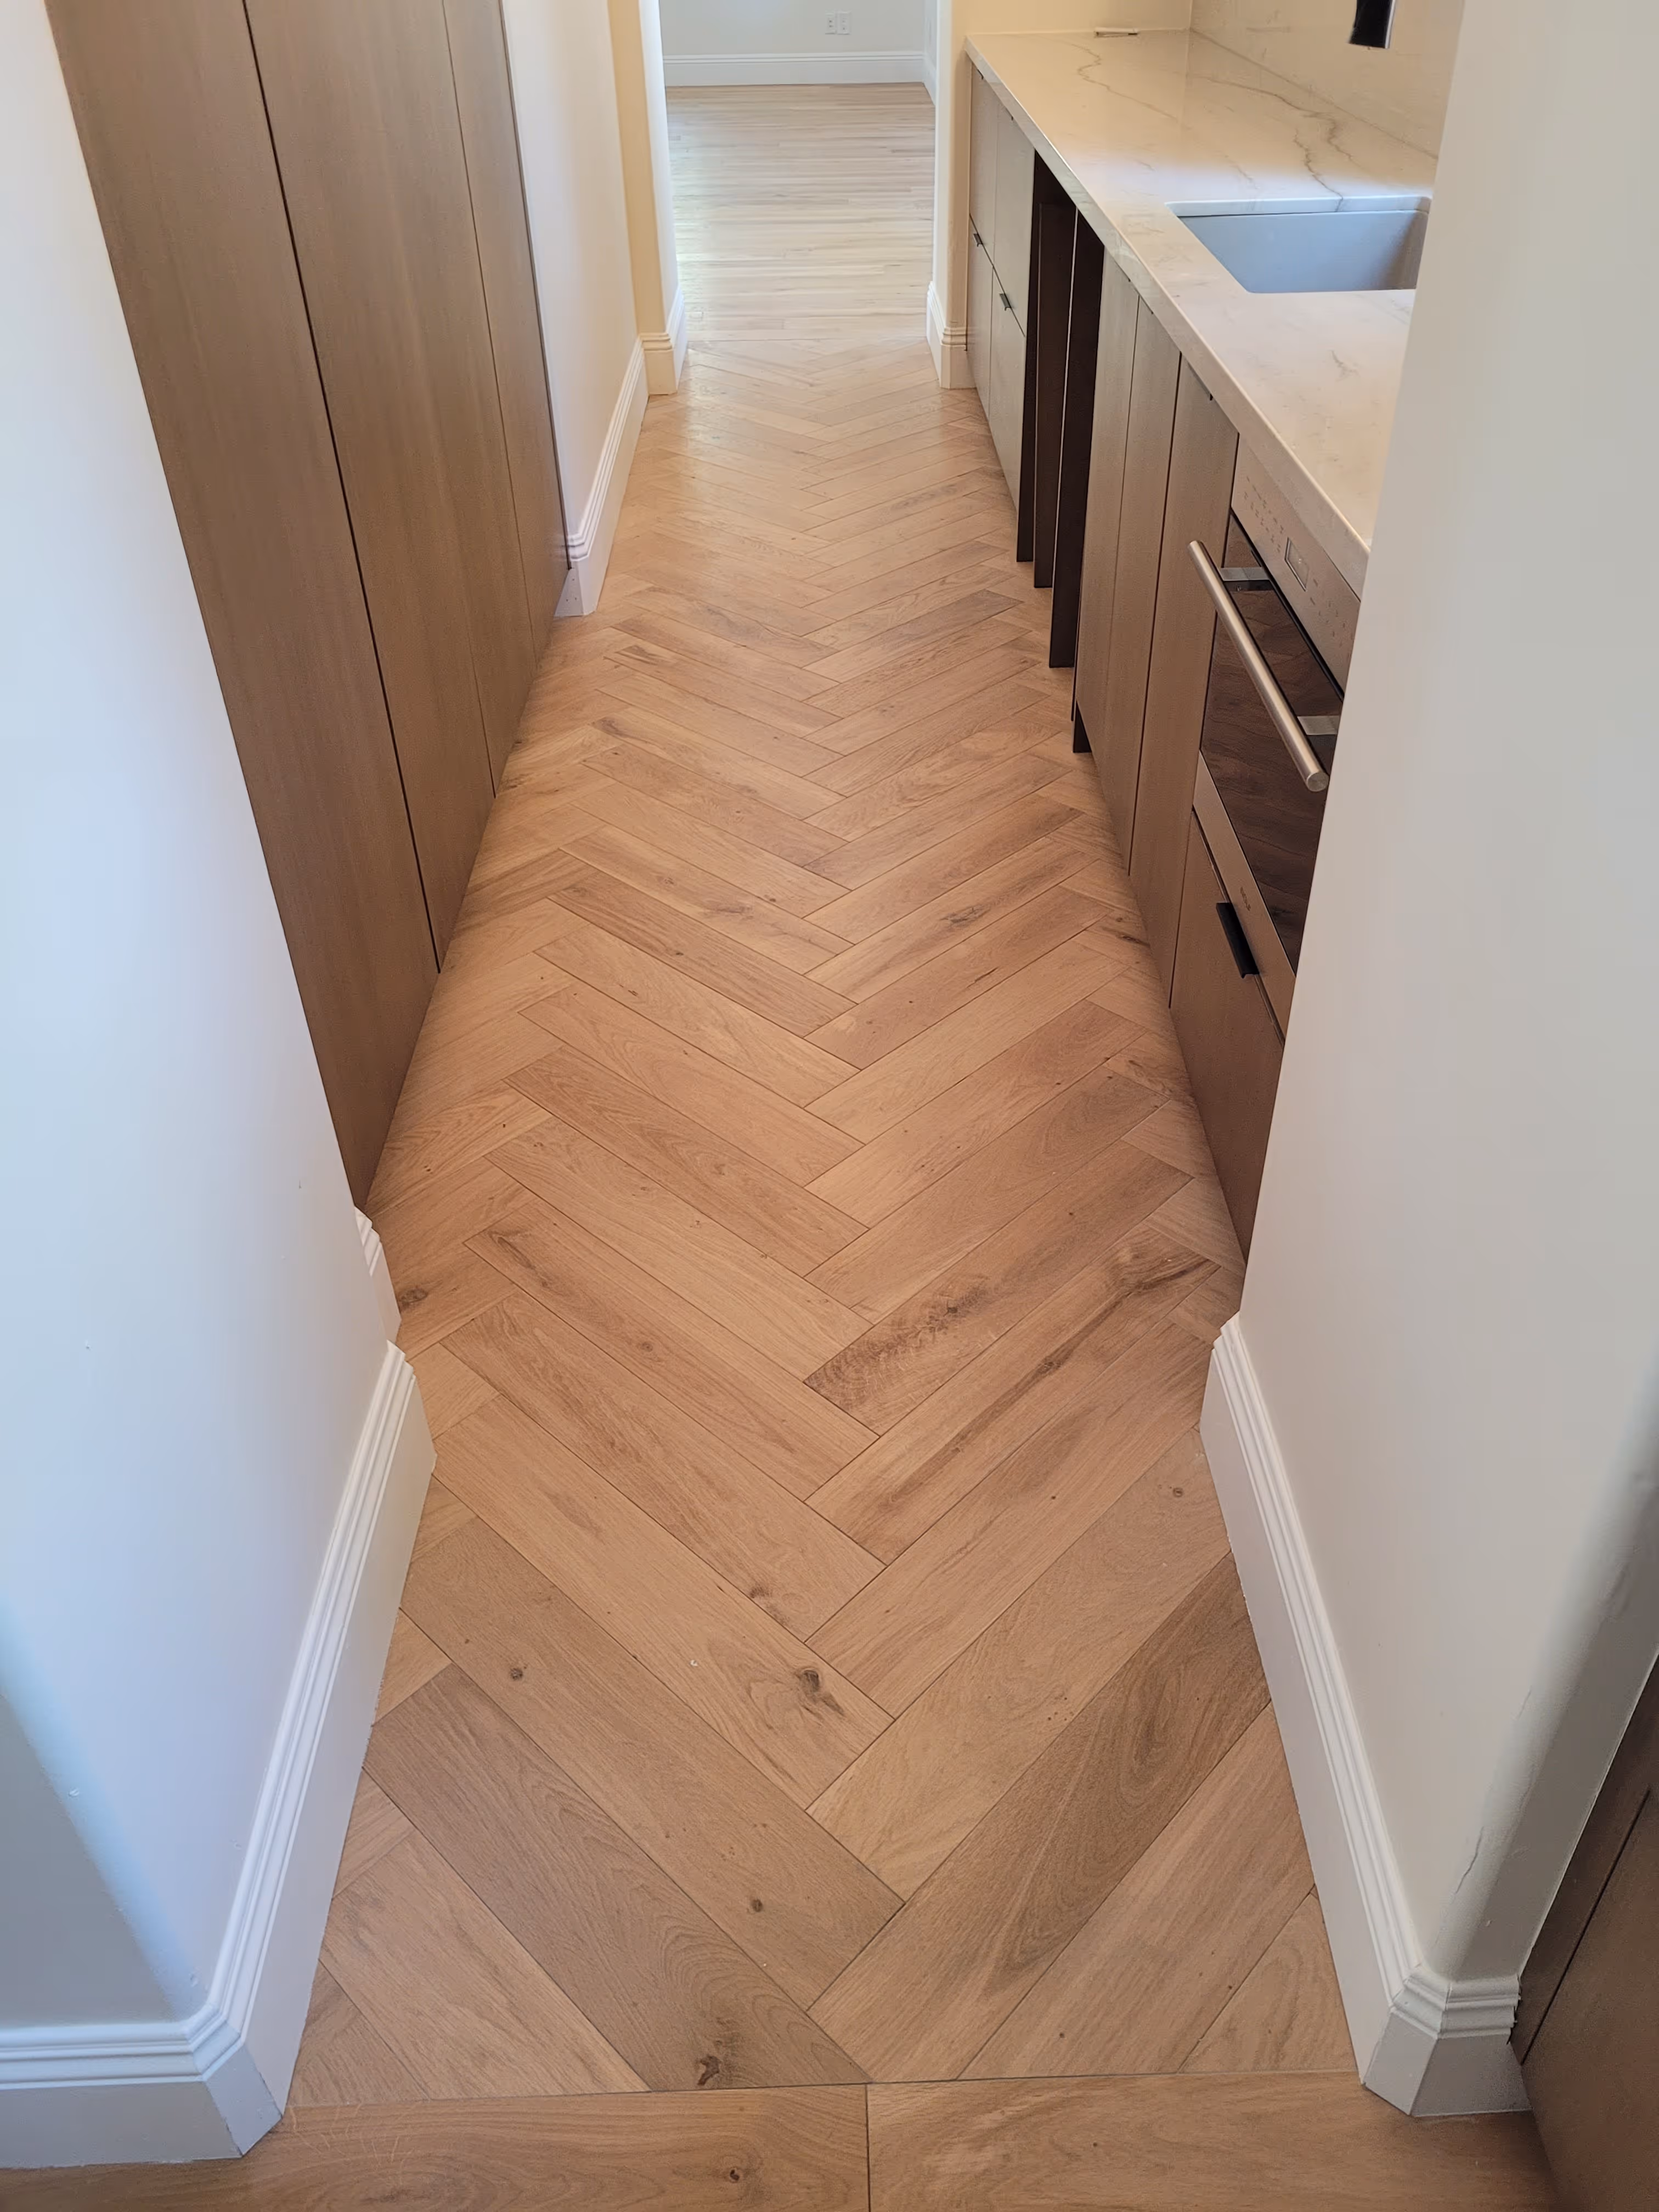
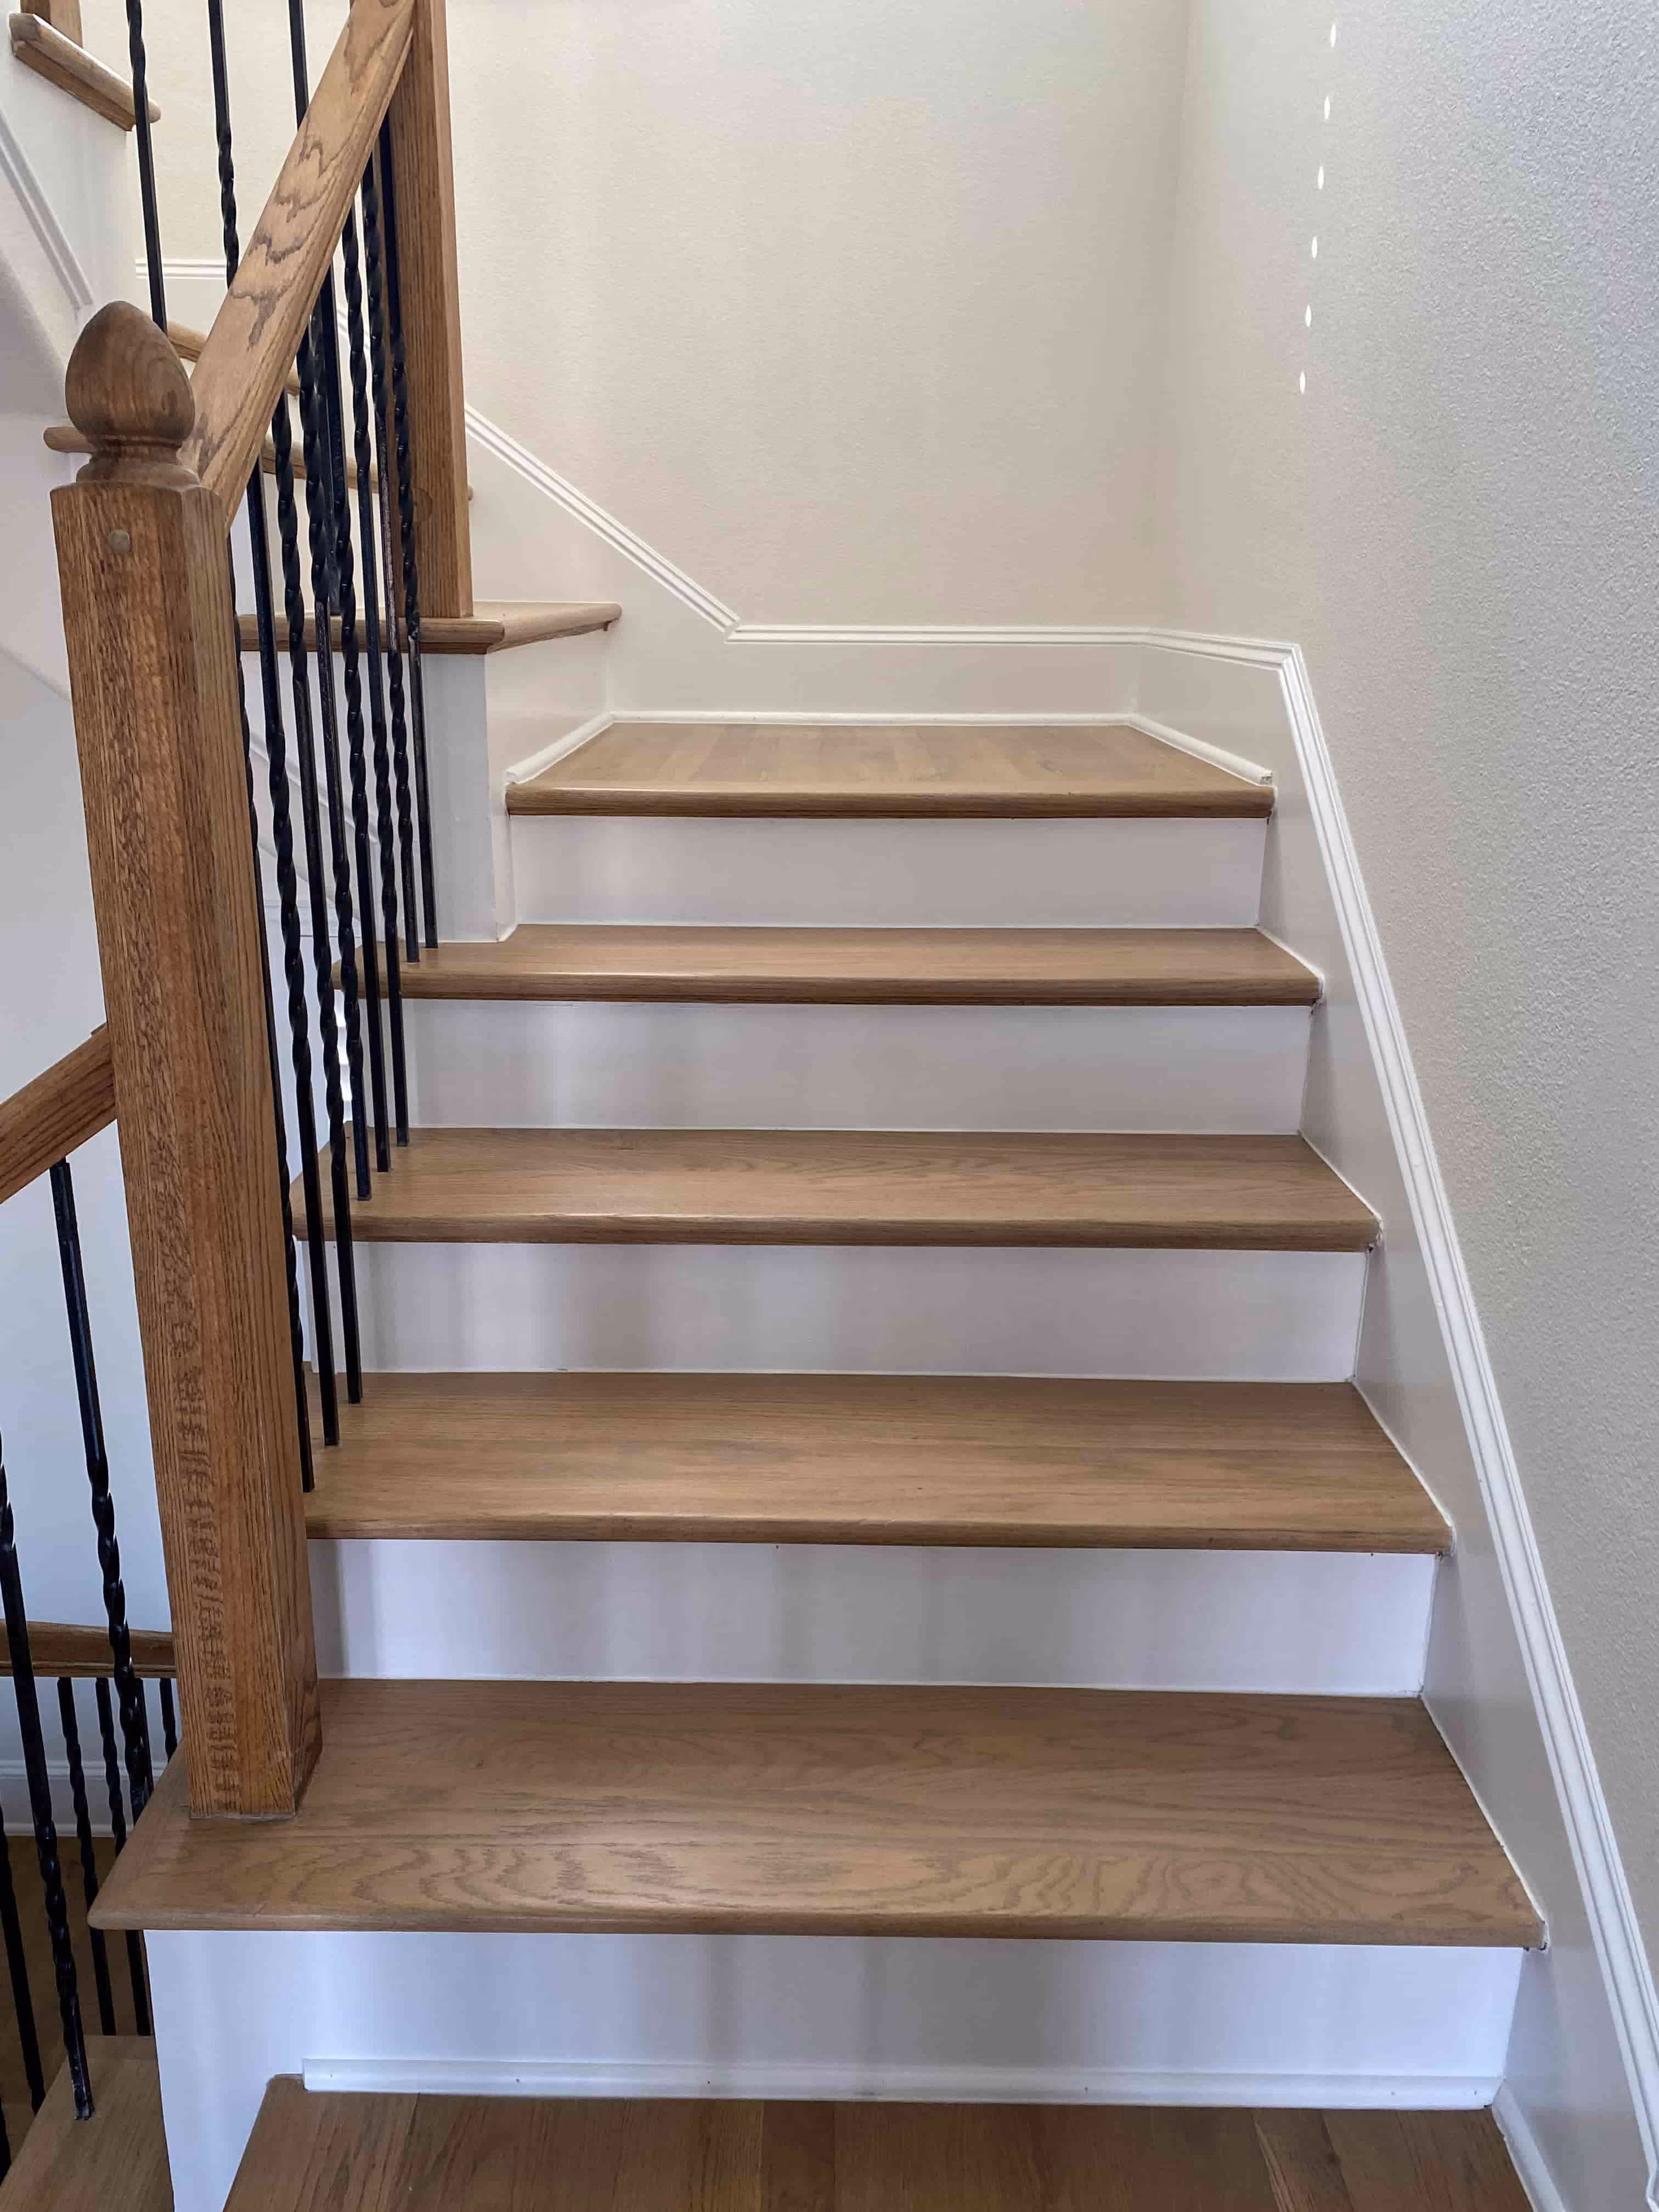
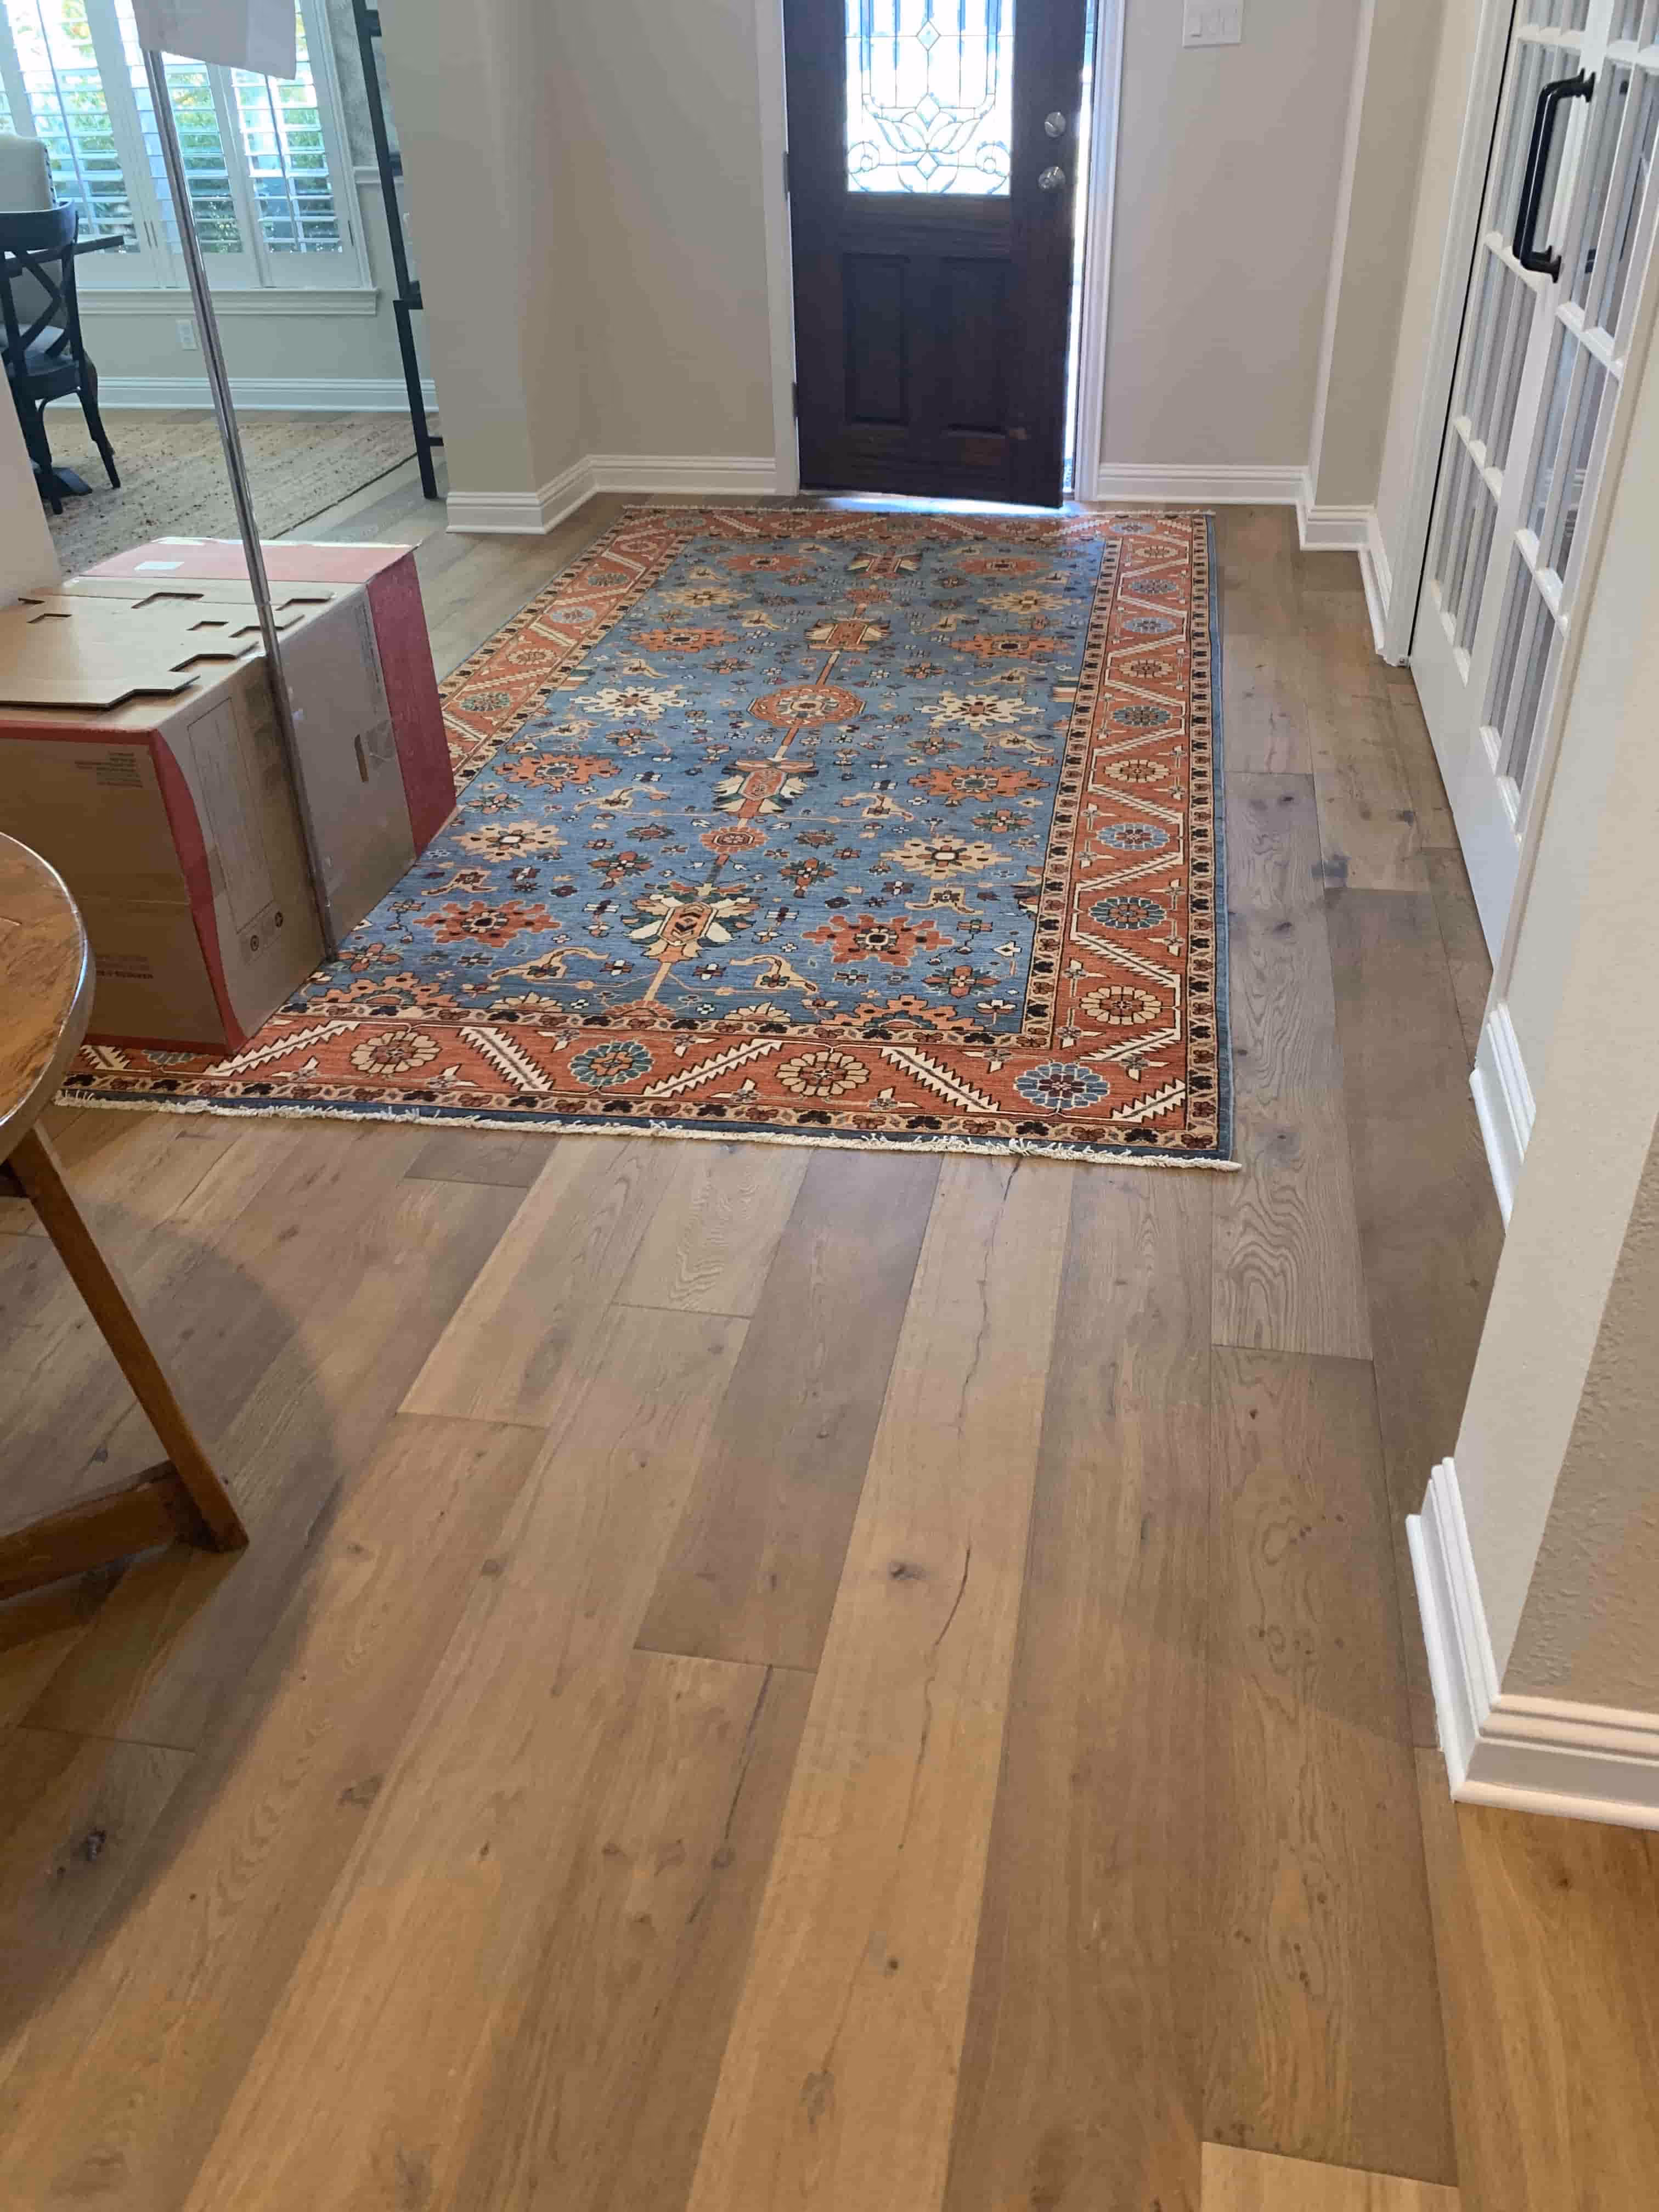
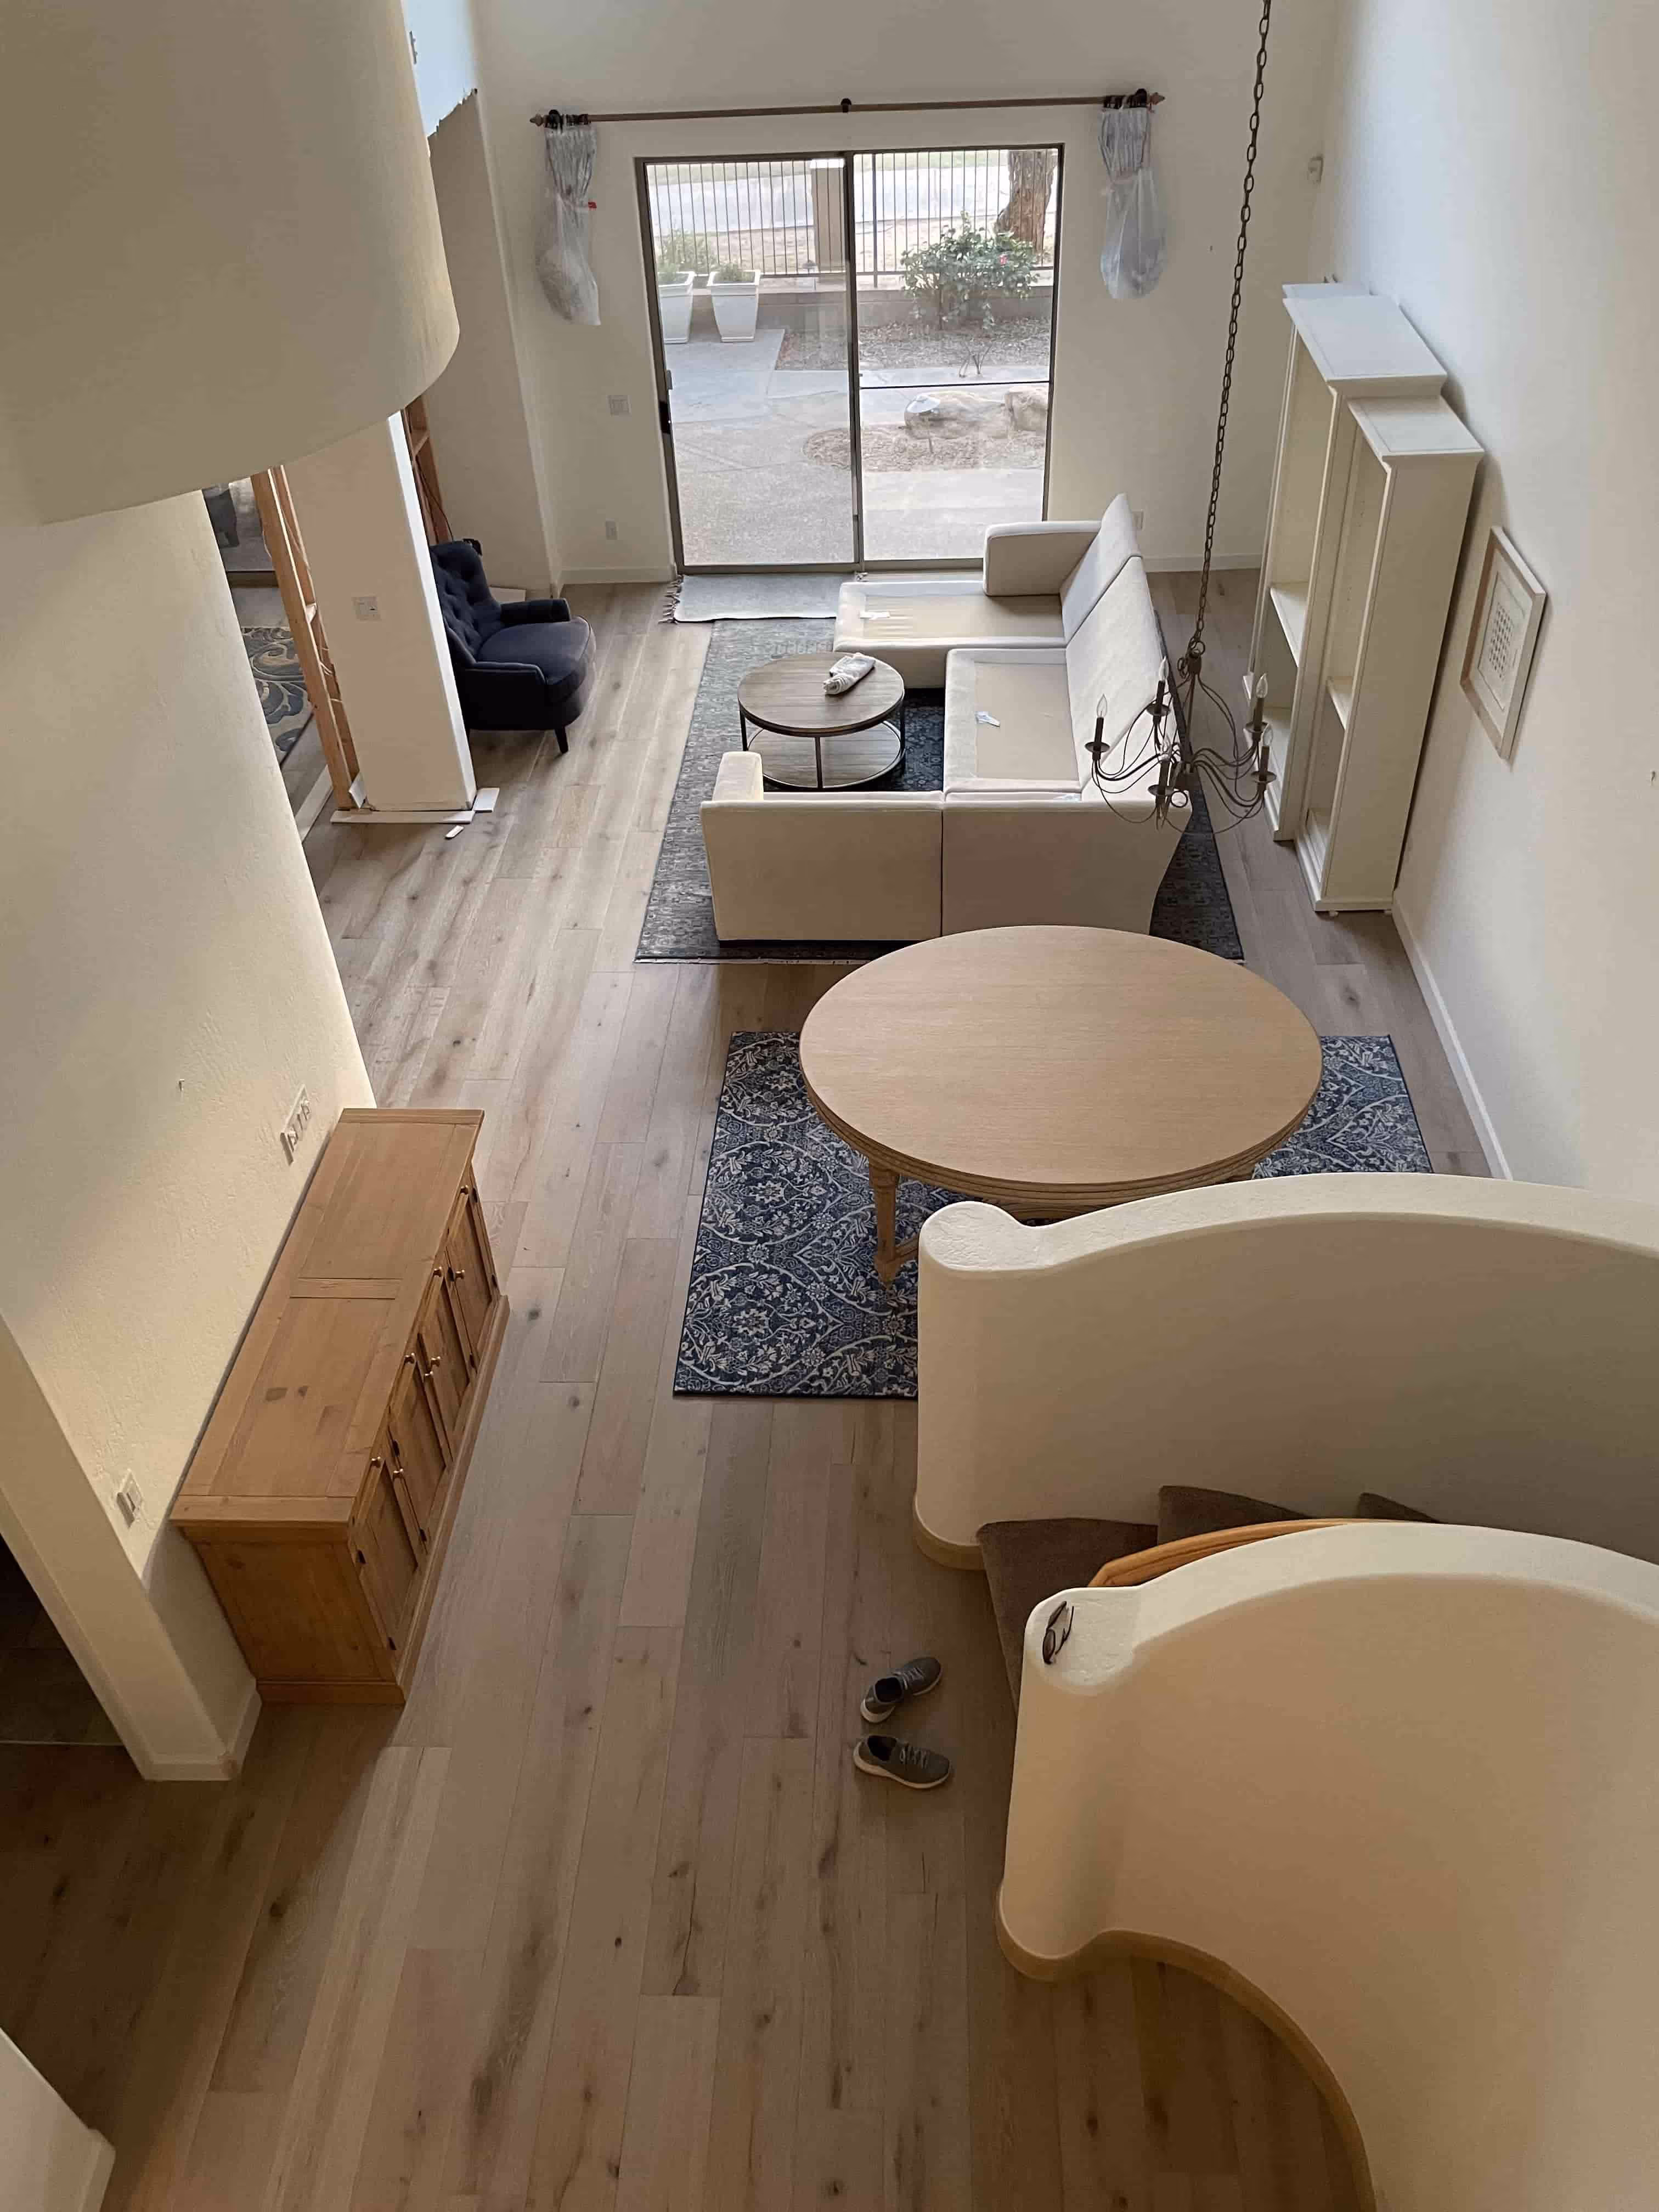
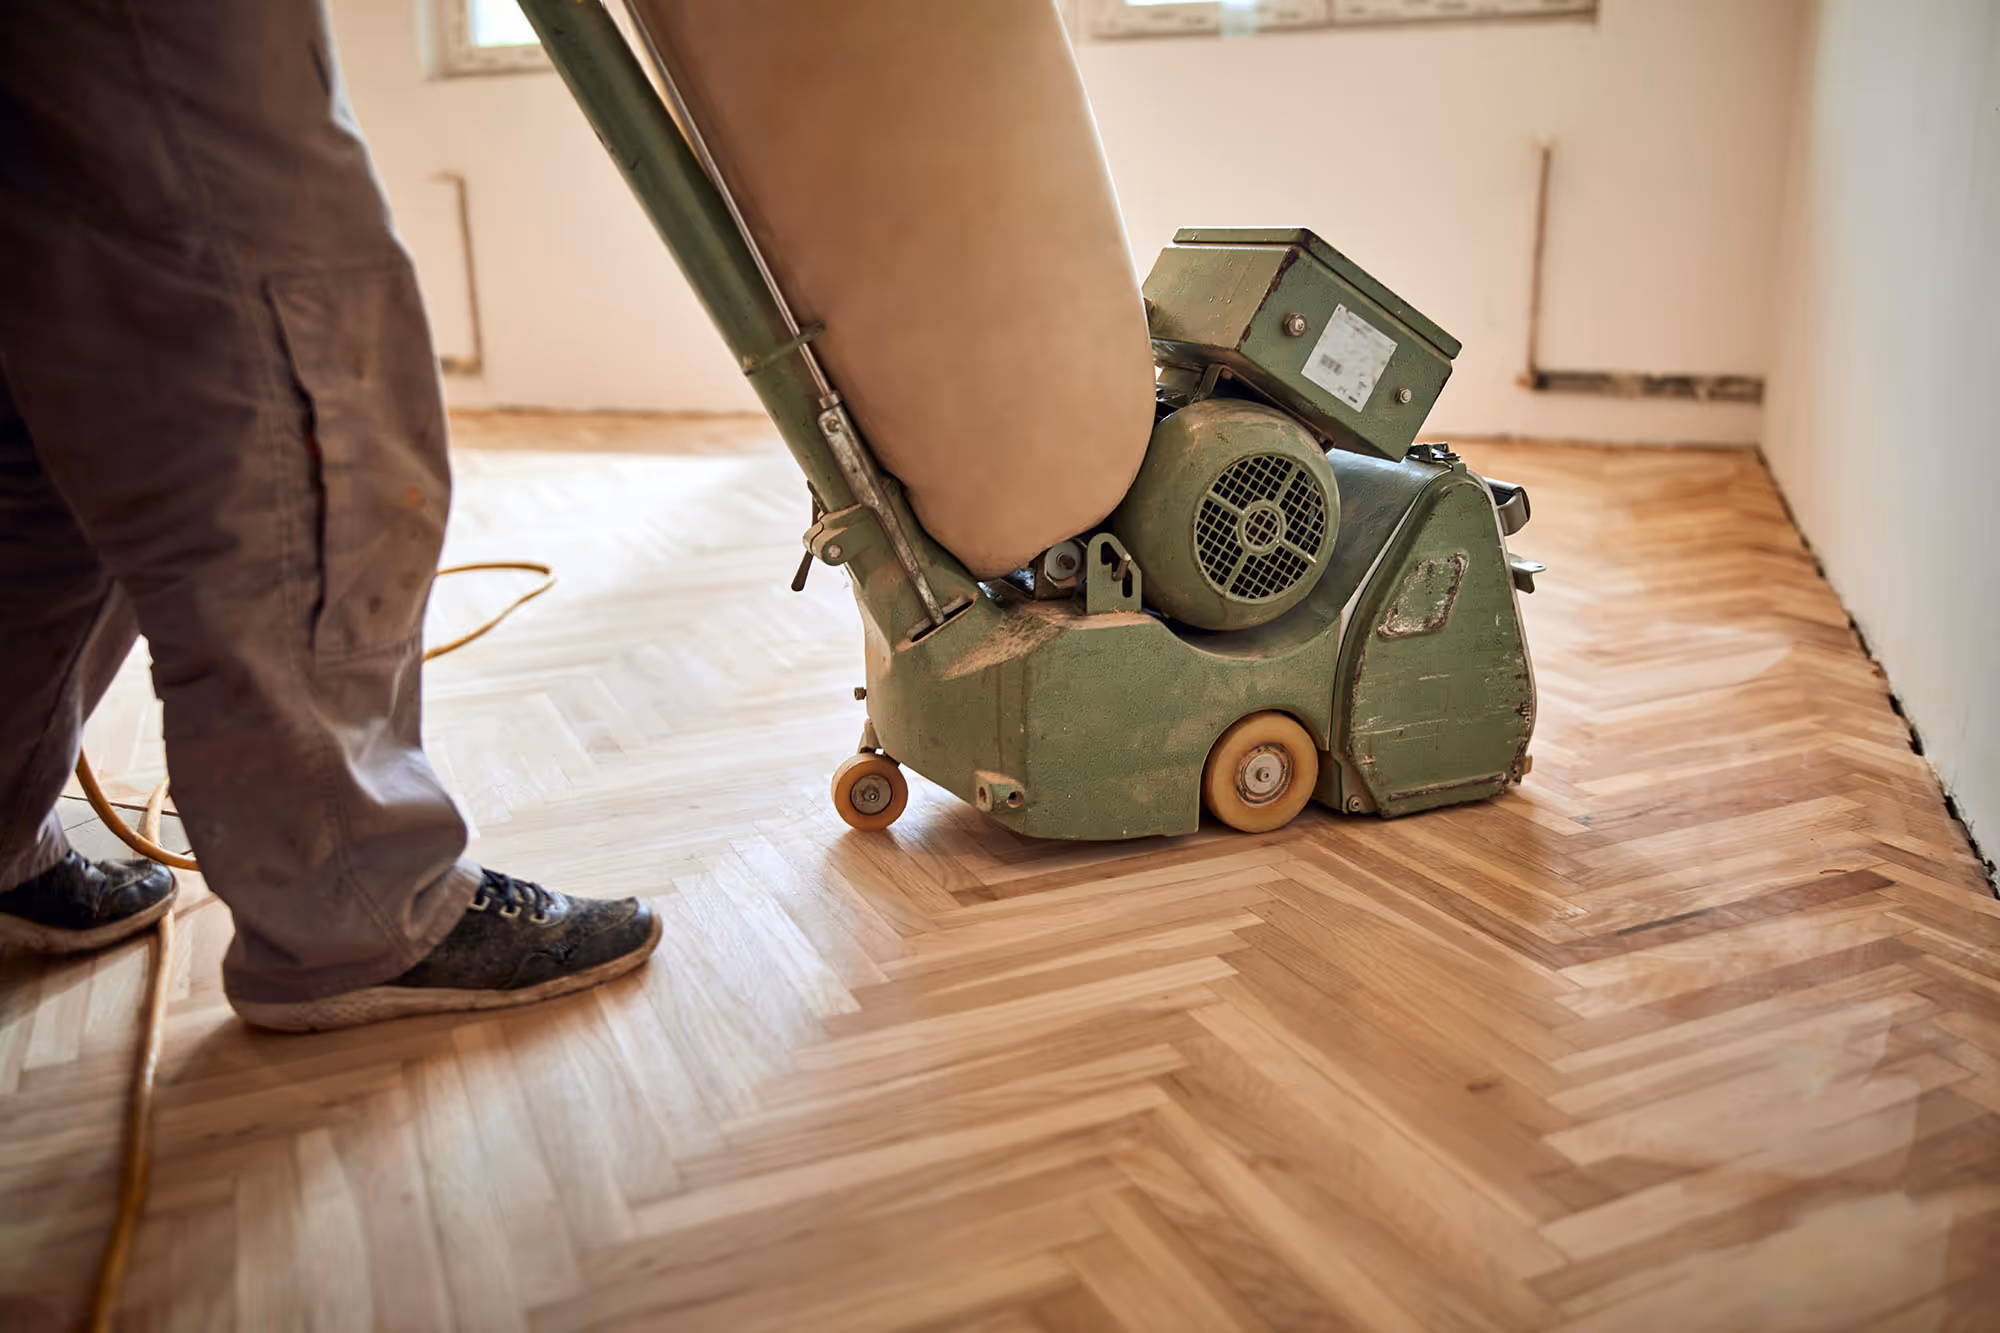
Our Seattle hardwood refinishing service brings back their natural beauty—dustless, stress-free, and built to last.

Our Seattle hardwood refinishing service brings back their natural beauty—dustless, stress-free, and built to last.


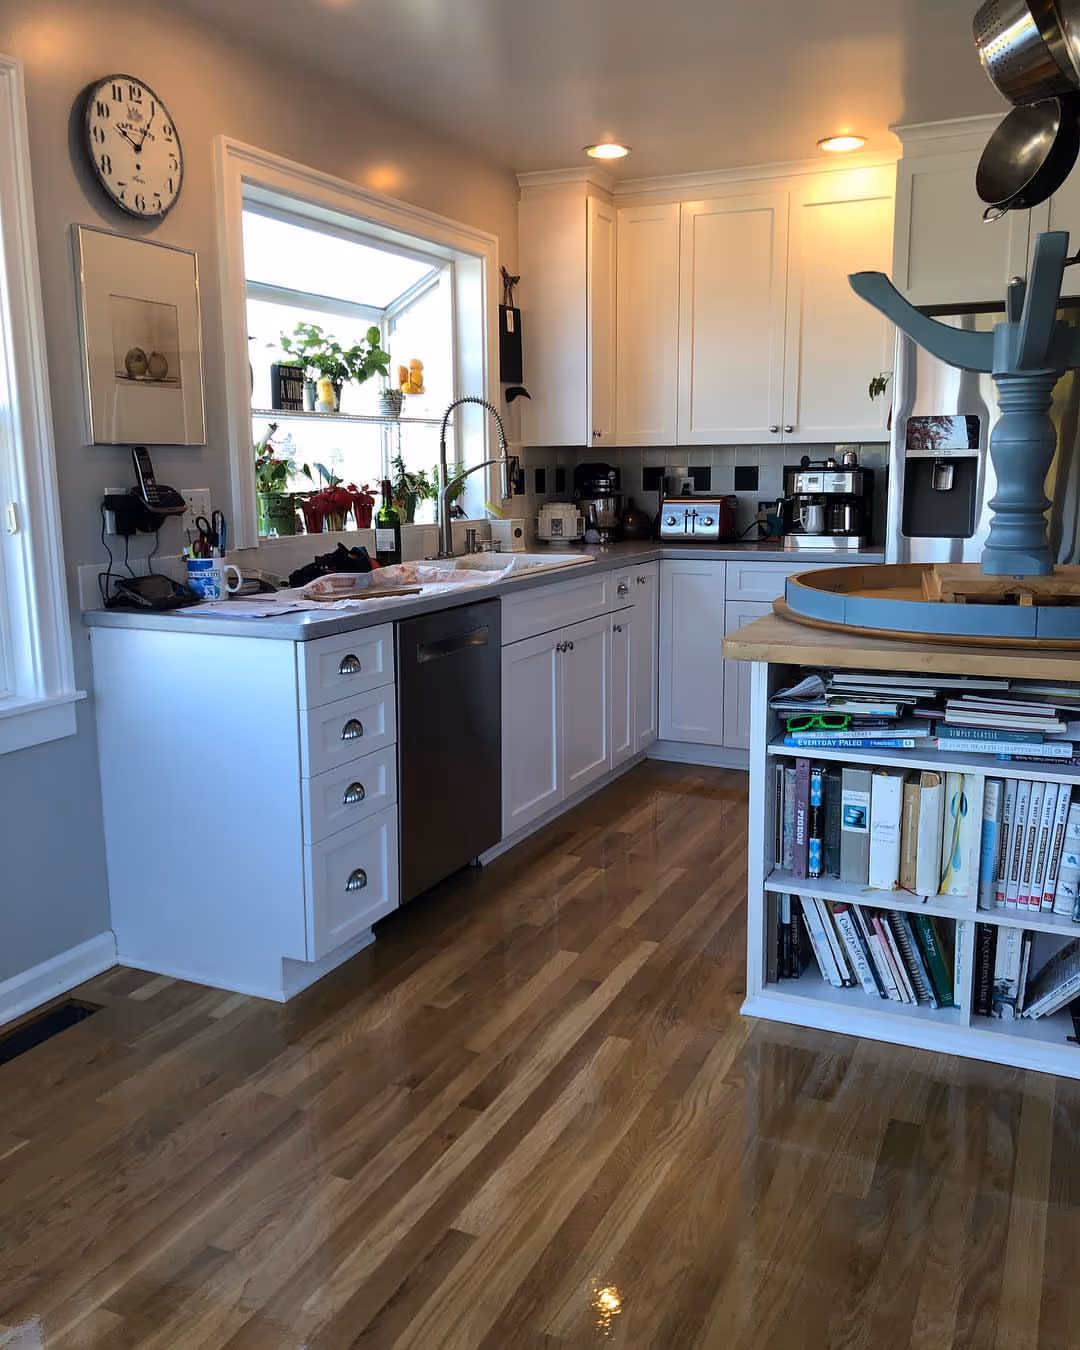
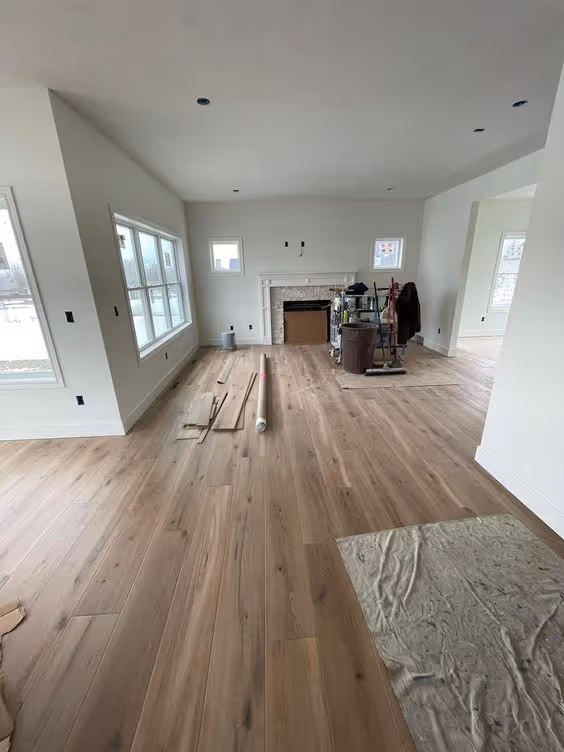
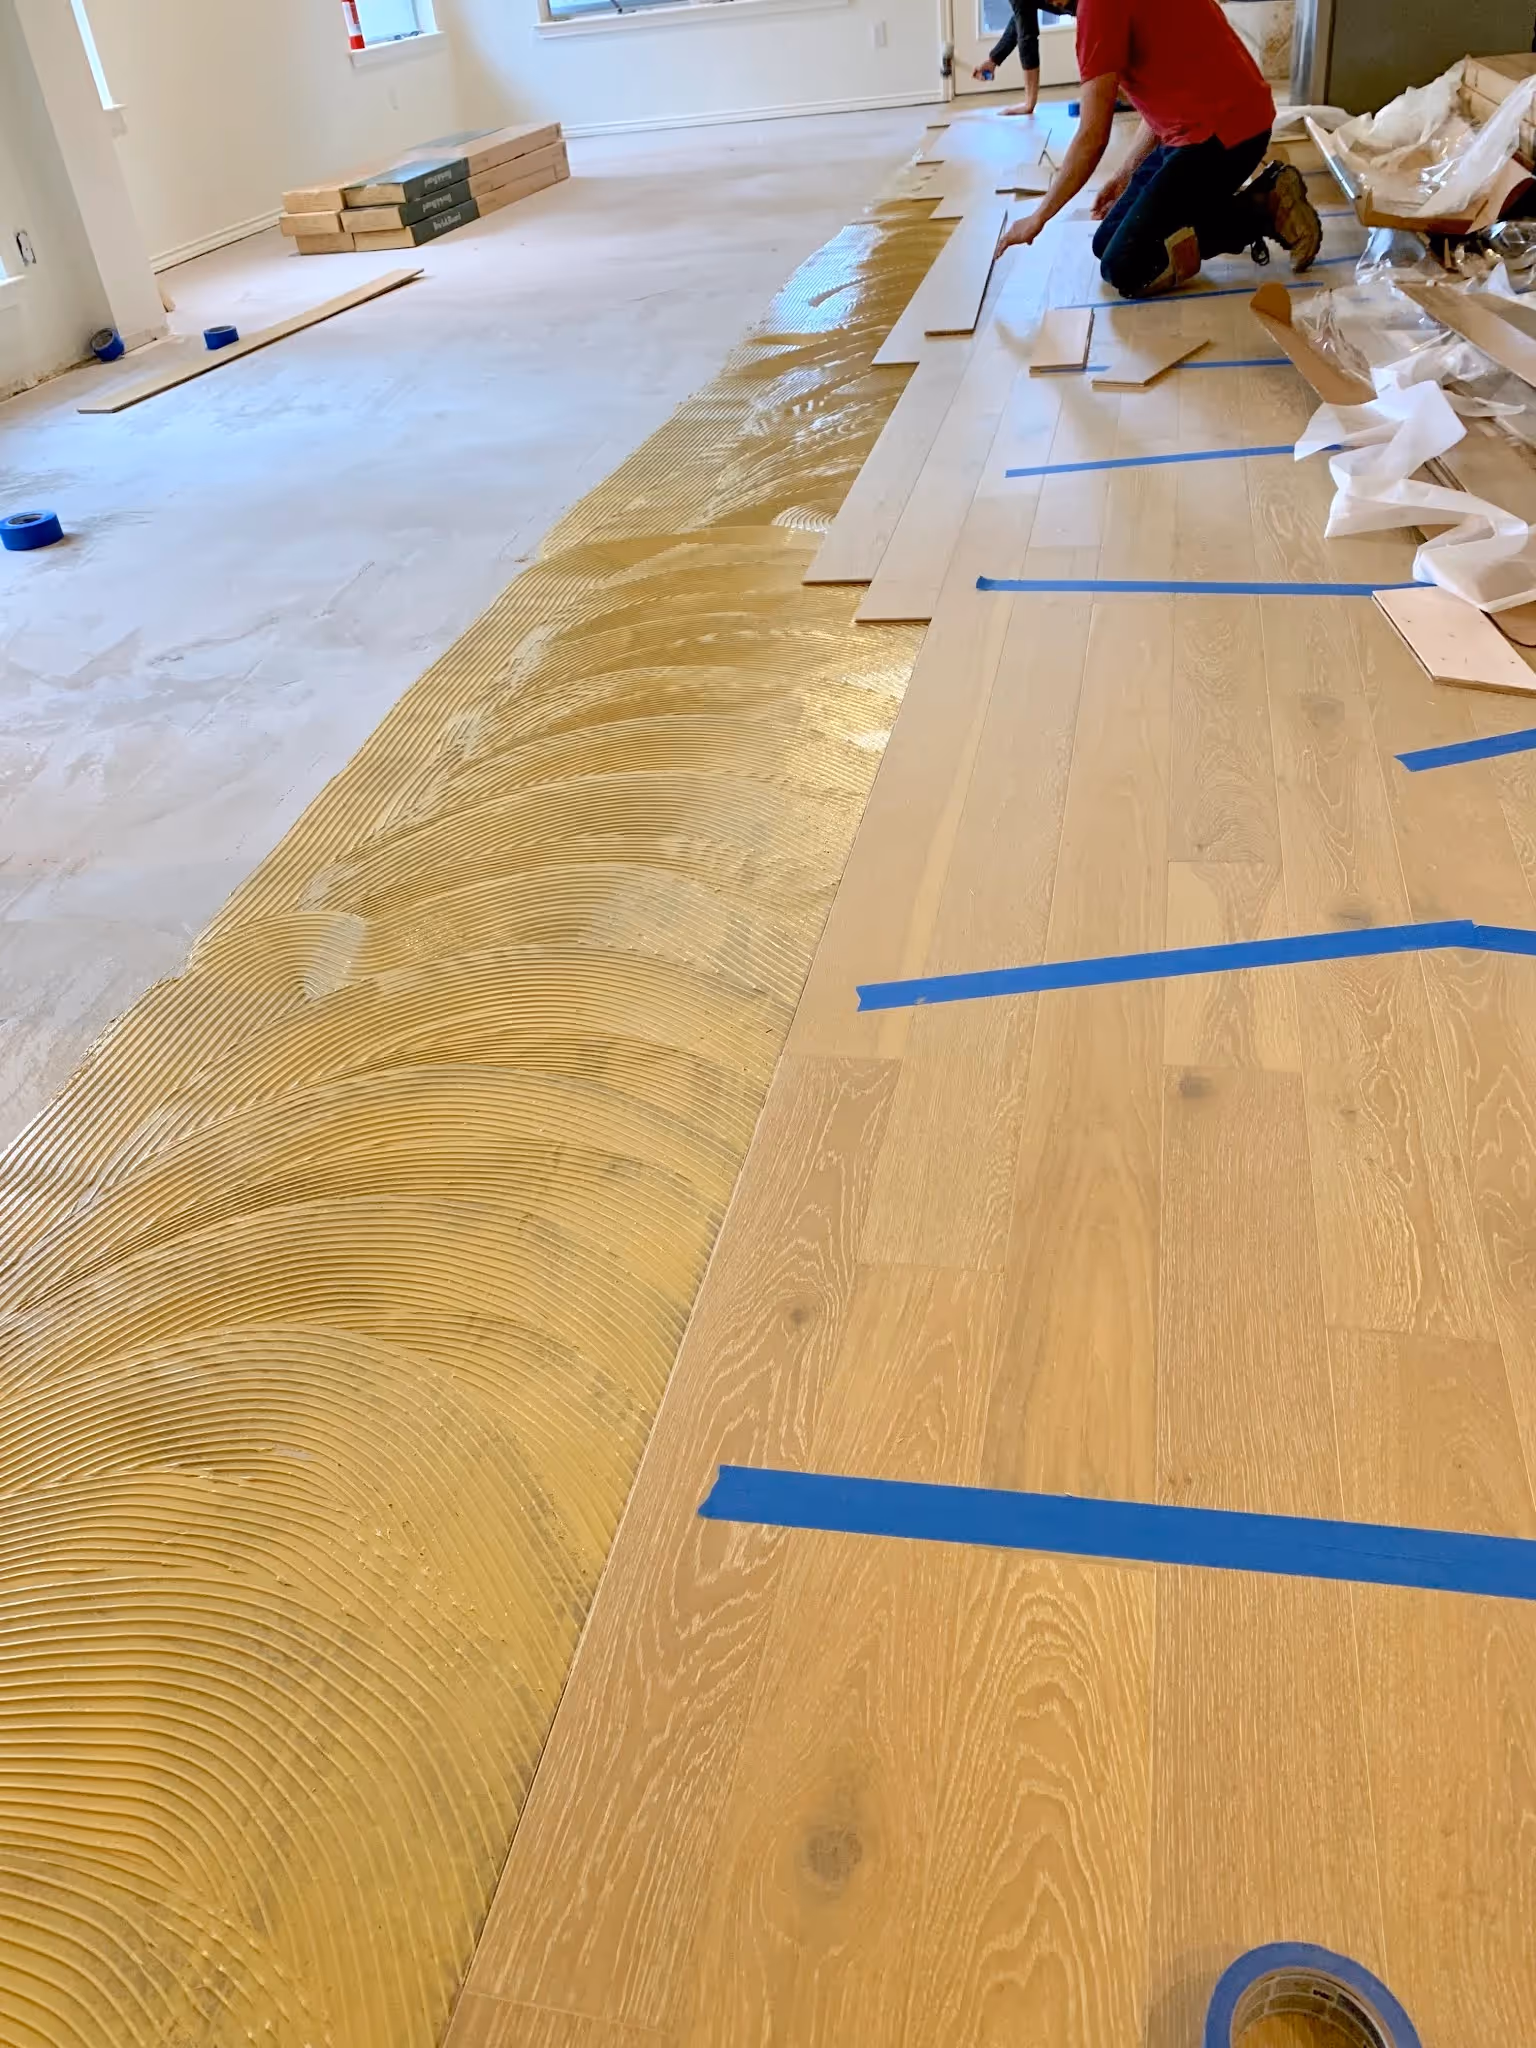
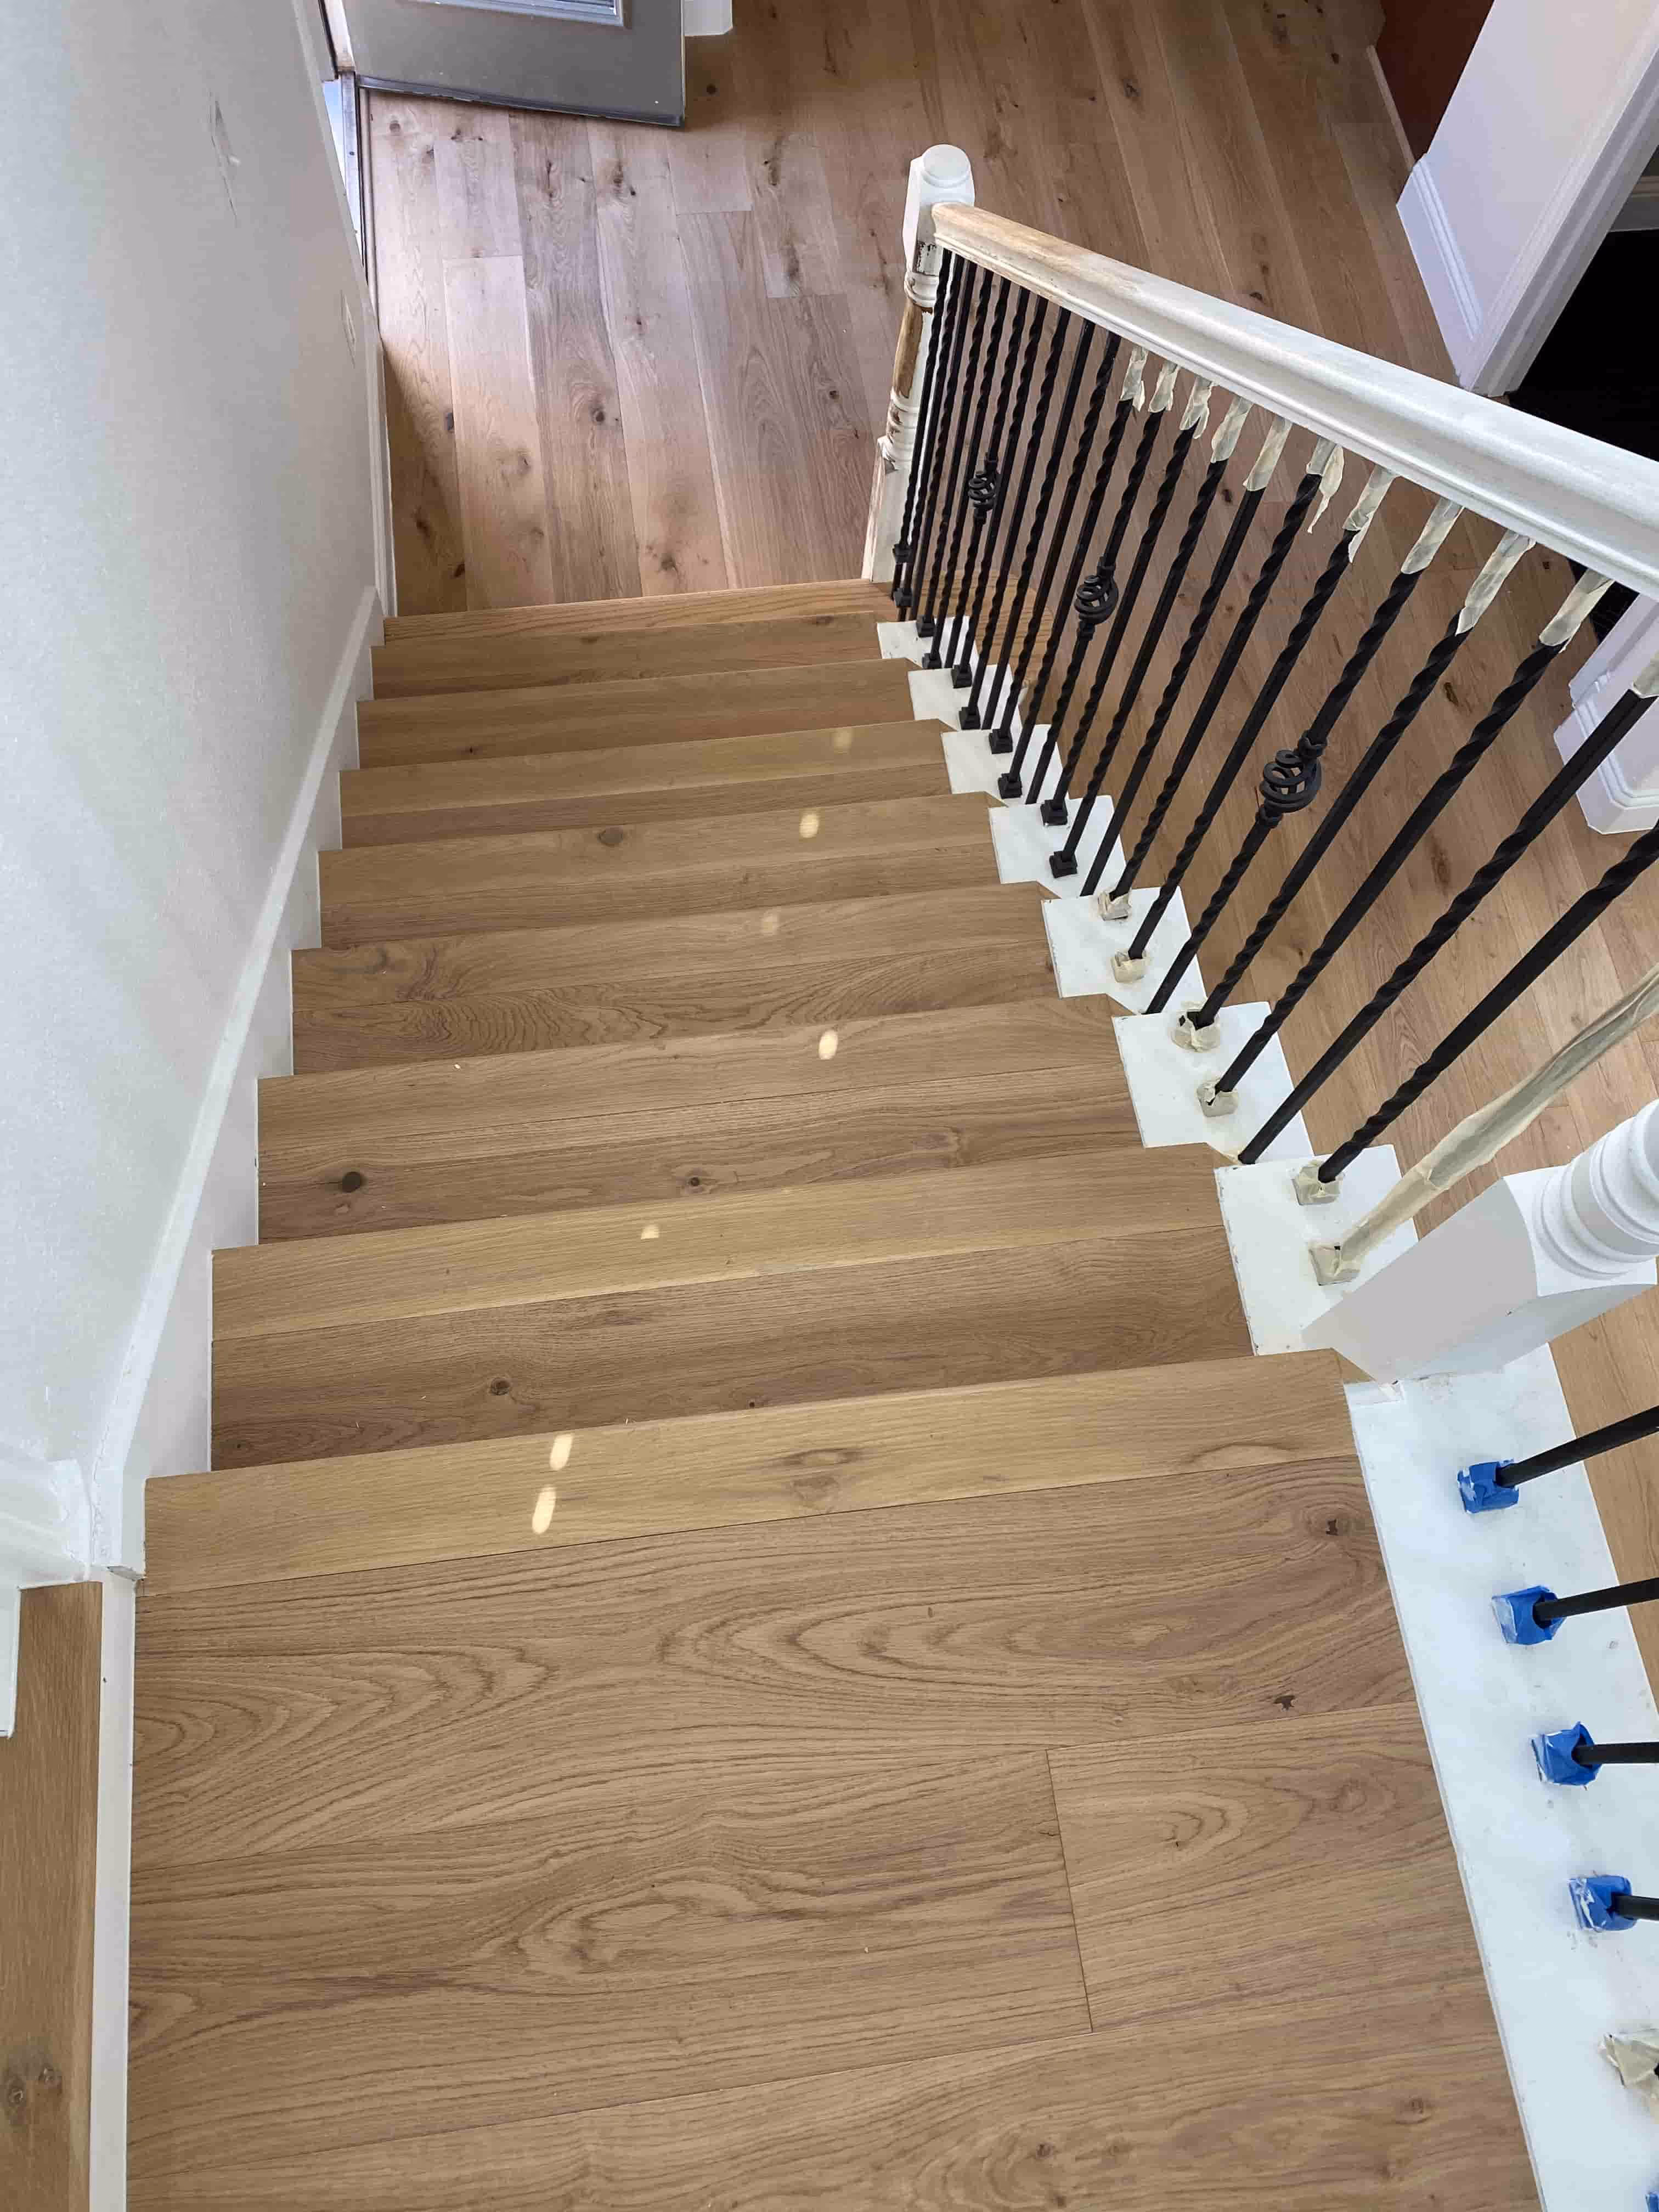
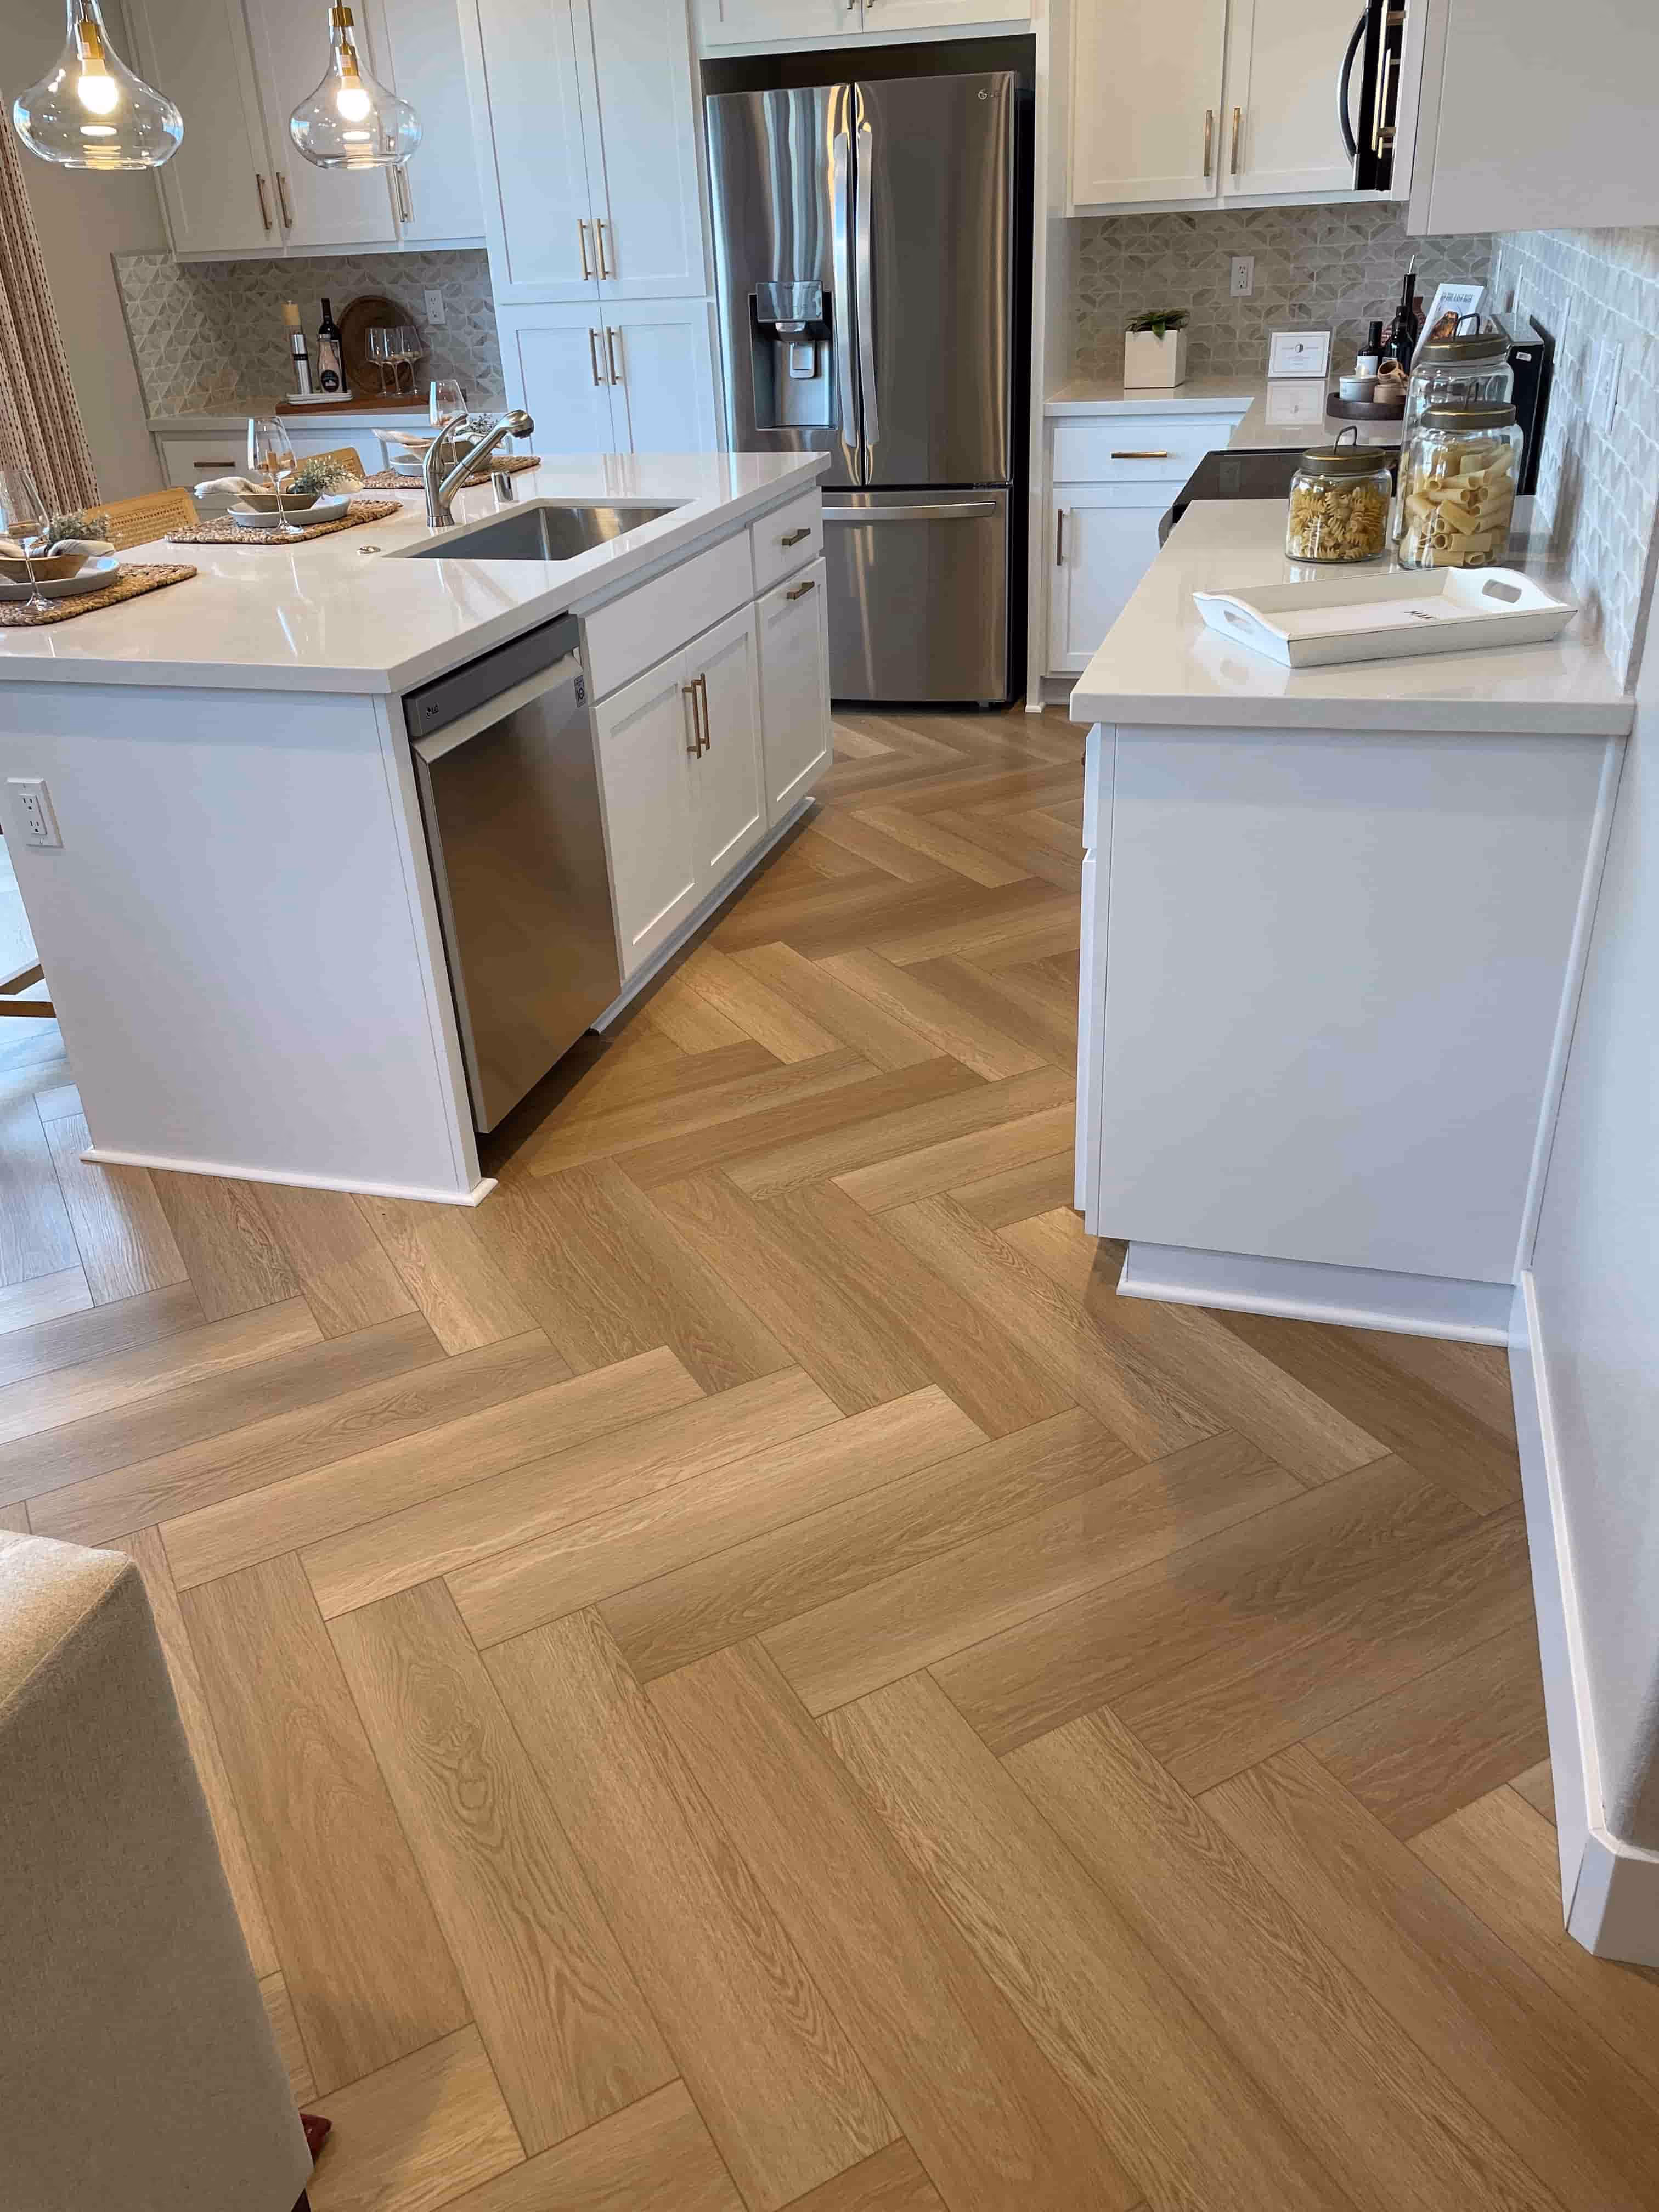
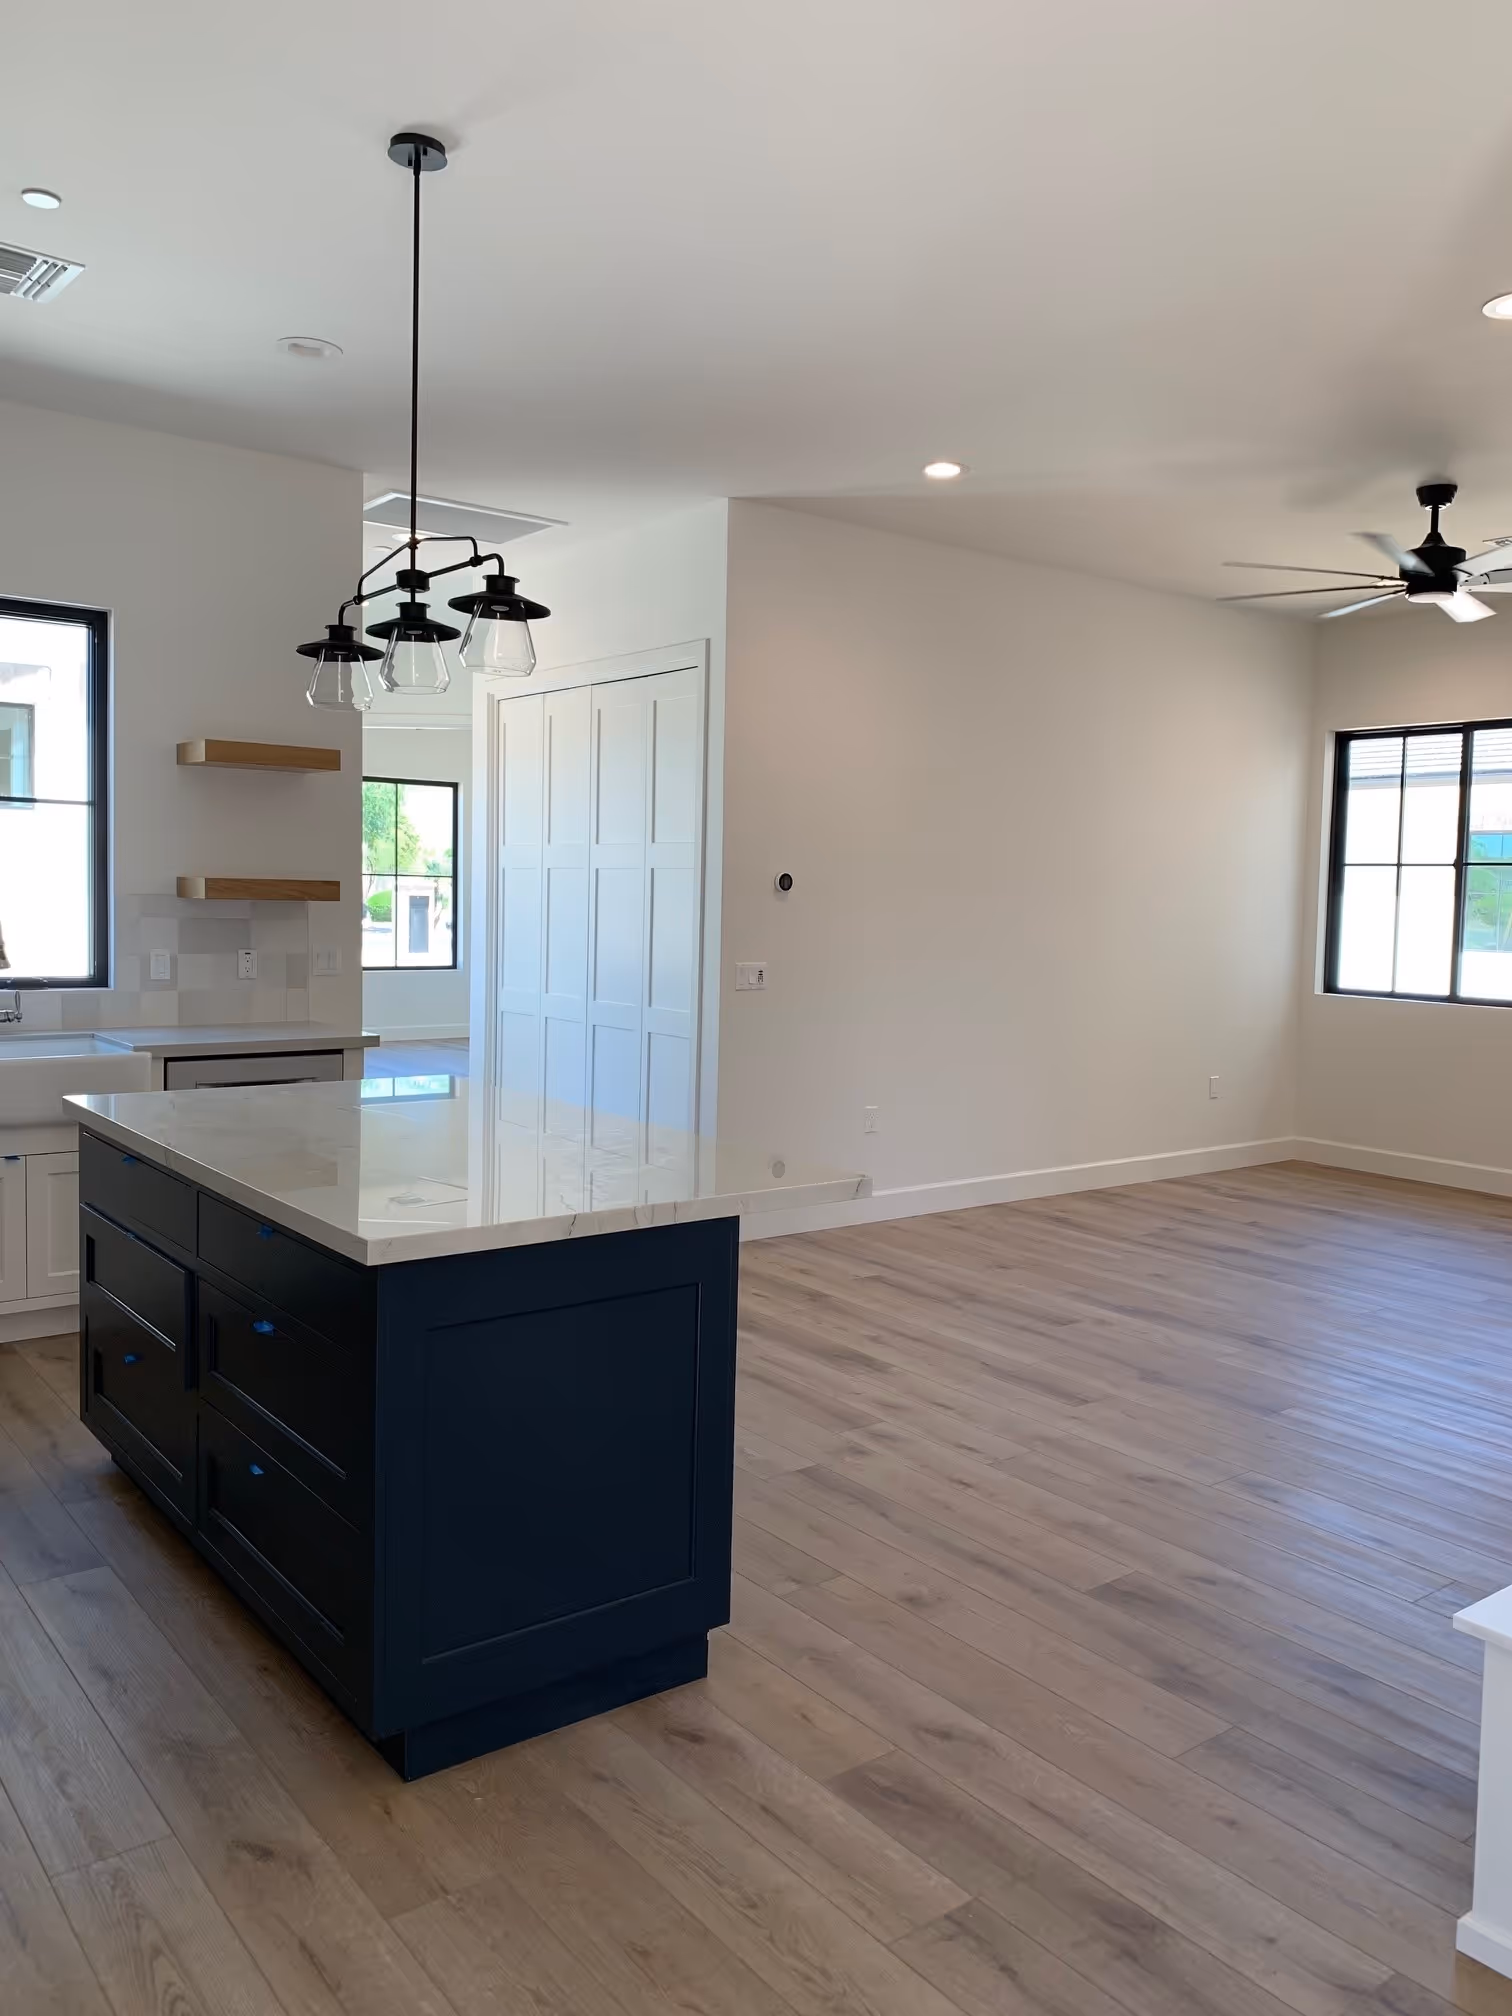
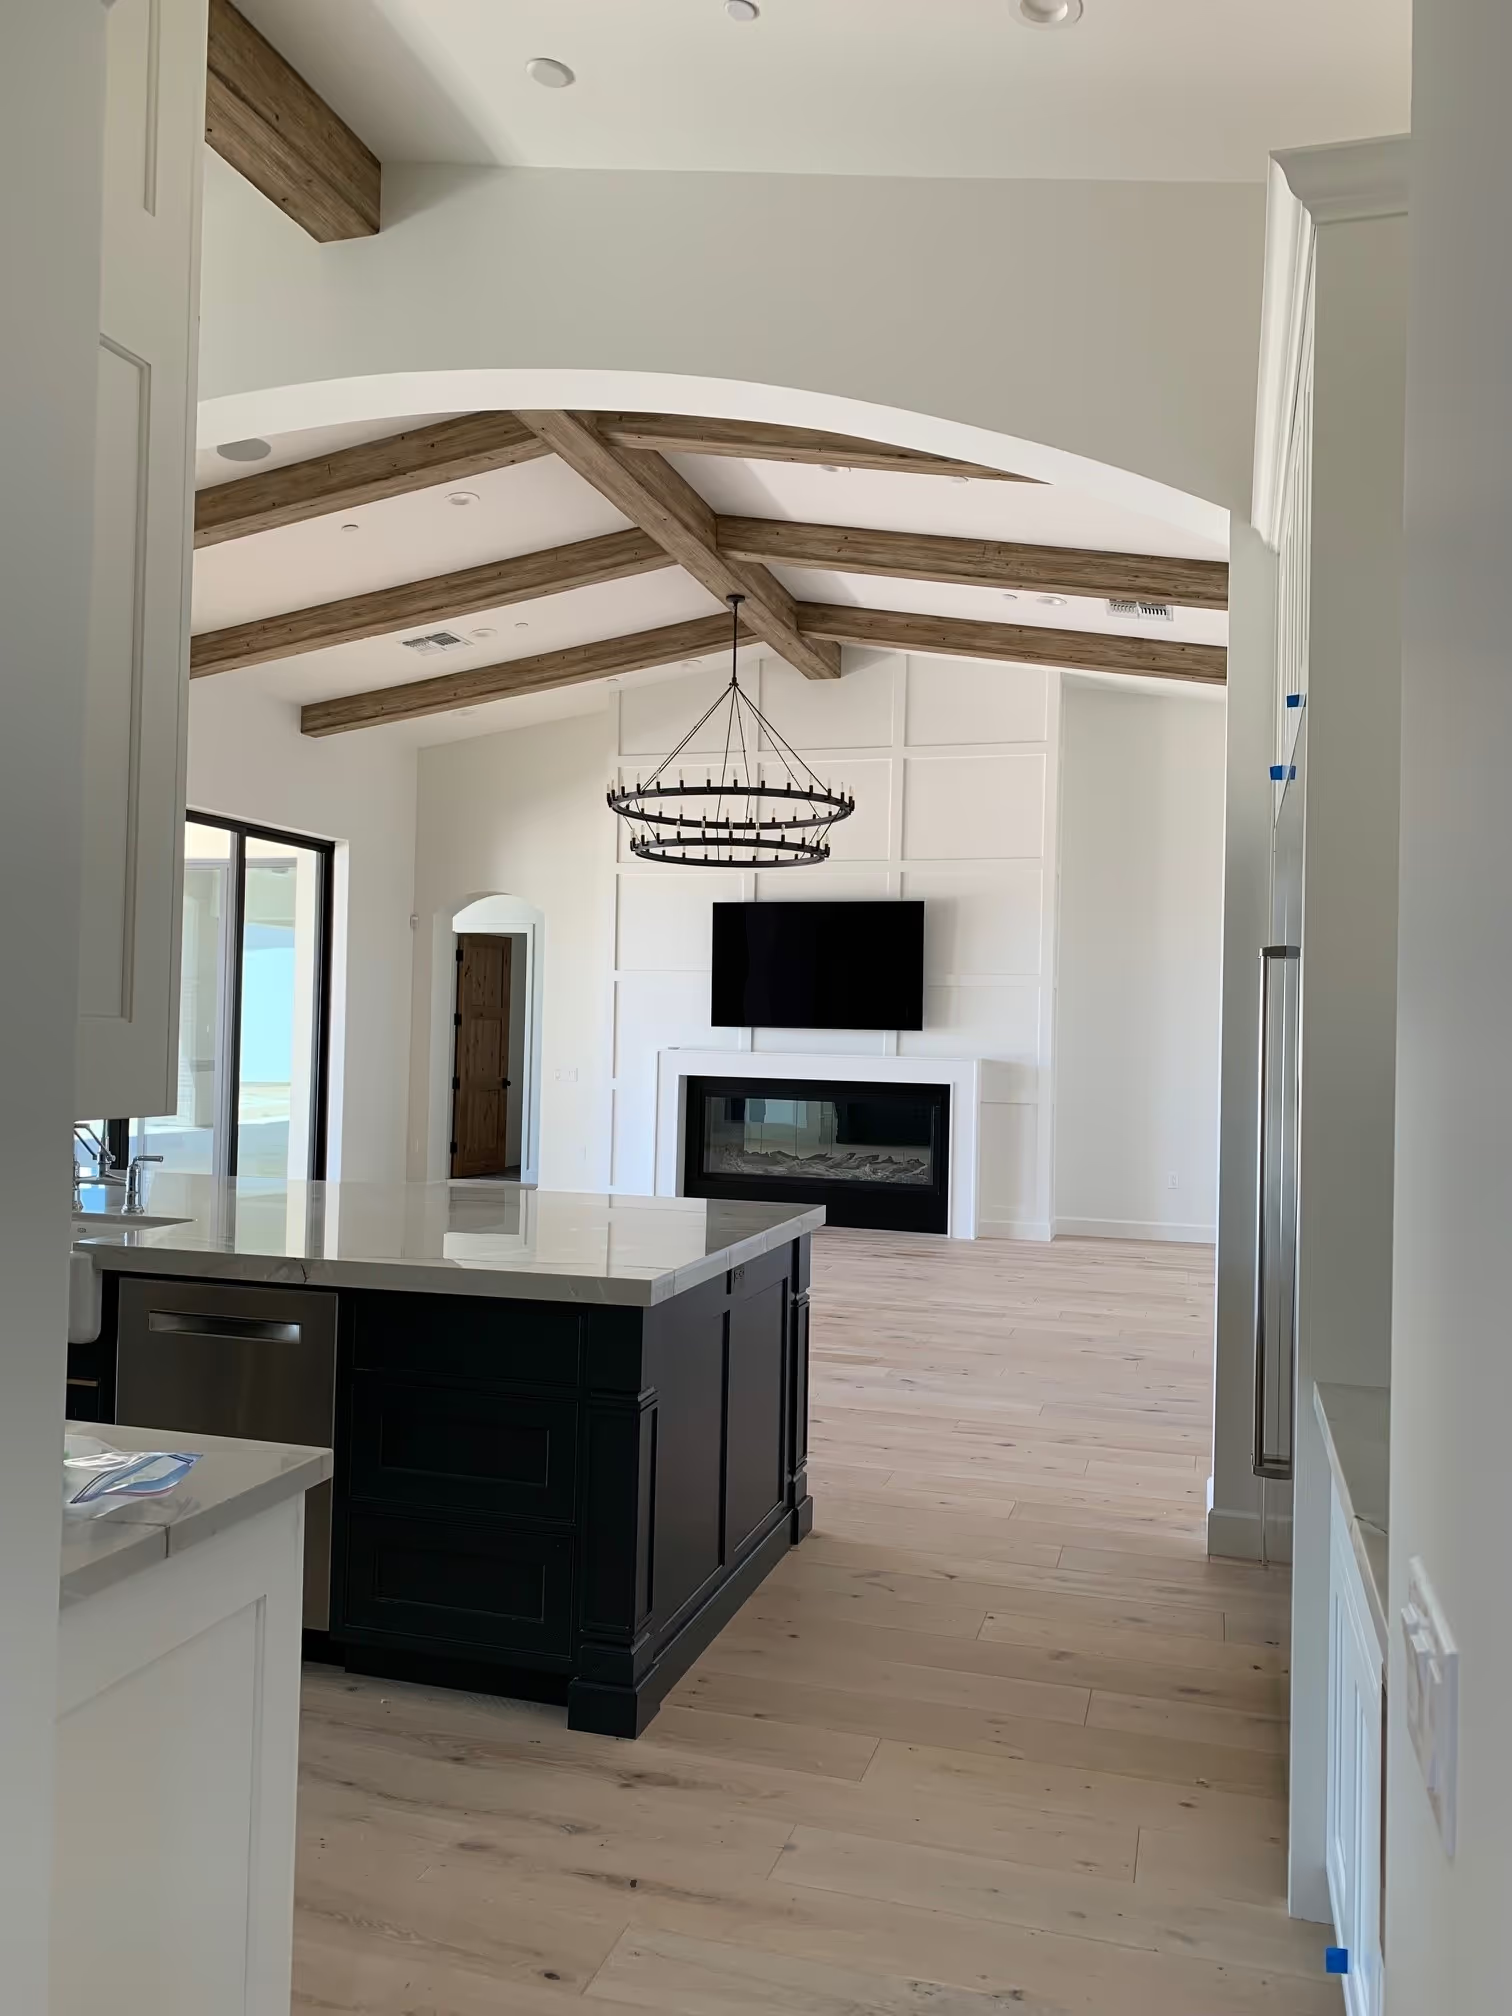
At OC Flooring, we help Bellevue families bring lasting beauty to their homes with professional hardwood refinishing and installation. Whether you’re restoring worn wood or installing something brand new, our process is stress-free and designed around your needs.
Homeowners choose us because we’re licensed, insured, and backed by over 120 five-star reviews. Every project includes a 1-year workmanship warranty, giving you confidence long after the work is done.
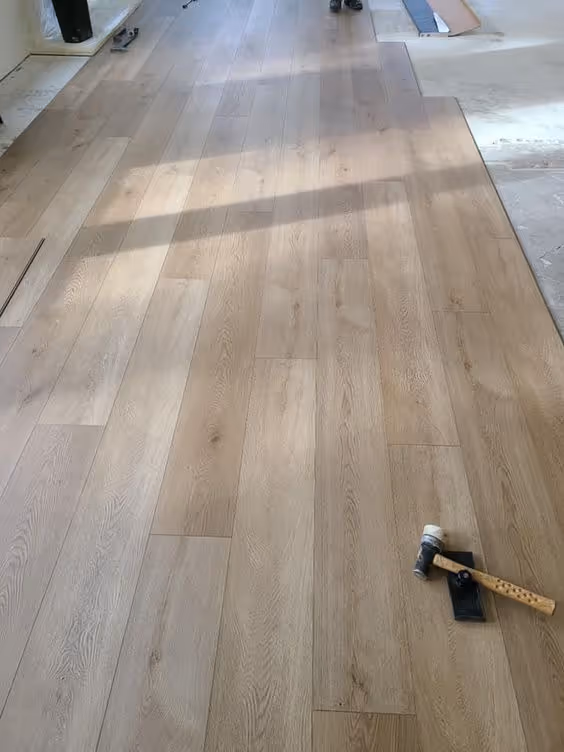
From your free in-home estimate to the final walkthrough, we guide you every step of the way. Using dustless sanding and modern tools, we deliver flawless results while protecting your home.
We proudly serve Bellevue and surrounding areas, including Kirkland, Redmond, and Issaquah. Wherever you are in King or Snohomish County, OC Flooring is ready to help.
💬 Ready to love your floors again? Contact us today for your free in-home estimate and see why Bellevue homeowners trust OC Flooring. what h tag i need to use?